
Tomato in Zone 5B — Northeast
Solanum lycopersicum · Your Complete 2026 Planting Guide
Planning Ahead — Great!
You’re ahead of the season. Here’s when to start.
Mark Your Calendar
How to Plant Tomato in Zone 5B — Northeast
Here are all your options for getting tomato in the ground, from the easiest method to more advanced approaches.
Start Seeds Indoors
RecommendedLate March through mid April
around March 28
Then transplant: Early May through early June
Start seeds 6-8 weeks before transplanting outdoors.
Tomatoes need 6-8 weeks head start indoors for best production.
Buy Starts
Works WellEarly May through early June
around May 9
Plant purchased starts after last frost (April 25).
Look for stocky plants with dark green leaves. Avoid leggy or already-flowering seedlings.
Direct Sow Seeds
ChallengingDirect sowing is not typical for Tomato.
Transplant Outdoors
Timing InfoEarly May through early June
around May 9
Wait until nighttime temperatures stay above 50°F.
You have a nice window — no need to rush.
Overview
Tomatoes are the crown jewel of Northeast gardens, and for good reason. Our cool summer nights actually enhance their flavor development, creating that perfect balance of sweet and acidic that makes store-bought tomatoes taste like cardboard by comparison. With careful timing and variety selection, you can enjoy vine-ripened tomatoes from mid-summer straight through to first frost, making the most of our precious growing season.
Yes, our short 168-day season and unpredictable spring weather present challenges for heat-loving tomatoes. But starting seeds indoors gives you the jump you need, and once established, tomatoes thrive in our moderate summer temperatures. The key is timing your indoor start correctly and choosing varieties that mature in 70-80 days rather than the 90+ day giants.
Starting Seeds Indoors
Start tomato seeds indoors during late March through mid-April, about 6 weeks before your planned transplant date. This timing accounts for our notoriously late spring – you'll want sturdy seedlings ready to go out once soil warms and frost danger passes in early May.
Set up seed trays in a warm spot (70-75°F) with good light. A sunny south-facing window works, but grow lights give more consistent results during our often-cloudy spring days. Use bottom watering to prevent damping-off disease – set trays in a shallow pan of water and let the soil wick up moisture.
Once seedlings emerge, keep them slightly cooler (65-70°F) to prevent legginess. When they develop their first true leaves, transplant to individual 4-inch pots. This gives roots room to develop and creates stockier plants that transplant better into our rocky New England soil.
Transplanting Outdoors
Transplant tomatoes outdoors from early May through early June, but only after soil temperature reaches 60°F and nighttime lows stay above 50°F consistently. Our spring temperature swings can fool you – a warm spell in late April often gives way to surprise cold snaps that will stunt or kill tender tomato plants.
Harden off seedlings gradually over 7-10 days, starting with a few hours of filtered outdoor light and building up to full sun and overnight exposure. Space plants 24-36 inches apart in full sun locations that get 6-8 hours of direct light. Our moderate summer heat means you don't need to worry about afternoon shade protection.
Look for stocky plants with dark green leaves and thick stems. Avoid leggy seedlings or those already flowering – they're stressed and won't establish well. Plant deeply, burying 2/3 of the stem to encourage strong root development in our often-shallow topsoil over rocky subsoil.
Watering Tomato in Zone 5B (Northeast)
Consistent moisture is absolutely critical for tomatoes in our climate. Despite our 40-50 inches of annual rainfall, summer dry spells combined with our rocky, fast-draining soil can create drought stress quickly. Inconsistent watering causes blossom end rot, fruit cracking, and poor fruit set – problems that plague many Northeast tomato growers.
Water deeply 2-3 times per week rather than daily light watering, providing about 1-1.5 inches total per week. Use the finger test – stick your finger 2 inches into soil near the plant base. If it's dry at that depth, it's time to water. Our moderate summer humidity means watering at the base is especially important to prevent fungal diseases that thrive in humid air around wet foliage.
Apply water slowly at the base using soaker hoses or drip irrigation. If hand-watering, water early morning so leaves dry quickly. Signs of underwatering include wilting during hot afternoons and small, tough fruit. Overwatering shows as yellowing lower leaves and soft, waterlogged fruit.
Mulch heavily with 3-4 inches of straw or shredded leaves to maintain even soil moisture and suppress weeds. This is especially important in our region where temperature swings and variable rainfall can stress plants. Good mulch reduces watering frequency and helps prevent the wet-dry cycles that cause cracking and blossom end rot.
Supporting Your Tomato
Indeterminate tomato varieties need strong support from day one – these plants can reach 6-8 feet tall in our growing season. Install 5-6 foot tall cages or sturdy stakes at planting time, before roots spread. Trying to add support later damages established root systems and rarely provides adequate stability.
Heavy-gauge wire cages work better than flimsy store-bought versions, especially in our region where sudden summer thunderstorms can topple inadequately supported plants. If using stakes, choose 8-foot posts driven 18 inches deep, with plants tied loosely using soft materials like strips of old t-shirts.
Train plants weekly by gently weaving growing tips through cage openings or tying to stakes. Remove any stems touching the ground to prevent soil-borne disease. As plants grow taller, you may need to add horizontal supports between stakes to handle the weight of fruit clusters.
Pruning & Maintaining Tomato
Remove suckers (shoots growing between main stem and leaf branches) below the first flower cluster throughout the growing season. These lower suckers rob energy from fruit production and create dense growth that restricts air circulation. This is especially important in our moderate-to-humid summer climate where good airflow prevents fungal diseases.
As plants mature, you can optionally remove some upper suckers to direct energy into fewer, larger fruit. However, in our shorter growing season, it's often better to leave upper suckers since they'll produce fruit before frost hits. Focus pruning efforts on the bottom third of the plant for disease prevention.
In late August, pinch growing tips to stop vertical growth and direct energy into ripening existing fruit. Remove any new flower clusters that appear after late August – they won't have time to mature before our early October frost. This "topping" strategy helps maximize your harvest from fruit already set.
🧪Fertilizing Tomato
Feeding Schedule
Organic Fertilizer Options
Harvest Time
Expect your first ripe tomatoes from mid-July through early September, depending on variety and planting date. Early varieties can start producing within 70 days of transplant, while larger types may need 85+ days. Our cool nights actually improve flavor development, so patience pays off with better-tasting fruit.
Harvest tomatoes when fully colored but still slightly firm, with just a little give when gently squeezed. Ripe fruit should twist off the vine easily – if you're pulling hard, it's not ready. Pick regularly to encourage continued production; leaving overripe fruit on plants signals them to stop producing new flowers.
Check plants daily once harvest begins. Our moderate summer temperatures mean fruit ripens more slowly than in hot climates, but thunderstorms can cause ripe fruit to split or drop. Harvest before storms when possible, and pick any cracked fruit immediately before rot sets in.
As early October frost approaches, harvest all mature green fruit. These will ripen indoors if brought in before temperatures drop below 50°F. Wrap individual green tomatoes in newspaper and store in a cool, dark place, checking weekly. Some varieties ripen better off the vine than others – paste tomatoes are particularly good candidates for green harvest.
Common Problems in Zone 5B (Northeast)
Blossom End Rot Dark, sunken patches appear on the bottom (blossom end) of fruit, starting small and expanding into leathery black areas. This typically affects the first fruits of the season most severely, then improves as plants establish better root systems.
This isn't a disease but a calcium deficiency caused by inconsistent watering – common in our region due to variable spring rainfall and rocky soil that drains quickly. The dry-wet-dry cycle prevents plants from absorbing available calcium, even in calcium-rich soil.
Water consistently and deeply, maintaining even soil moisture with 3-4 inches of mulch. Don't over-fertilize with nitrogen, which can interfere with calcium uptake. Remove affected fruit immediately to redirect energy into healthy development.
Early Blight Brown spots with distinctive concentric rings (bullseye pattern) appear on lower leaves first, then spread upward. Affected leaves yellow and drop, eventually defoliating plants from the bottom up.
This fungal disease thrives in our warm, humid summer conditions. Spores splash up from soil onto lower leaves during watering or rain, then spread rapidly in humid air around dense foliage.
Remove affected leaves immediately and destroy them (don't compost). Mulch heavily to prevent soil splash, water at plant base only, and ensure good air circulation through proper spacing. Copper fungicide can slow spread but prevention through good cultural practices works better.
Hornworms Large sections of leaves disappear overnight, leaving only stems. Look for dark green caterpillars up to 4 inches long with white diagonal stripes, plus dark droppings on leaves below damaged areas.
These larvae of hawk moths can defoliate entire plants quickly. Adults lay eggs on tomato family plants, and caterpillars feed voraciously, especially during our warm, humid summer nights when they're most active.
Handpick caterpillars (they don't bite) and destroy them. Bt (Bacillus thuringiensis) spray provides organic control. If you find hornworms covered with white cocoons, leave them alone – those are beneficial parasitic wasps that will kill the pest and produce more helpers.
Cracking Fruit develops either concentric cracks (rings around the stem) or radial splits (lines from stem to bottom). These openings expose flesh and often lead to rot, especially in our humid summer air.
Heavy rain or watering after dry periods causes fruit to absorb water faster than skin can stretch. Our variable summer rainfall patterns make this particularly common – a week-long dry spell followed by thunderstorms almost guarantees cracking.
Maintain consistent soil moisture through regular watering and mulching. Harvest promptly when fruit reaches full color. Choose crack-resistant varieties for future seasons, especially if your soil drains very quickly.
Northeast Specific Challenges Our moderate heat and moderate-to-humid conditions create perfect environments for fungal diseases, making good air circulation and base watering essential. The combination of our rocky soil and variable rainfall requires extra attention to consistent moisture management throughout the growing season.
Best Companions for Tomato
Plant these nearby for healthier Tomato and better harvests.
View Full Companion Planting Chart →


Companion Planting Details
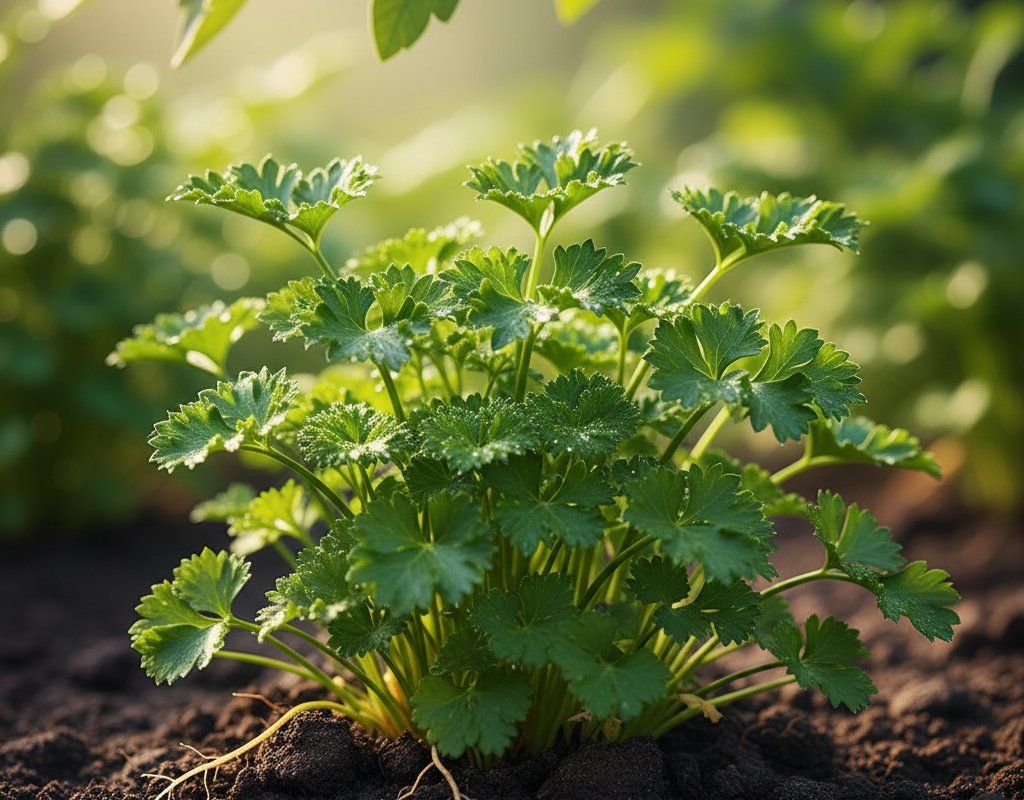
Plant basil near tomatoes – it reportedly improves flavor while repelling aphids and spider mites. Carrots and parsley make good neighbors since their deep taproots don't compete with tomato surface roots, and parsley attracts beneficial insects that prey on tomato pests. Marigolds planted around the garden border may deter some soil nematodes, though their effectiveness varies.
Avoid planting brassicas (cabbage, broccoli, kale) near tomatoes – they can stunt each other's growth and compete for similar nutrients. Skip fennel entirely, as it inhibits tomato growth through allelopathic compounds. Don't plant corn nearby either, since both crops attract similar pests and corn's tall growth can shade tomatoes in our already-challenging light conditions.
🌸Best Flowers to Plant with Tomato
These flowers protect your Tomato from pests and attract pollinators for better harvests.
For Pest Control







Get a Reminder When It's Time to Plant
We'll email you when key planting windows open for your zone.