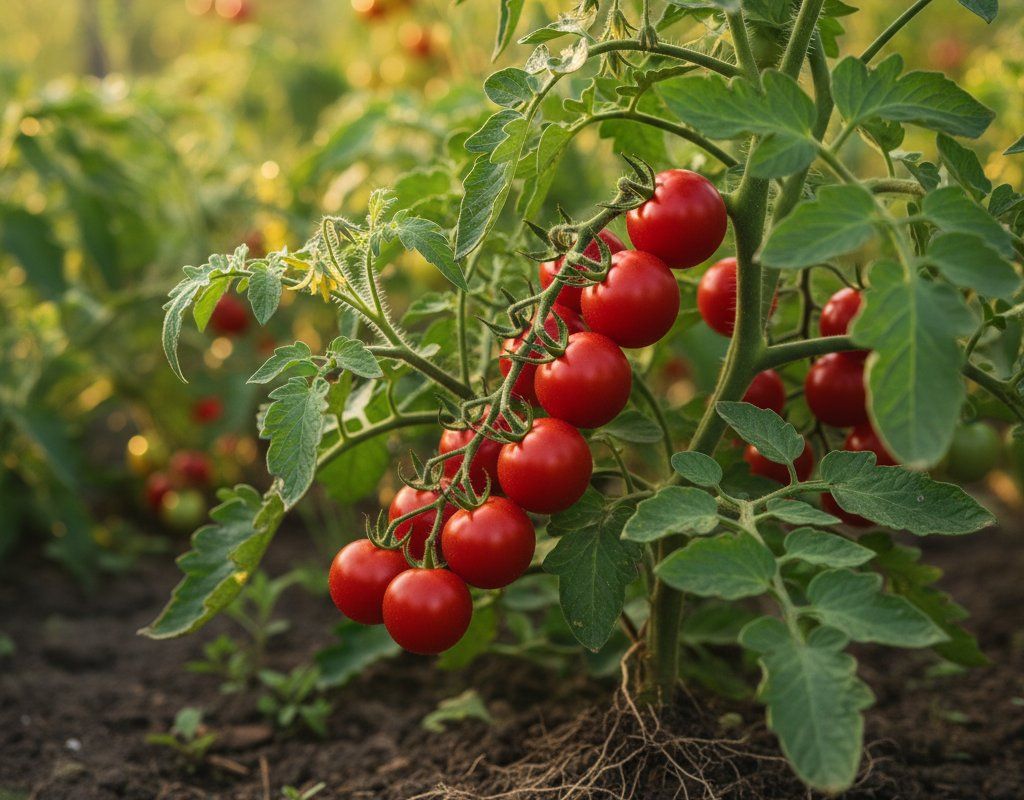
Cherry Tomatoes in Zone 5B — Northeast
Solanum lycopersicum var. cerasiforme · Your Complete 2026 Planting Guide
Planning Ahead — Great!
You’re ahead of the season. Here’s when to start.
Mark Your Calendar
How to Plant Cherry Tomatoes in Zone 5B — Northeast
Here are all your options for getting cherry tomatoes in the ground, from the easiest method to more advanced approaches.
Start Seeds Indoors
RecommendedLate March through mid April
around March 28
Then transplant: Early May through early June
Start seeds 6-8 weeks before transplanting outdoors.
Buy Starts
Works WellEarly May through early June
around May 9
Plant purchased starts after last frost (April 25).
Direct Sow Seeds
ChallengingDirect sowing is not typical for Cherry Tomatoes.
Transplant Outdoors
Timing InfoEarly May through early June
around May 9
Wait until nighttime temperatures stay above 50°F.
You have a nice window — no need to rush.
Overview
Cherry tomatoes are perfect for our Northeast Zone 5B gardens, delivering sweet, intense flavor that surpasses anything from the grocery store. These productive little gems make the most of our short growing season, ripening faster than their full-sized cousins and continuing to produce right up until our first frost in early October. The cool nights we enjoy here actually intensify their sweetness, making homegrown cherry tomatoes a true summer treasure.
While our 168-day growing season and potential for late spring frosts can make warm-season crops challenging, cherry tomatoes are surprisingly manageable with proper timing. Starting seeds indoors gives you complete control over the process, and their relatively quick 60-day maturity means you'll be harvesting by midsummer even in our climate.
Starting Seeds Indoors
Start your cherry tomato seeds indoors during late March through mid-April, about 6 weeks before your planned transplant date. This timing works perfectly with our late Northeast spring, giving you strong seedlings ready to go out once the soil warms up in early May.
Set up your seeds in standard seed-starting trays filled with quality seed-starting mix. Keep them warm (70-75°F) and provide bright light once they germinate—a south-facing window or grow lights work well. Bottom watering is your best bet to avoid disturbing the delicate seedlings and prevent damping-off disease.
Once your seedlings develop their first true leaves, transplant them into individual 4-inch pots. This gives their roots room to develop during those final weeks indoors, setting them up for strong growth once they're in the garden.
Transplanting Outdoors
Transplant your cherry tomato seedlings outdoors from early May through early June, once nighttime temperatures consistently stay above 50°F and all danger of frost has passed. In our zone, this timing usually works well, but keep an eye on the weather—those unexpected cool snaps can still catch us off guard in May.
Harden off your seedlings for a full week before transplanting by gradually exposing them to outdoor conditions. Start with just a few hours of morning sun, then increase the time and intensity each day. This process prevents transplant shock and helps them adjust to our sometimes unpredictable spring weather.
Space your plants 24-36 inches apart to ensure good air circulation—this is especially important given our moderate-to-humid summers. The wider spacing also gives you room to work around the plants for watering and harvesting as these indeterminate varieties can reach 6 feet or taller.
Watering Cherry Tomatoes in Zone 5B (Northeast)
Cherry tomatoes need consistent moisture throughout the growing season, requiring about 1-2 inches of water per week including rainfall. In our Northeast climate with its even 40-50 inches of annual rainfall, you'll often get natural help, but don't count on it completely—summer dry spells can still stress your plants.
Check soil moisture using the finger test: stick your finger 2 inches deep near the plant base. If it's dry at that depth, it's time to water. Water deeply at the base of the plants rather than overhead—our moderate-to-humid summers can encourage fungal diseases when leaves stay wet.
The key with cherry tomatoes is preventing the dry-wet cycle that causes cracking. These smaller fruits are actually more prone to splitting than larger varieties when watering becomes inconsistent. A 2-3 inch layer of mulch around your plants helps maintain even moisture levels and reduces your watering chores.
Watch for signs of stress: wilting during the heat of the day (even with adequate moisture) is normal, but if plants stay wilted into the evening, they need more water. Yellowing lower leaves and cracked fruit both signal watering issues that need immediate attention.
Supporting Your Cherry Tomatoes
Install tall cages or sturdy stakes at planting time since these indeterminate cherry tomatoes are vigorous growers that can easily reach 6 feet or more. Heavy-duty tomato cages or 6-foot stakes work best—those flimsy store-bought cages will buckle under the weight of a mature plant loaded with fruit clusters.
As the plants grow, gently tie the main stems to your supports using soft materials like cloth strips or tomato ties. Check and adjust ties every few weeks since the stems thicken as they mature. With our sometimes gusty summer storms, proper support becomes even more critical to prevent entire plants from toppling over.
Cherry tomato plants produce numerous side branches heavy with fruit clusters, so your support system needs to handle significant weight. If using stakes, consider the Florida weave method with horizontal strings between posts to support multiple stems along the row.
Pruning & Maintaining Cherry Tomatoes
Focus your pruning on the lower suckers and bottom leaves to improve air circulation around the base of the plant. Cherry tomatoes can handle more suckers than larger varieties since their smaller fruits ripen quickly, but removing the lower ones prevents soil splash and reduces disease pressure in our humid summers.
Remove suckers that grow below the first flower cluster and any that appear in the first foot of the main stem. As the season progresses, also remove any yellowing or diseased lower leaves. This keeps energy focused on fruit production and helps prevent early blight, which typically starts on lower foliage.
Around mid-August, consider topping your plants by pinching out the growing tip. This redirects energy into ripening existing fruit rather than producing new growth that won't have time to mature before our early October frost. Remove any new flower clusters that appear after late August for the same reason.
🧪Fertilizing Cherry Tomatoes
Feeding Schedule
Organic Fertilizer Options
Harvest Time
Your first cherry tomatoes will be ready from early July through late August, depending on your variety and planting timing. Look for fruits that are fully colored and give slightly to gentle pressure—they should practically fall into your hand with a light tug at the stem end.
Harvest frequently, checking every 2-3 days during peak season to keep plants producing. Cherry tomatoes continue ripening in clusters, so you'll often have fruits at different stages on the same plant. Pick them as they reach full color but before they become soft and prone to cracking.
Unlike larger tomatoes, cherry varieties often signal their readiness by naturally separating from the stem cluster. If you have to pull hard, they're not quite ready. The constant harvesting actually encourages more production, so don't be shy about picking regularly throughout the summer.
As first frost approaches in early October, harvest all remaining green fruits. Cherry tomatoes ripen well indoors when placed in a paper bag with a ripe banana, or you can pick entire clusters and hang them in a cool, dry place to ripen gradually over several weeks.
Common Problems in Zone 5B (Northeast)
Cracking Split skins appear either as concentric circles around the stem or radial lines from stem to bottom. This exposes the flesh to rot and makes fruit unusable. Cherry tomatoes are especially prone to cracking because their skins are more delicate than larger varieties. Heavy rain after a dry period causes fruit to absorb water faster than the skin can expand. Maintain consistent soil moisture with regular watering and mulching—this is your best defense against cracking in our climate with its variable summer rainfall patterns.
Blossom End Rot Dark, sunken leathery patches appear on the bottom of fruits, often affecting the first clusters of the season. This isn't a disease but a calcium deficiency caused by inconsistent watering, which prevents plants from absorbing available calcium. In our rocky New England soil, calcium is usually present but becomes unavailable during drought-flood cycles. Water consistently and mulch heavily to maintain even soil moisture. Remove affected fruits promptly and avoid over-fertilizing with nitrogen, which can interfere with calcium uptake.
Early Blight Brown spots with distinctive concentric rings (bullseye pattern) appear on lower leaves first, then spread upward. Leaves yellow and drop, reducing plant vigor and fruit production. This fungal disease thrives in our warm, humid summer conditions and spreads through soil splash onto lower foliage. Remove affected leaves immediately (don't compost them), mulch around plants to prevent soil splash, and water at the base rather than overhead. Good air circulation through proper spacing and lower pruning helps significantly.
Hornworms Large sections of foliage disappear overnight, with dark droppings visible on leaves below. These large green caterpillars with white stripes can defoliate plants quickly during our peak summer growing season. Hand-picking works well since they don't bite, or apply Bt (Bacillus thuringiensis) spray for organic control. If you find hornworms covered with white cocoons, leave them alone—those are beneficial parasitic wasps that will kill the pest and produce more helpers.
Northeast Specific Challenges: Our moderate summer heat and moderate-to-humid conditions create perfect environments for fungal diseases, while our even rainfall can trigger cracking when it comes after dry spells. The key is consistent care and good air circulation to work with our climate rather than fight it.
Best Companions for Cherry Tomatoes
Plant these nearby for healthier Cherry Tomatoes and better harvests.
View Full Companion Planting Chart →


Companion Planting Details
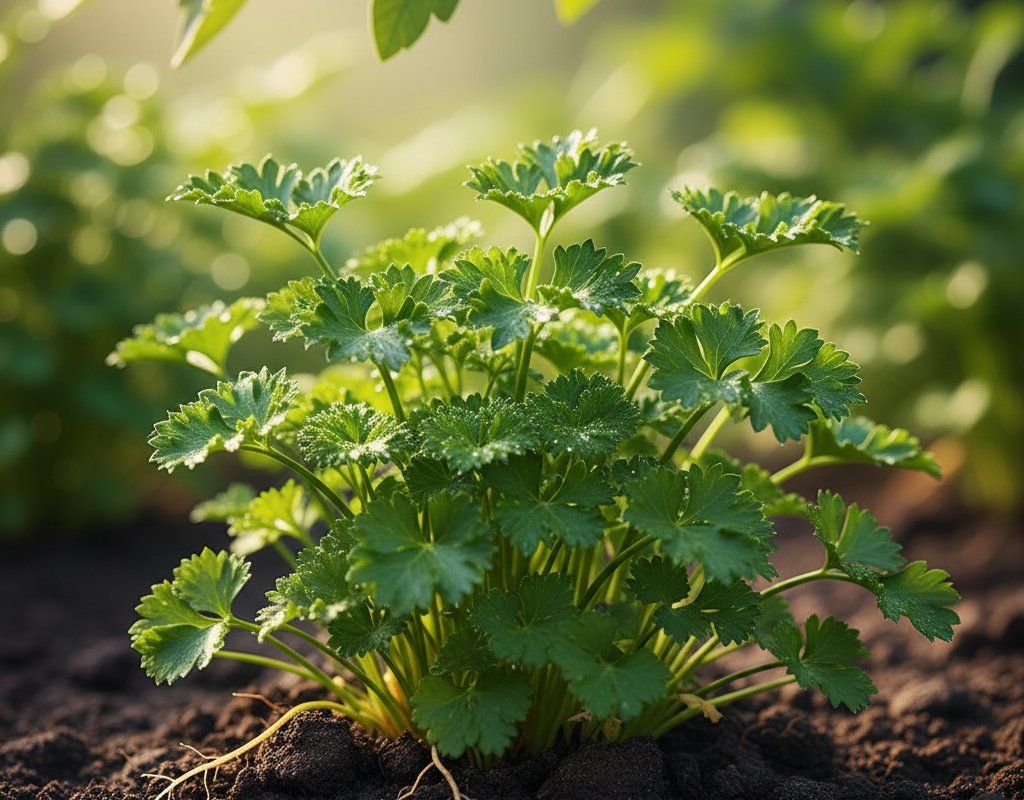
Plant basil alongside your cherry tomatoes—it may help repel pests and definitely provides fresh herbs for your harvest. Carrots work well as companions since their deep taproots don't compete with tomato roots, and they help break up our often rocky Northeast soil. Parsley and marigolds also make excellent neighbors, with marigolds potentially deterring nematodes and adding beneficial insects to your garden ecosystem.
Avoid planting brassicas like cabbage or broccoli near tomatoes, as they can inhibit each other's growth and compete for similar nutrients. Fennel should also be kept away since it can stunt tomato growth, and corn creates too much shade for sun-loving tomatoes while potentially harboring similar pests like hornworms.
🌸Best Flowers to Plant with Cherry Tomatoes
These flowers protect your Cherry Tomatoes from pests and attract pollinators for better harvests.
For Pest Control








Get a Reminder When It's Time to Plant
We'll email you when key planting windows open for your zone.