
Tomato in Zone 5B — Mid-Atlantic
Solanum lycopersicum · Your Complete 2026 Planting Guide
Planning Ahead — Great!
You’re ahead of the season. Here’s when to start.
Mark Your Calendar
How to Plant Tomato in Zone 5B — Mid-Atlantic
Here are all your options for getting tomato in the ground, from the easiest method to more advanced approaches.
Start Seeds Indoors
RecommendedMid March through early April
around March 23
Then transplant: Early May through early June
Start seeds 6-8 weeks before transplanting outdoors.
Tomatoes need 6-8 weeks head start indoors for best production.
Buy Starts
Works WellEarly May through early June
around May 4
Plant purchased starts after last frost (April 20).
Look for stocky plants with dark green leaves. Avoid leggy or already-flowering seedlings.
Direct Sow Seeds
ChallengingDirect sowing is not typical for Tomato.
Transplant Outdoors
Timing InfoEarly May through early June
around May 4
Wait until nighttime temperatures stay above 50°F.
You have a nice window — no need to rush.
Overview
Tomatoes are the crown jewel of Mid-Atlantic gardens, thriving in our humid summers and producing incredible harvests through our reliable 178-day growing season. Here in Zone 5B, you'll taste the difference between your own sun-warmed fruit and those grocery store imposters — plus you can grow varieties that never make it to store shelves. The satisfaction of slicing into a perfect beefsteak or popping cherry tomatoes straight from the vine makes every bit of effort worthwhile.
Our moderate spring weather and warm summer nights create ideal conditions for tomatoes, though you'll need to navigate some timing challenges with our variable spring temperatures and plan around our first frost in mid-October. Starting seeds indoors gives you the 6-8 week head start these heat-lovers need to make the most of our growing season.
Starting Seeds Indoors
Start your tomato seeds indoors from mid-March through early April, about 6 weeks before you plan to transplant outside. This timing works perfectly with our moderate spring character — you'll have sturdy seedlings ready when soil temperatures warm up consistently.
Set up seed trays with quality potting mix and keep them warm (70-75°F) for germination. A heat mat speeds things along, especially during those cool March nights. Bottom watering works best — set trays in shallow water and let the soil draw moisture up from below. This prevents damping-off disease that can wipe out seedlings.
Once your tomatoes sprout, they need strong light for 14-16 hours daily. A simple shop light with LED bulbs positioned 2-3 inches above the seedlings works well. As they grow, transplant to individual 4-inch pots when the first true leaves appear. Keep them indoors until you're past our last frost risk in mid-April.
Transplanting Outdoors
Wait until early May through early June to transplant your tomatoes outdoors, when nighttime temperatures consistently stay above 50°F. Our spring weather can be tricky — a warm spell followed by a cold snap can set plants back weeks, so patience pays off here.
Start hardening off your seedlings a full week before transplanting. Begin with 2-3 hours of morning sun, gradually increasing outdoor time each day. This prevents transplant shock that can stunt growth for the entire season.
Space your tomatoes 24-36 inches apart in full sun locations that get 6-8 hours of direct sunlight. Plant them deeper than they were in pots — bury 2/3 of the stem including some lower leaves. This encourages strong root development along the buried stem. Choose stocky, dark green plants over tall, leggy ones, and avoid any that are already flowering.
Watering Tomato in Zone 5B (Mid-Atlantic)
Consistent moisture is absolutely critical for tomatoes in our Mid-Atlantic climate. Aim for about 1-1.5 inches of water per week, including rainfall. Our humid summers mean you'll need less supplemental watering than gardeners in drier regions, but you still need to stay on top of it.
Use the finger test — stick your finger 2 inches into the soil near the plant base. If it's dry at that depth, it's time to water. Early in the season, this might be twice a week. During July and August heat waves, daily watering becomes necessary, especially for container-grown plants.
Always water at the base of plants, never overhead. Our humid conditions create perfect breeding grounds for fungal diseases when leaves stay wet. Inconsistent watering causes more problems than almost anything else — blossom end rot, fruit cracking, and poor fruit set all stem from irregular moisture levels.
Mulch heavily around your plants with 3-4 inches of shredded leaves or straw. This moderates soil temperature swings and maintains even moisture during our sometimes erratic summer rainfall patterns. In our clay soils, mulch also prevents that hard surface crust that sheds water instead of absorbing it.
Supporting Your Tomato
Install sturdy cages or stakes at planting time — waiting until plants need support often damages roots. Indeterminate tomatoes (which most varieties are) will grow 6+ feet tall and need robust support systems that can handle their eventual weight plus our summer storms.
Choose 5-6 foot tall cages with large openings for easy harvesting, or use 6-foot wooden stakes driven 18 inches deep. For staking, use soft ties like strips of old t-shirts rather than wire or string that can cut into stems as they thicken.
Train indeterminate varieties by gently weaving main stems through cage supports or tying to stakes every 12 inches of growth. Check ties weekly as stems expand — what starts loose can become constrictive surprisingly quickly during peak growing season.
Pruning & Maintaining Tomato
Remove suckers (shoots growing between main stem and branches) below the first flower cluster throughout the season. These lower suckers rarely produce good fruit and drain energy from more productive upper growth. Pinch them off when they're small and tender.
For larger fruit, you can also remove upper suckers, though this reduces overall yield. In our Zone 5B climate with the growing season ending in mid-October, focus your pruning on keeping plants manageable rather than maximizing fruit size.
As first frost approaches in early to mid-October, pinch off all new flower clusters since they won't have time to develop into ripe fruit. About 4-6 weeks before expected frost, top your plants by removing the growing tip. This directs energy into ripening existing fruit instead of producing new growth that won't mature.
🧪Fertilizing Tomato
Feeding Schedule
Organic Fertilizer Options
Harvest Time
Your first ripe tomatoes will be ready from mid-July through late August, about 70 days from transplanting. Look for fruits that have developed full color and give slightly when gently squeezed. A ripe tomato should twist easily off the vine with minimal pressure.
Harvest every 2-3 days during peak season to encourage continued production. Pick fruits when they first show full color — they'll continue improving in flavor for a day or two off the vine. This also prevents overripe fruit from attracting pests and reduces splitting from summer rainstorms.
Check your plants daily as September progresses. Nights start cooling into the 40s by late September, which slows ripening considerably. When forecast calls for temperatures near 35°F, harvest all fruits that have started changing color — even green tomatoes will ripen indoors.
For end-of-season ripening, store mature green tomatoes in single layers at room temperature. They'll continue ripening for weeks, extending your harvest well into November. Truly green fruits can be used for fried green tomatoes or pickles.
Common Problems in Zone 5B (Mid-Atlantic)
Blossom End Rot Dark, sunken, leathery patches on the bottom of fruits, especially early in the season. This isn't a disease — it's calcium deficiency caused by inconsistent watering that prevents calcium uptake. Our clay soils often have plenty of calcium, but irregular moisture makes it unavailable to plants. Water consistently and mulch heavily to maintain even soil moisture. Remove affected fruits and focus on steady watering going forward.
Early Blight Brown spots with target-like concentric rings appearing on lower leaves first, then spreading upward. Leaves yellow and drop, eventually affecting fruit quality. This fungal disease thrives in our humid Mid-Atlantic summers and spreads via soil splash. Remove affected leaves immediately (don't compost them), mulch to prevent soil splash, and water at plant bases rather than overhead. Space plants properly for air circulation.
Hornworms Large sections of leaves stripped overnight, often with dark droppings visible below. These 3-4 inch green caterpillars with white stripes can defoliate plants quickly but are actually easy to control. Hand-pick them in early morning or evening (they don't bite), or spray with Bt (Bacillus thuringiensis). If you find hornworms covered with white cocoons, leave them alone — those are beneficial parasitic wasps that will kill the hornworm and produce more pest controllers.
Fruit Cracking Splits in fruit skin, either in circles around the stem or radiating lines from the top. Heavy watering or rainfall after dry periods causes fruit to absorb water faster than skin can expand. Some varieties are more prone than others. Prevent with consistent watering and mulching to avoid wet-dry cycles. Harvest promptly when ripe and consider crack-resistant varieties for future seasons.
Mid-Atlantic Specific Challenges: Our humid summers create ideal conditions for fungal diseases, so focus on air circulation and avoid overhead watering. Variable spring weather means patience with transplanting timing, and our clay soils require good drainage amendments and consistent moisture management to prevent both root problems and nutrient uptake issues.
Best Companions for Tomato
Plant these nearby for healthier Tomato and better harvests.
View Full Companion Planting Chart →


Companion Planting Details
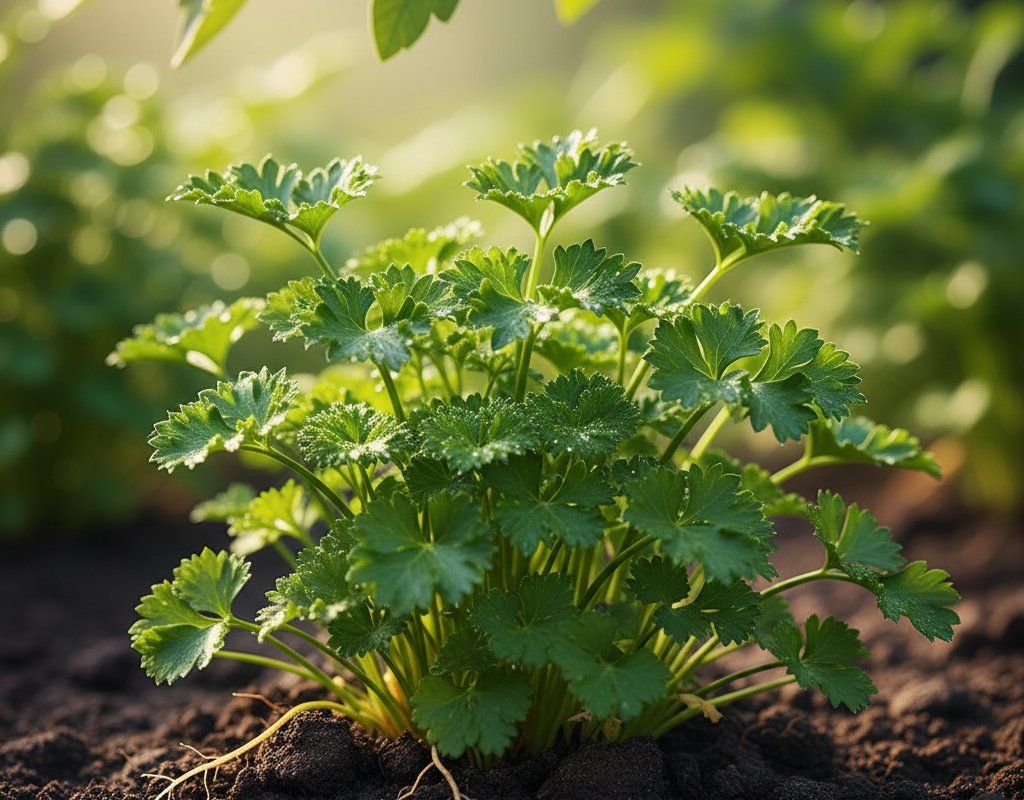
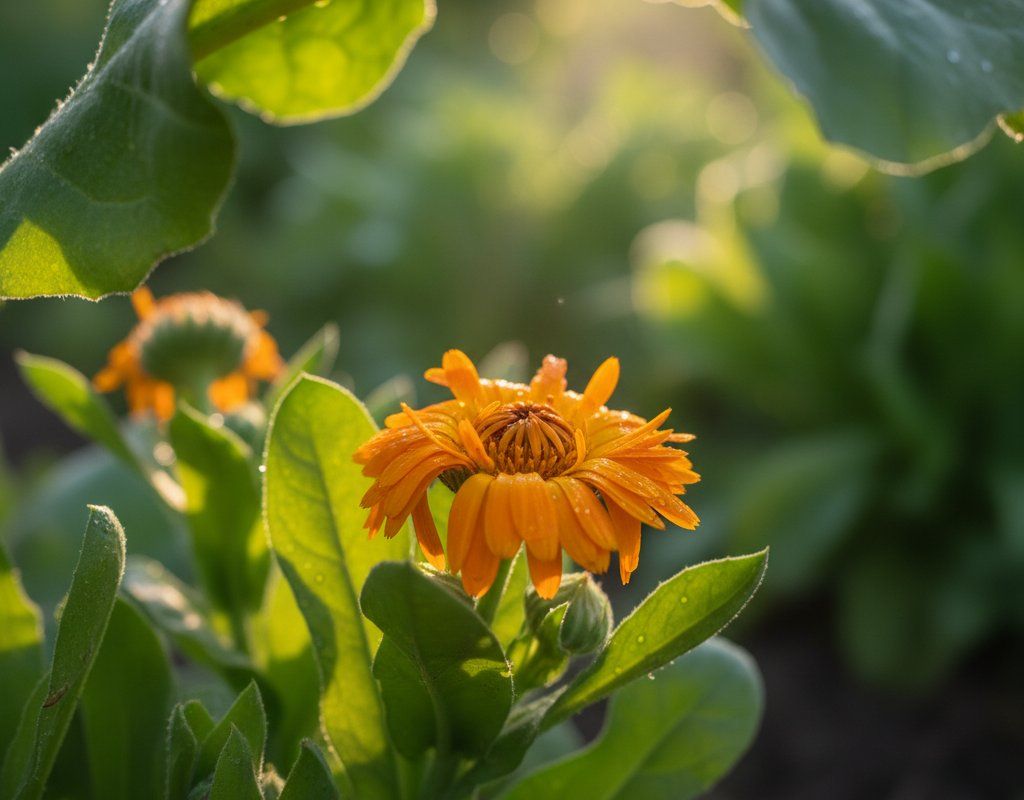
Plant basil near your tomatoes — it actually improves tomato flavor while deterring aphids and whiteflies that thrive in our humid conditions. Carrots make excellent neighbors since their deep taproots break up our often-compacted clay soil, while parsley attracts beneficial insects that prey on tomato pests. Marigolds planted throughout the tomato patch help repel nematodes and add bright color.
Avoid planting brassicas (broccoli, cabbage, kale) near tomatoes as they can stunt each other's growth and compete for similar nutrients. Keep fennel away from your tomato patch — it produces compounds that inhibit tomato growth. Corn isn't a good neighbor either, as both crops attract similar pests like hornworms, creating concentrated pest problems that are harder to manage.
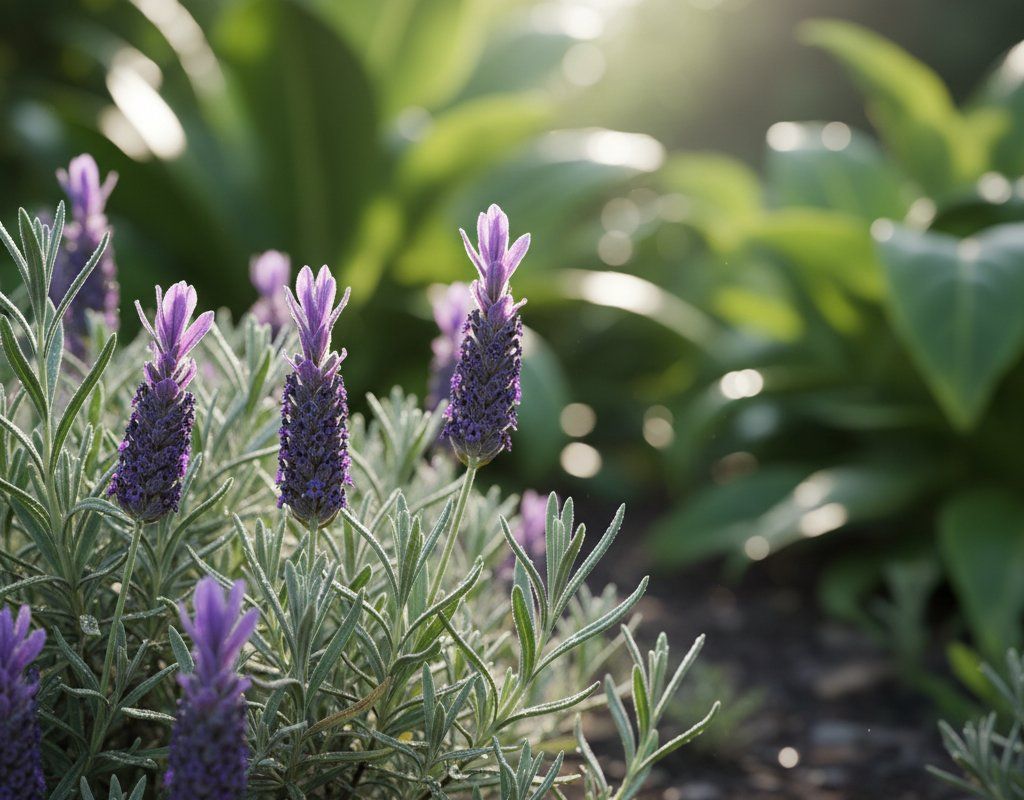
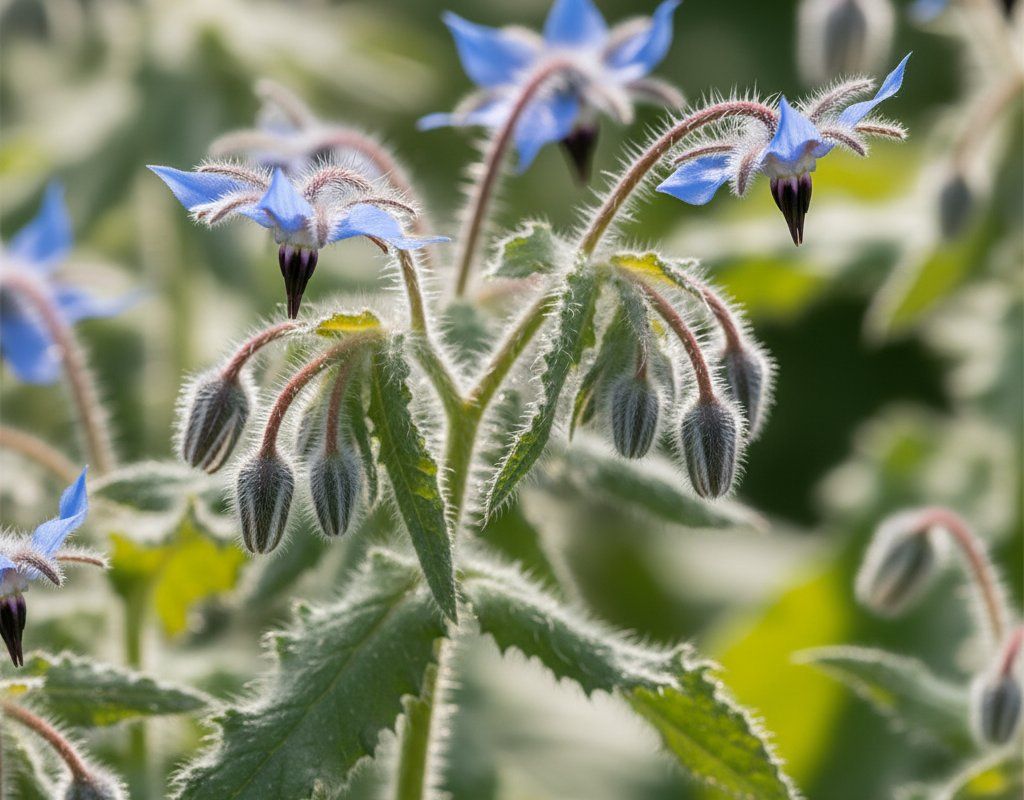
🌸Best Flowers to Plant with Tomato
These flowers protect your Tomato from pests and attract pollinators for better harvests.
For Pest Control


Get a Reminder When It's Time to Plant
We'll email you when key planting windows open for your zone.