
Tomato in Zone 9B — Southern California
Solanum lycopersicum · Your Complete 2026 Planting Guide
Time to Buy Starts!
Seed starting window passed, but starts are available now.
Buy Starts Now
Head to your local nursery, Home Depot, or farmers market for transplants.
- Look for stocky plants with dark green leaves
- Avoid leggy seedlings or plants already flowering
- Check that roots aren't circling the pot (rootbound)
How to Plant Tomato in Zone 9B — Southern California
Here are all your options for getting tomato in the ground, from the easiest method to more advanced approaches.
Start Seeds Indoors
RecommendedLate December through mid January
around December 28
Then transplant: Early February through early March
Start seeds 6-8 weeks before transplanting outdoors.
Tomatoes need 6-8 weeks head start indoors for best production.
Buy Starts
Works WellEarly February through early March
around February 8
Plant purchased starts after last frost (January 25).
Look for stocky plants with dark green leaves. Avoid leggy or already-flowering seedlings.
Direct Sow Seeds
ChallengingDirect sowing is not typical for Tomato.
Transplant Outdoors
Timing InfoEarly February through early March
around February 8
Wait until nighttime temperatures stay above 50°F.
You have a nice window — no need to rush.
Overview
Tomatoes are the crown jewel of any Southern California garden, offering unmatched flavor and versatility that puts grocery store varieties to shame. Our zone 9B climate provides ideal conditions for these heat-loving plants — our long, warm summers and mild winters create perfect growing conditions for both cherry tomatoes and full-sized slicers. With consistent sunshine and temperatures that rarely dip below freezing, you can grow varieties that would struggle in colder regions.
While our hot inland summers and occasional water restrictions present challenges, proper timing turns these obstacles into advantages. Starting early takes advantage of our very-early spring character, giving plants time to establish before the intense summer heat arrives. With a 334-day growing season, you have flexibility in timing and can even squeeze in succession plantings for continuous harvests well into fall.
Starting Seeds Indoors
Start your tomato seeds indoors from late December through mid-January, about 6 weeks before your planned transplant date. This timing gives seedlings a crucial head start before our very-early spring arrives. Use seed trays filled with quality seed-starting mix, maintaining soil temperature around 70-75°F for optimal germination.
Set up grow lights 4-6 inches above seedlings, running them 12-14 hours daily. Bottom watering works best — place seed trays in shallow pans and add water to the pan rather than watering from above. This prevents damping-off disease and keeps seedlings healthier.
Your seedlings will need 6-8 weeks indoors to develop strong root systems before facing outdoor conditions. Look for true leaves to emerge after the initial seed leaves, then begin weekly diluted fertilizer. This indoor head start is essential in Southern California — direct-sown tomatoes struggle with our temperature swings and often fail to establish properly.
Transplanting Outdoors
Transplant your seedlings outdoors from early February through early March, after they've been properly hardened off. Spend one week gradually exposing plants to outdoor conditions — start with 2-3 hours of morning sun, then increase daily until they can handle full outdoor conditions. Our February weather can still bring unexpected cold snaps, so watch forecasts carefully.
Space plants 24-36 inches apart to ensure good air circulation, especially important during our low-humidity conditions. Choose a location with full sun (6-8 hours minimum) and protection from Santa Ana winds if possible. Plant slightly deeper than the seedlings grew in their containers — burying part of the stem encourages stronger root development.
Select stocky, dark green seedlings with thick stems rather than tall, leggy plants. Avoid any seedlings already flowering, as transplant shock often causes these early blooms to drop anyway. Water thoroughly after planting and provide temporary shade cloth for the first few days if temperatures spike unexpectedly.
Watering Tomato in Zone 9B (Southern California)
Consistent moisture is absolutely critical for tomatoes in Southern California — our hot, dry conditions make proper watering the difference between success and failure. Water deeply 2-3 times per week rather than daily shallow watering, applying about 1-2 inches total per week. Check soil moisture by inserting your finger 2 inches deep — if it feels dry, it's time to water.
Always water at the base of plants rather than overhead to prevent disease in our low-to-moderate humidity conditions. Inconsistent watering causes devastating problems like blossom end rot, fruit cracking, and blossom drop. During our hottest summer months when temperatures hit 92°F or higher, you may need to water every other day, especially for container-grown plants.
Install drip irrigation or soaker hoses if possible — these deliver water efficiently while conserving this precious resource during drought restrictions. Mulch heavily around plants with 3-4 inches of organic material to retain moisture and keep soil temperatures stable. Wood chips, straw, or shredded leaves work well and break down slowly.
Watch for signs of water stress: wilting during midday heat (normal), wilting in morning or evening (needs water), yellowing lower leaves (inconsistent watering), or small, hard fruit (drought stress). Overwatering shows as yellowing leaves, mushy stems, and poor fruit development.
Supporting Your Tomato
Install 5-6 foot tall tomato cages or sturdy stakes at planting time — waiting until plants are larger damages roots and makes installation difficult. Indeterminate varieties like most heirloom tomatoes grow continuously throughout our long season, requiring substantial support to handle the weight of developing fruit. Choose heavy-duty cages made from concrete reinforcing wire or thick wooden stakes driven 18 inches deep.
For staking, use soft ties like cloth strips or tomato tape to secure stems without cutting into the plant tissue. Tie stems loosely to allow for growth and movement during Santa Ana winds. Check and adjust ties every 2-3 weeks as plants grow rapidly during our warm season.
Cages work better in windy areas common throughout Southern California, providing 360-degree support rather than single-point attachment. Position cages slightly off-center from the main stem to account for natural plant lean and give developing branches room to spread.
Pruning & Maintaining Tomato
Remove suckers (shoots growing between main stem and branches) below the first flower cluster throughout the growing season. These lower suckers drain energy from fruit production and create dense foliage that restricts air circulation. Pinch them off when they're small and soft, or use clean pruners for larger shoots.
Upper suckers can be left for bushier plants or removed for larger fruit — your choice based on garden space and preference. Also remove yellowing lower leaves that touch the soil to prevent disease spread. During our long growing season, this ongoing maintenance keeps plants productive and healthy.
As first frost approaches in late December, top plants by pinching growing tips. This redirects energy into ripening existing fruit rather than developing new flowers that won't have time to mature. Continue harvesting green tomatoes for indoor ripening as needed.
🧪Fertilizing Tomato
Feeding Schedule
Organic Fertilizer Options
Harvest Time
Expect your first ripe tomatoes from mid-April through early June, approximately 70 days from transplanting. Harvest when fruits show full color with slight give when gently squeezed — they should twist off the vine easily without pulling. Picking at this stage ensures best flavor while preventing overripening and cracking.
Check plants every 2-3 days during peak season, as ripe fruit develops quickly in our warm climate. Harvest in early morning when possible, bringing fruits indoors during hot afternoon temperatures. Regular picking encourages continued production throughout our extended growing season.
Green tomatoes can ripen indoors if necessary — place them in a paper bag with a banana or apple to speed the process. As December frost approaches, harvest all remaining fruit regardless of size. Large green tomatoes ripen well indoors, while small ones make excellent pickles or fried green tomatoes.
Continue harvesting until plants are killed by frost, typically in late December. With proper care, healthy plants often produce fruit for 8-9 months in our mild climate, making tomatoes one of the most productive crops for Southern California gardens.
Common Problems in Zone 9B (Southern California)
Blossom End Rot Dark, sunken brown or black patches appear on the bottom (blossom end) of developing fruit, often affecting the first tomatoes of the season. This leathery rot makes fruit inedible and frustrating for new gardeners.
Inconsistent watering causes this calcium deficiency — not lack of calcium in soil, but the plant's inability to uptake calcium during drought/flood cycles common with irregular irrigation. Our hot, dry climate makes consistent moisture especially challenging but absolutely essential. Water deeply and regularly, mulch heavily, and avoid over-fertilizing with nitrogen which interferes with calcium uptake. Remove affected fruit immediately.
Early Blight Brown spots with distinctive concentric rings (bullseye pattern) appear on lower leaves first, gradually spreading upward. Affected leaves yellow and drop, weakening the plant and reducing fruit production.
This fungal disease thrives in our warm conditions and spreads via soil splash during watering. Remove affected leaves immediately and destroy them (don't compost). Mulch around plants to prevent soil splash, water at the base only, and improve air circulation through proper spacing. Copper fungicide helps slow spread but won't cure existing infections.
Hornworms Large sections of leaves disappear overnight, leaving behind dark droppings and occasionally massive green caterpillars with white diagonal stripes. These 3-4 inch caterpillars can defoliate entire plants quickly.
Hand-picking works well — they don't bite and are easy to spot once you know what to look for. Bt (Bacillus thuringiensis) spray provides organic control and won't harm beneficial insects. If you find hornworms covered with small white cocoons, leave them alone — these are parasitic wasp eggs that will kill the caterpillar and produce more beneficial insects.
Cracking Fruit develops splits either in concentric circles around the stem or radial lines from stem to blossom end. Cracked tomatoes are prone to rot and must be used immediately.
Heavy watering after dry periods causes fruit to absorb water faster than the skin can expand. Our irregular rainfall patterns and tendency toward drought stress make this especially common. Maintain consistent soil moisture through regular watering and heavy mulching. Harvest promptly when ripe, and choose crack-resistant varieties for future plantings.
Southern California Specific Challenges Our hot, dry summers with low-to-moderate humidity create perfect conditions for spider mites and whiteflies, while Santa Ana winds can damage plants and spread diseases. Water restrictions during drought years make consistent irrigation challenging, yet tomatoes absolutely require regular moisture. Consider drip irrigation systems and drought-tolerant varieties suited for our unique Mediterranean climate.
Best Companions for Tomato
Plant these nearby for healthier Tomato and better harvests.
View Full Companion Planting Chart →


Companion Planting Details
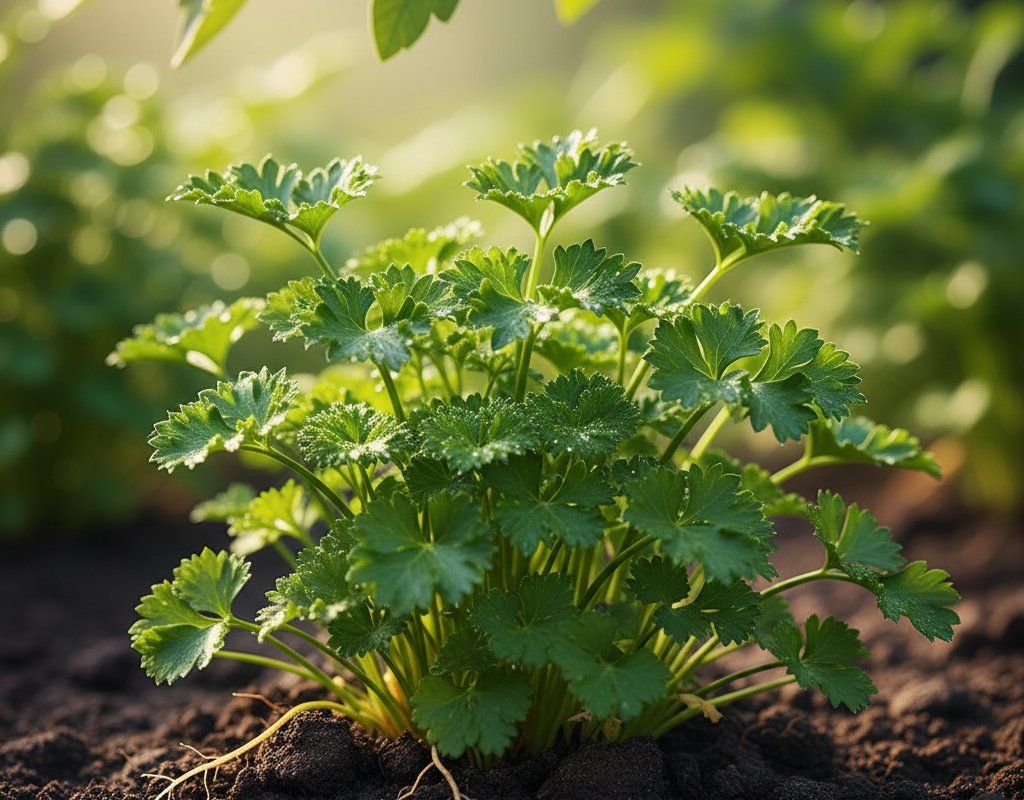
Plant basil alongside tomatoes — it repels aphids and hornworms while improving fruit flavor according to many gardeners. Carrots work well as they don't compete for nutrients and their deep roots actually help break up soil for tomato root growth. Parsley attracts beneficial insects that prey on tomato pests, while marigolds deter nematodes and whiteflies with their strong scent.
Avoid planting brassicas like cabbage or broccoli near tomatoes, as they compete for similar nutrients and can stunt tomato growth. Fennel should be kept far from the tomato patch — it inhibits growth in most plants through allelopathic compounds. Corn attracts the same hornworms that devastate tomatoes, creating a pest magnet that benefits neither crop. In our intense summer heat, focus companion plants that provide slight shade or wind protection rather than competing for precious water resources.
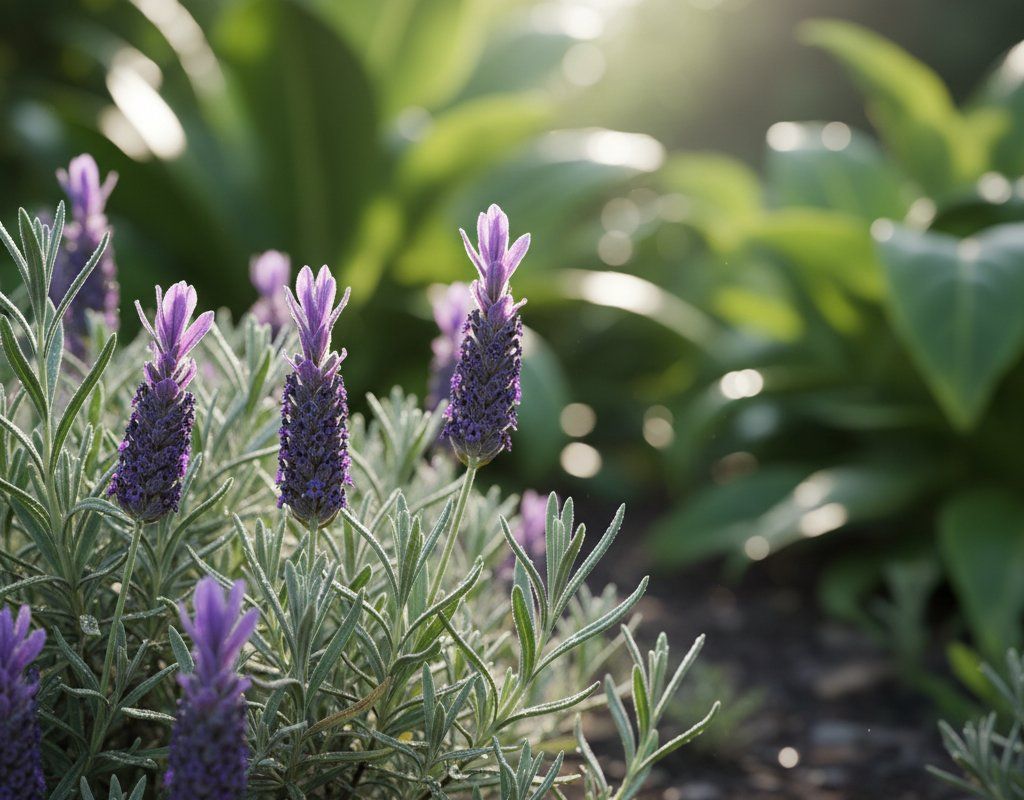
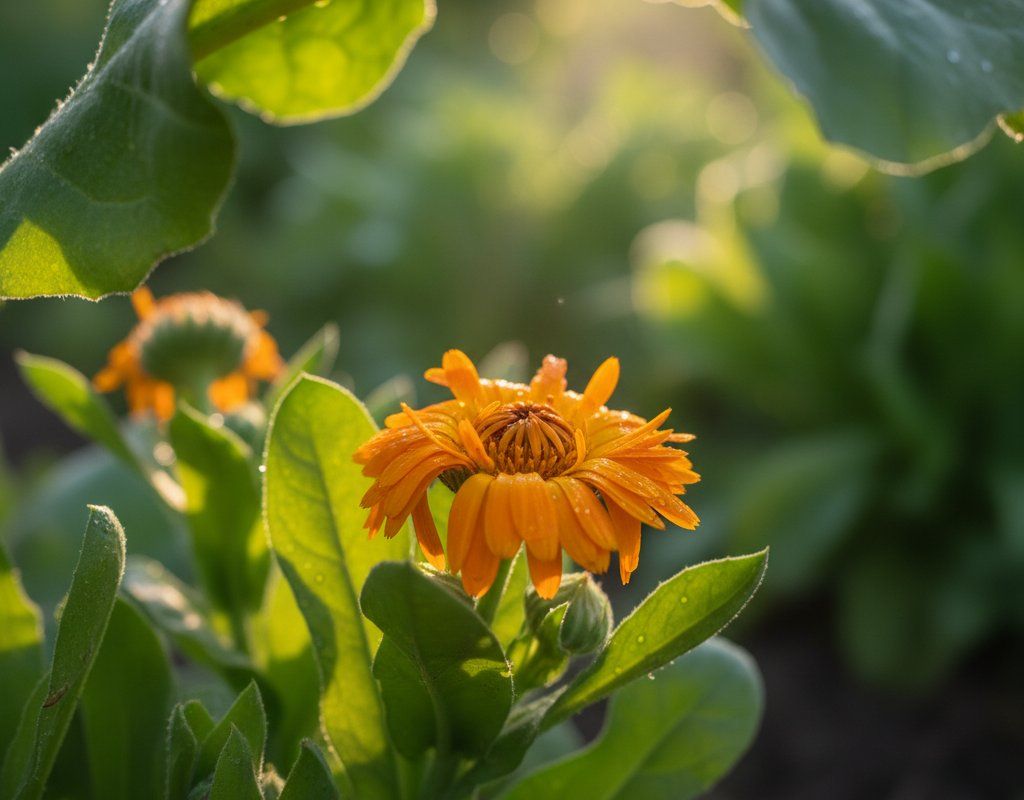
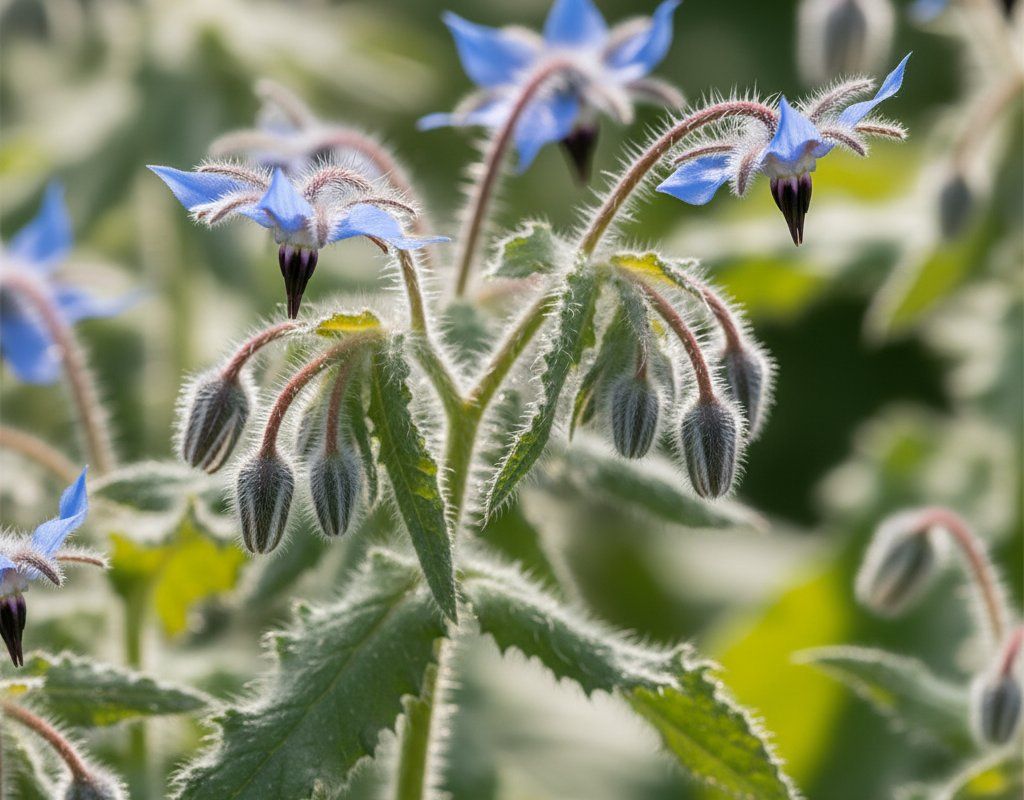
🌸Best Flowers to Plant with Tomato
These flowers protect your Tomato from pests and attract pollinators for better harvests.
For Pest Control


Get a Reminder When It's Time to Plant
We'll email you when key planting windows open for your zone.