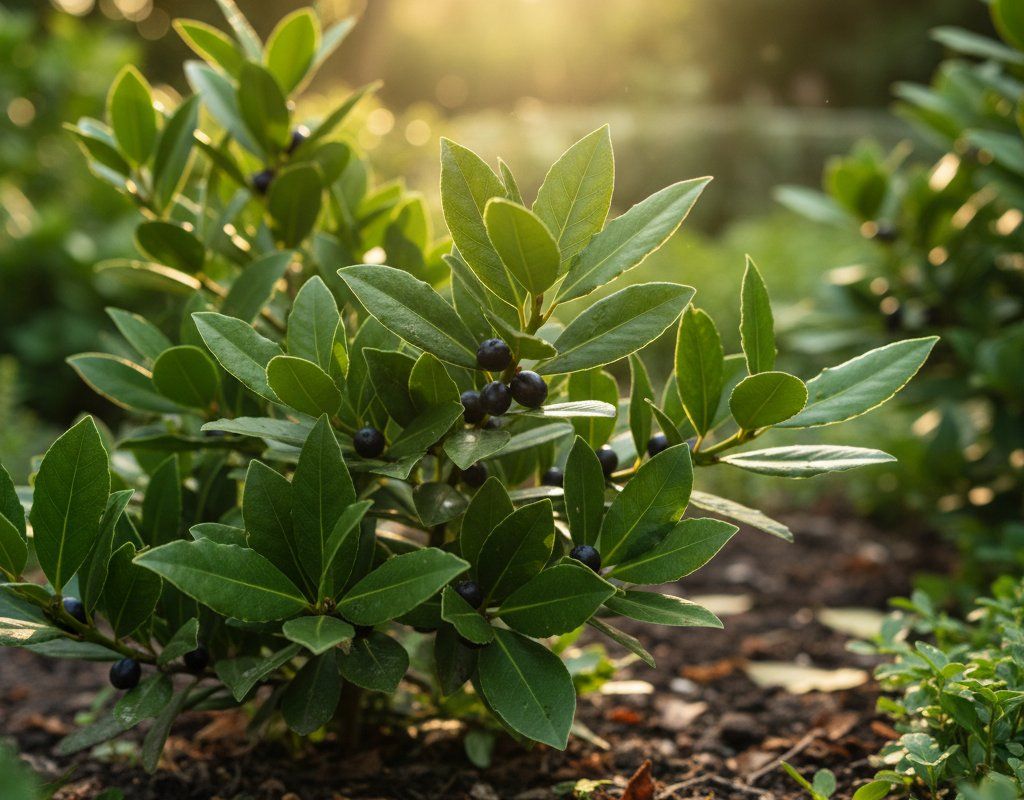
Bay Laurel in Zone 5A — Northeast
Laurus nobilis · Your Complete 2026 Planting Guide
Too Late for Bay Laurel
Not enough growing season left (need 379 days, only 211 remain)
📊 See the math
How to Plant Bay Laurel in Zone 5A — Northeast
Here are all your options for getting bay laurel in the ground, from the easiest method to more advanced approaches.
Buy Starts
RecommendedMid to late May
around May 15
Plant purchased starts after last frost (May 1).
Extremely slow from seed (years to reach usable size). Buy established plants.
Start Seeds Indoors
Works WellMid February through early March
around February 20
Then transplant: Mid to late May
Start seeds 12-14 weeks before transplanting outdoors.
Direct Sow Seeds
ChallengingDirect sowing is not typical for Bay Laurel.
Transplant Outdoors
Timing InfoMid to late May
around May 15
Can tolerate light frost, but wait for soil to be workable.
Timing is critical in your zone — don’t delay!
Overview
Bay Laurel is worth growing in the Northeast for its distinctive flavor that elevates soups, stews, and sauces. Fresh bay leaves are far superior to dried, store-bought ones, and the satisfaction of harvesting your own herbs, especially in our short growing season, is hard to beat. Plus, a bay laurel plant makes a beautiful, fragrant addition to your garden or patio.
Our short growing season and occasional late spring frosts can be a challenge, but with proper timing, you can successfully grow Bay Laurel here. The 153-day growing season means starting early indoors is key, and protecting your plant from early fall frosts will extend your harvest.
Starting Seeds Indoors
Starting Bay Laurel from seed indoors is possible, but be warned: it's a slow process. If you want a head start, you can begin in mid-February through early March, about 12 weeks before you plan to transplant outdoors. Honestly, you're better off buying an established plant from a reputable nursery.
If you're determined to start from seed, sow them in seed trays filled with a good seed-starting mix. Keep the trays warm (around 70°F) and provide plenty of light, either from a sunny window or grow lights. Bottom watering is especially helpful at this stage to prevent damping off. Remember, spring in the Northeast often has a late start, so be patient and don't rush the process.
Transplanting Outdoors
Transplant your Bay Laurel outdoors in mid to late May, once the danger of frost has passed. Before transplanting, harden off your seedlings by gradually exposing them to outdoor conditions for about a week. This helps them adjust to the sun and wind.
Plant your Bay Laurel 48-96 inches apart in a location that receives full sun to partial shade. Even in late May, we can still get cool snaps in the Northeast, so keep an eye on the forecast and be prepared to cover your plant if necessary. Given how slow they are to mature from seed, starting with a larger, established plant from a nursery is definitely the way to go.
Watering Bay Laurel in Zone 5A (Northeast)
Bay Laurel needs moderate watering once established and is relatively drought-tolerant, which is good news since summers here in the Northeast can be unpredictable. Container plants, however, will dry out faster and need more frequent watering than those in the ground.
During the spring, when rainfall is usually consistent, check the soil moisture with the "finger test" – stick your finger about 2 inches deep into the soil. If it feels dry, it's time to water. Aim for about an inch of water per week, either from rainfall or supplemental watering. Water at the base of the plant rather than overhead to minimize humidity around the leaves, which can lead to fungal problems.
In the summer, with typical highs around 82°F and moderate-to-humid conditions, monitor the soil moisture closely. Yellowing leaves can indicate overwatering, while wilting leaves signal underwatering. A layer of mulch around the base of the plant can help retain moisture and regulate soil temperature, which is especially helpful during the occasional heat waves we get.
Pruning & Maintaining Bay Laurel
Bay Laurel requires minimal pruning, making it an easy-to-maintain herb in your Northeast garden. The main goal is to maintain its shape and size, as it can grow into a small tree if left unchecked.
Prune your Bay Laurel in the spring, after the last frost. Remove any dead, damaged, or crossing branches. You can also lightly shape the plant to encourage bushier growth. Don't be afraid to prune it fairly heavily; Bay Laurel tolerates pruning well. As the first frost approaches in early October, give your plant a final trim to remove any new growth that might be susceptible to frost damage.
🧪Fertilizing Bay Laurel
Feeding Schedule
Organic Fertilizer Options
Harvest Time
You can start harvesting Bay Laurel leaves as soon as the plant is established, typically from mid May through mid October. While they won't be fully mature in the first year, you can still use a few leaves sparingly. Look for mature, dark green leaves, as these have the strongest flavor.
To harvest, simply snip off individual leaves with scissors or pruning shears. Avoid pulling the leaves off, as this can damage the plant. Regular harvesting encourages continued production throughout the season. As the first frost approaches in early October, harvest as many leaves as you can and dry them for winter use.
Common Problems in Zone 5A (Northeast)
Here are some common problems you might encounter with Bay Laurel in Zone 5A, Northeast:
Scale Insects
- What it looks like: Small, brown, shell-like bumps on the leaves and stems. Leaves may turn yellow and drop prematurely.
- What causes it: Scale insects suck the sap from the plant, weakening it. They thrive in warm, humid conditions, which we often get in the Northeast during the summer.
- How to fix/prevent it: Inspect your plant regularly. For minor infestations, wipe the scales off with a cotton swab dipped in rubbing alcohol. For heavier infestations, use horticultural oil, making sure to coat all parts of the plant.
Cold Damage
- What it looks like: Brown or black leaves, especially after a cold snap. In severe cases, the entire plant may die back.
- What causes it: Bay Laurel is only semi-hardy and can be damaged by temperatures below freezing. Our short growing season and early fall frosts in the Northeast make it vulnerable.
- How to fix/prevent it: Grow Bay Laurel in a container so you can bring it indoors during the winter. If planted in the ground, protect it with burlap or a frost blanket during cold snaps.
Slow Growth
- What it looks like: The plant remains small and doesn't seem to grow much from year to year.
- What causes it: Bay Laurel is naturally slow-growing, and our short growing season can further limit its growth. Rocky New England soil can also hinder root development.
- How to fix/prevent it: Amend your soil with plenty of compost to improve drainage and fertility. Ensure the plant receives adequate sunlight and water. Be patient – it takes time for Bay Laurel to mature.
Northeast Specific Challenges: Our moderate heat, moderate-to-humid humidity, and even rainfall generally benefit Bay Laurel, but they can also create conditions favorable for pests and diseases. Regular monitoring and preventative measures are key to keeping your plant healthy.
Best Companions for Bay Laurel
Plant these nearby for healthier Bay Laurel and better harvests.
View Full Companion Planting Chart →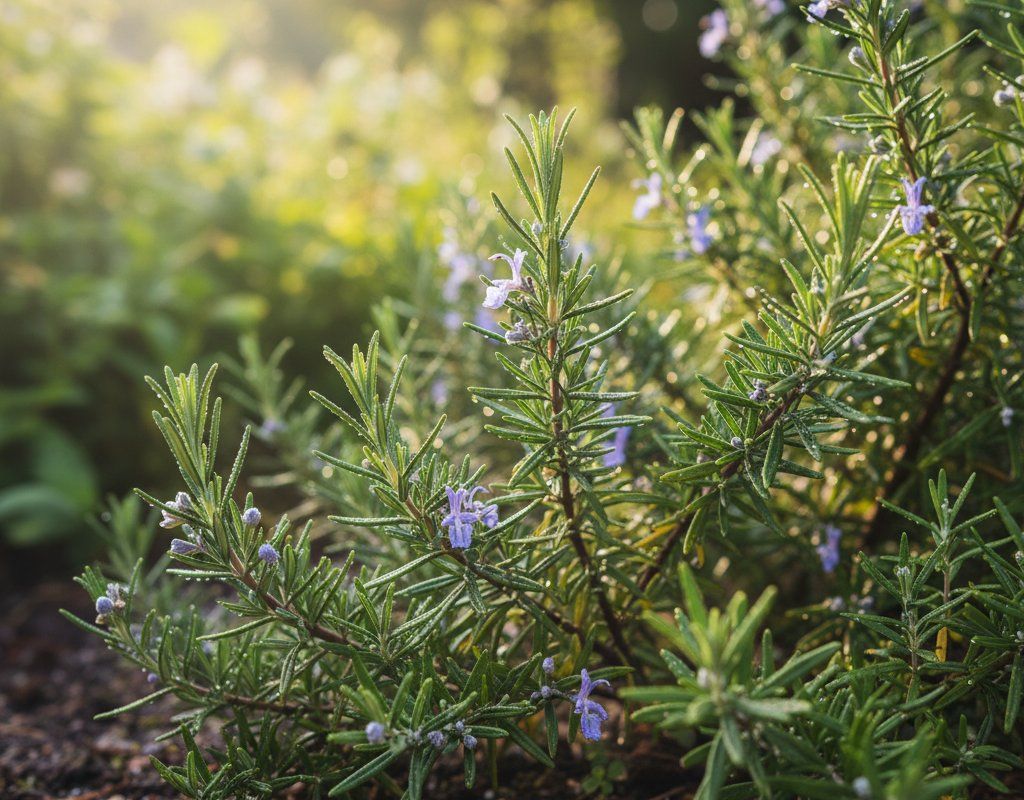
Companion Planting Details
Good companions for Bay Laurel in the Northeast include:
- Green Beans: Beans fix nitrogen in the soil, which can benefit Bay Laurel's growth, especially in our often-rocky soil.
- Rosemary: Rosemary is drought-tolerant and prefers similar growing conditions to Bay Laurel, making them a good match. Plus, rosemary can help deter some pests.
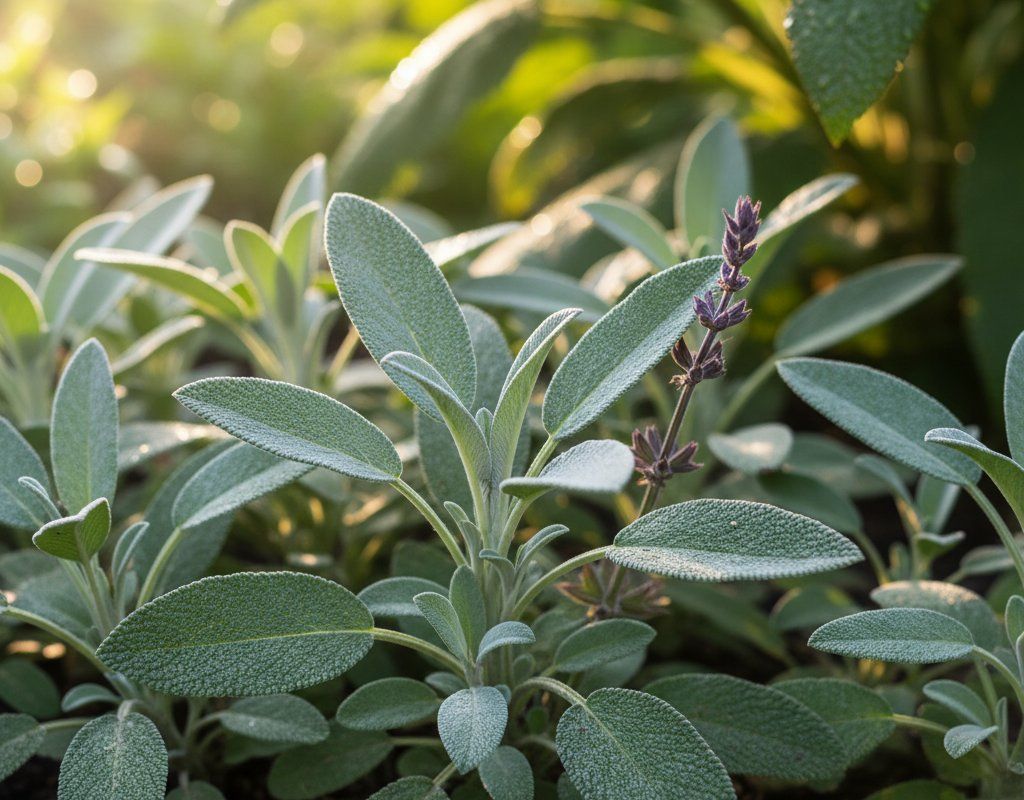
- Sage: Sage also enjoys similar growing conditions and can help repel insects that might bother Bay Laurel.
Avoid planting Bay Laurel near plants that require very different watering needs or soil conditions.
🌸Best Flowers to Plant with Bay Laurel
These flowers protect your Bay Laurel from pests and attract pollinators for better harvests.
For Pest Control
For Pollinators

Get a Reminder When It's Time to Plant
We'll email you when key planting windows open for your zone.