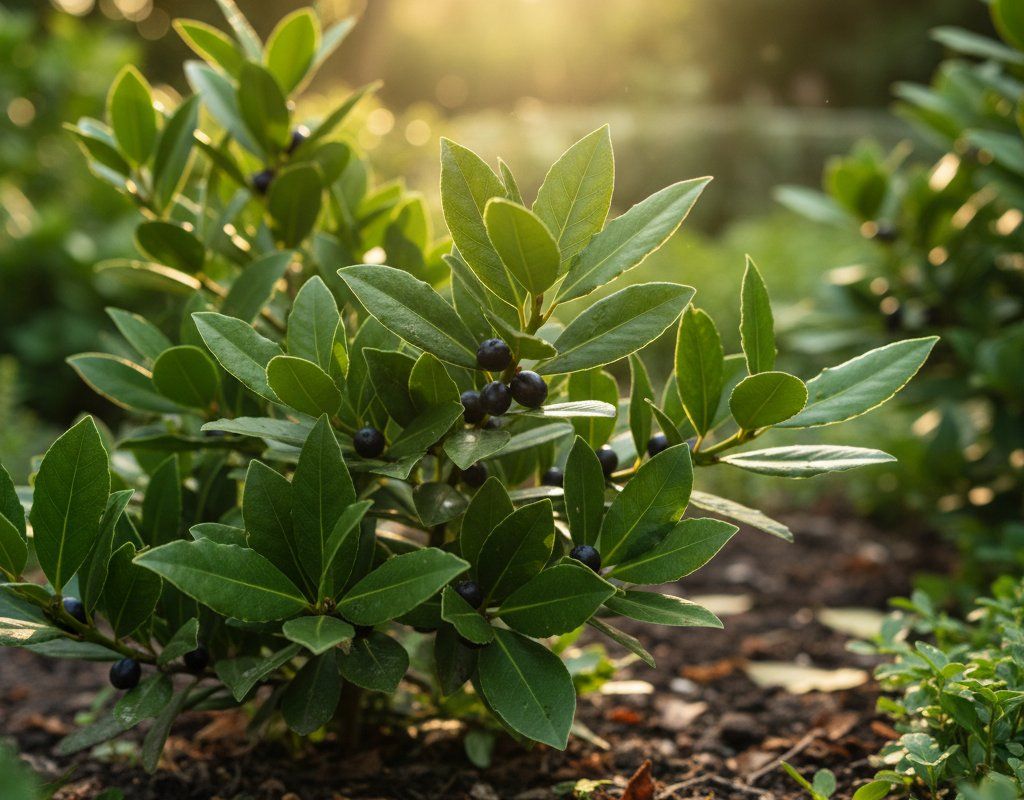
Bay Laurel in Zone 7B — Pacific Northwest
Laurus nobilis · Your Complete 2026 Planting Guide
Too Late for Bay Laurel
Not enough growing season left (need 379 days, only 235 remain)
📊 See the math
How to Plant Bay Laurel in Zone 7B — Pacific Northwest
Here are all your options for getting bay laurel in the ground, from the easiest method to more advanced approaches.
Buy Starts
RecommendedLate April through early May
around April 29
Plant purchased starts after last frost (April 15).
Extremely slow from seed (years to reach usable size). Buy established plants.
Start Seeds Indoors
Works WellLate January through mid February
around February 4
Then transplant: Late April through early May
Start seeds 12-14 weeks before transplanting outdoors.
Direct Sow Seeds
ChallengingDirect sowing is not typical for Bay Laurel.
Transplant Outdoors
Timing InfoLate April through early May
around April 29
Can tolerate light frost, but wait for soil to be workable.
Timing is critical in your zone — don’t delay!
Overview
Bay Laurel, or bay leaf, is a fantastic addition to any Pacific Northwest garden. The aromatic leaves add incredible depth to soups, stews, and sauces, and there’s nothing quite like using fresh bay from your own yard. Plus, bay laurel is an attractive evergreen shrub, adding year-round interest to your garden.
While our mild summers and wet springs can present challenges like late blight and cool soil, Bay Laurel is still manageable in our region. With a long 193-day growing season, you have plenty of time to get your plant established and harvest flavorful leaves.
Starting Seeds Indoors
Starting Bay Laurel from seed indoors is possible, but it's notoriously slow, often taking years to reach a usable size. Unless you're extremely patient, it's usually better to purchase an established plant from a local nursery.
If you're set on starting from seed, begin in late January through mid-February, roughly 12 weeks before the typical transplanting window. Use seed trays with a well-draining seed-starting mix. Bottom watering will help prevent damping-off. Keep the trays in a warm location with plenty of light – a heat mat and grow lights can be especially helpful during our overcast spring days.
Transplanting Outdoors
Transplant your Bay Laurel outdoors in late April through early May, after the last expected frost. Before transplanting, harden off your seedlings by gradually exposing them to outdoor conditions for about a week. This helps them adjust to the temperature and sunlight, preventing transplant shock.
Choose a location with full sun to partial shade, spacing plants 48-96 inches apart. Be aware that we sometimes have unexpected temperature swings in spring, so protect young plants if a late frost is predicted. Given how slow they are to grow, consider purchasing a larger, more established plant that can handle the variable spring weather.
Watering Bay Laurel in Zone 7B (Pacific Northwest)
Established Bay Laurel plants are moderately drought-tolerant, making them well-suited to our dry summer months. However, young plants and those in containers will need more regular watering.
During our wet springs, you likely won't need to water at all, unless your plant is in a container. Once the dry summer arrives, check the soil moisture regularly. Use the "finger test" – if the top 2 inches of soil feel dry, it's time to water. Give your plant a good soak, aiming for about 1 inch of water per week. Water at the base of the plant to avoid wetting the leaves, as this can encourage fungal diseases in our sometimes humid conditions.
Signs of underwatering include wilting or yellowing leaves, while overwatering can lead to root rot. A layer of mulch around the base of the plant can help retain moisture and suppress weeds, which is especially useful in our dry summers.
Pruning & Maintaining Bay Laurel
Bay Laurel requires minimal pruning. Focus on maintaining the desired shape and size of the plant. Pruning can be done anytime, but it's best to shape your plant in the spring as new growth emerges.
Remove any dead, damaged, or crossing branches. You can heavily prune a Bay Laurel without harming it, so don't be afraid to shape it to your liking. Before our first frost in late October, give your plant one last light trim to remove any wayward shoots.
🧪Fertilizing Bay Laurel
Feeding Schedule
Organic Fertilizer Options
Harvest Time
You can begin harvesting Bay Laurel leaves as soon as the plant is established, typically from late April through early November. Mature, dark green leaves have the strongest flavor. Harvest individual leaves as needed, snipping them off with scissors or pruning shears.
To encourage continued production, avoid harvesting more than one-third of the plant's leaves at any one time. After harvesting, you can use the leaves fresh or dry them for later use. As the first frost approaches in late October, harvest any remaining mature leaves for drying.
Common Problems in Zone 7B (Pacific Northwest)
Here are some common problems you might encounter growing Bay Laurel in the Pacific Northwest:
Scale Insects
- What it looks like: Small, brown, shell-like bumps on the leaves and stems.
- What causes it: Scale insects suck sap from the plant, weakening it. They thrive in warm, sheltered locations.
- How to fix/prevent it: Inspect your plant regularly. Scrape off small infestations by hand. For larger infestations, use horticultural oil, applying it in early spring before new growth emerges.
Cold Damage Below Zone 8
- What it looks like: Brown or black leaves, especially on the tips of branches.
- What causes it: Bay Laurel is only semi-hardy and can be damaged by temperatures below zone 8, which we sometimes get in the PNW.
- How to fix/prevent it: Plant in a sheltered location, especially if you're in a colder microclimate. Wrap the plant with burlap or horticultural fleece during cold snaps. Container plants can be moved indoors or to a protected location.
Slow Growth
- What it looks like: Very little new growth, even after a full growing season.
- What causes it: Bay Laurel is naturally a slow grower, especially in our cool spring soils.
- How to fix/prevent it: Ensure the plant is in well-draining soil and receives adequate sunlight. Amend the soil with compost before planting to improve fertility. Be patient – it can take several years for a Bay Laurel to reach a usable size.
Pacific Northwest Specific Challenges: Our mild summers and dry-summer humidity are generally favorable for Bay Laurel, but late blight can be a concern if plants are overcrowded or air circulation is poor. Ensure good airflow around your plant and avoid overhead watering to minimize this risk.
Best Companions for Bay Laurel
Plant these nearby for healthier Bay Laurel and better harvests.
View Full Companion Planting Chart →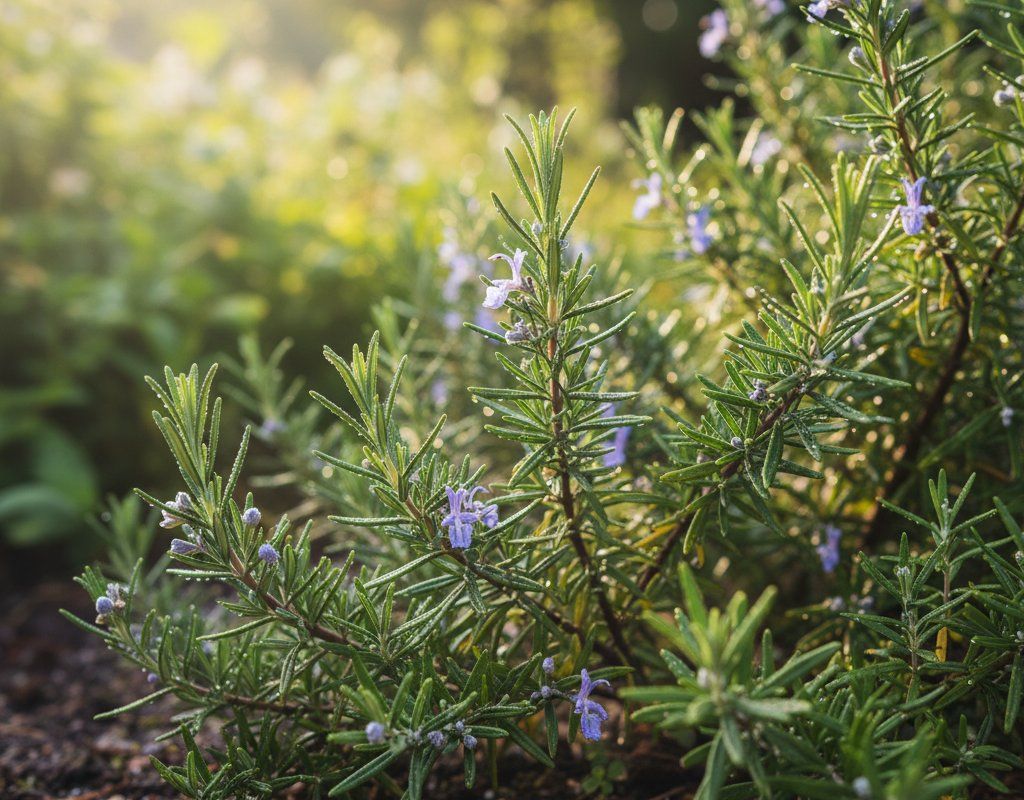
Companion Planting Details
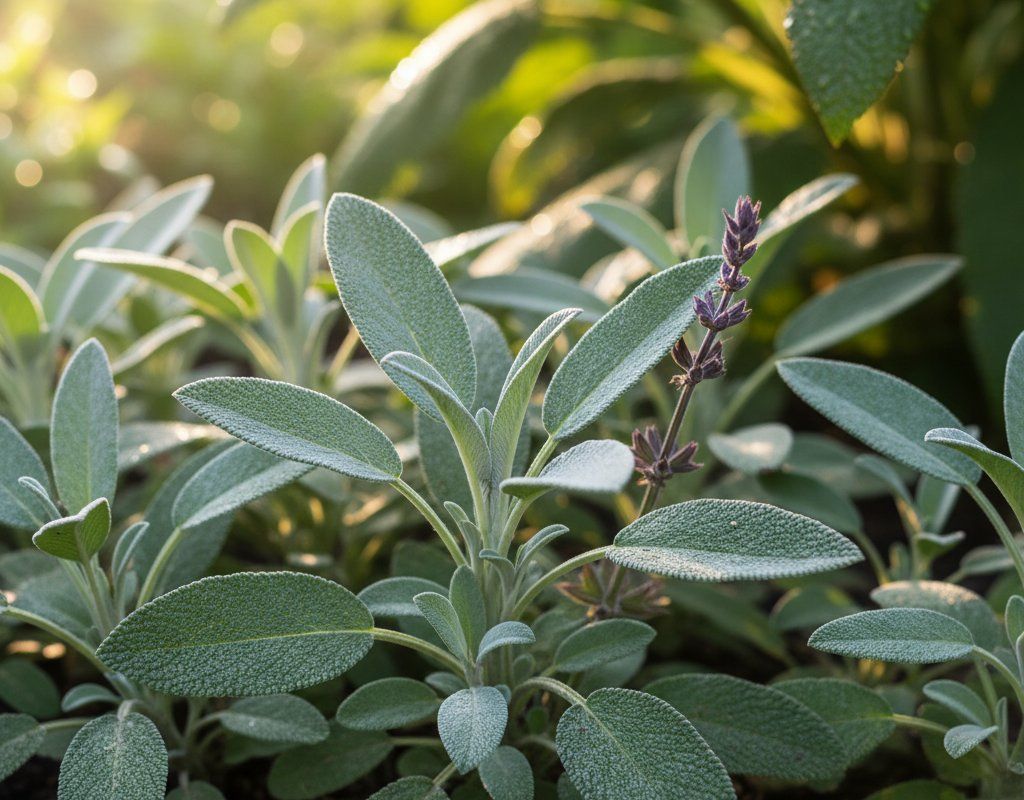
Bay Laurel benefits from companion planting. Green beans fix nitrogen in the soil, enriching it for the Bay Laurel. Rosemary and sage are excellent companions because their strong scents deter pests, protecting the Bay Laurel from potential infestations. Avoid planting Bay Laurel near plants that require very different soil conditions or watering schedules, as this can stress the Bay Laurel.
🌸Best Flowers to Plant with Bay Laurel
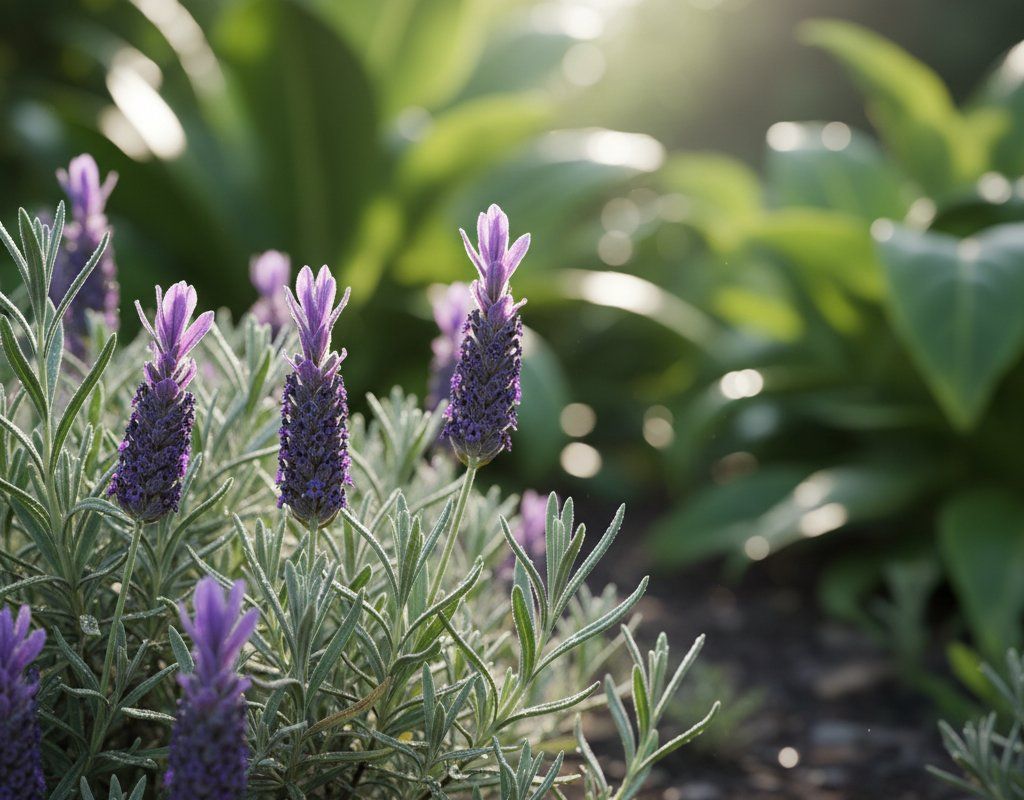
These flowers protect your Bay Laurel from pests and attract pollinators for better harvests.
For Pest Control
For Pollinators

Get a Reminder When It's Time to Plant
We'll email you when key planting windows open for your zone.