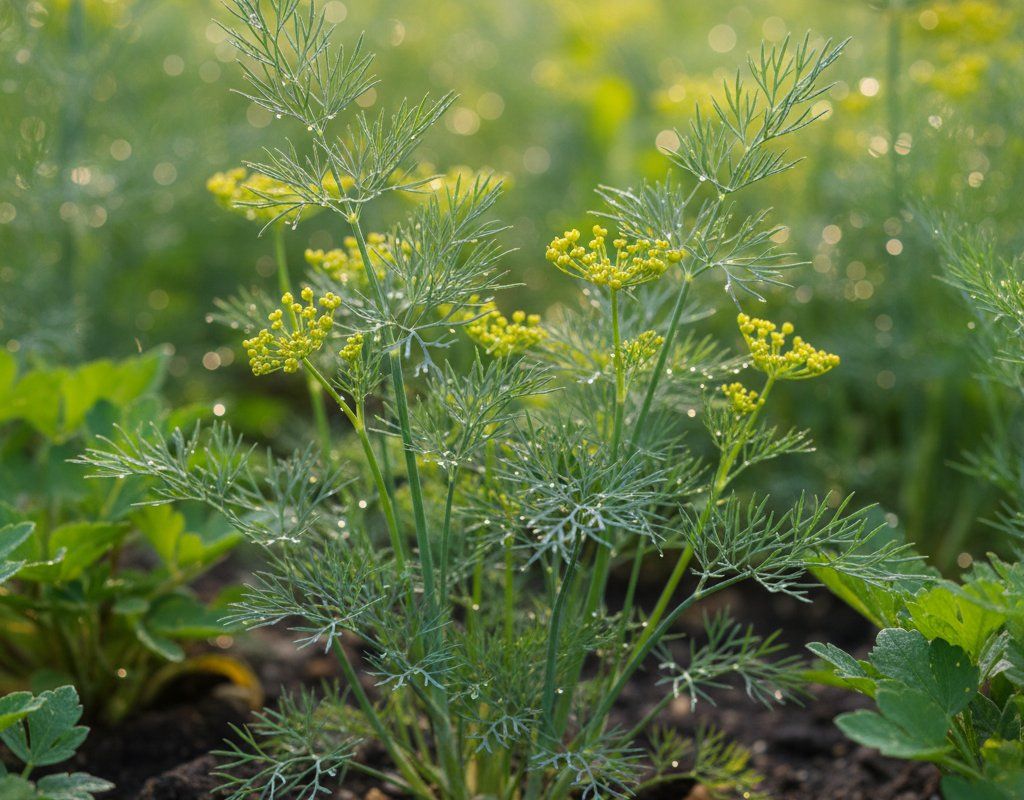
Dill in Zone 7B — Pacific Northwest
Anethum graveolens · Your Complete 2026 Planting Guide
Planning Ahead — Great!
You’re ahead of the season. Here’s when to start.
Mark Your Calendar
How to Plant Dill in Zone 7B — Pacific Northwest
Here are all your options for getting dill in the ground, from the easiest method to more advanced approaches.
Direct Sow Seeds
RecommendedMid April through early September
around April 15
Consider succession planting every 2-3 weeks for continuous harvest.
Dill has a taproot and prefers direct sowing, but transplants work if handled carefully.
Start Seeds Indoors
RecommendedMid March through early April
around March 25
Then transplant: Late April through early June
Start seeds 4-6 weeks before transplanting outdoors.
Buy Starts
Works WellLate April through early June
around April 22
Plant purchased starts after last frost (April 15).
Transplant Outdoors
Timing InfoLate April through early June
around April 22
Can tolerate light frost, but wait for soil to be workable.
You have a nice window — no need to rush.
Fall Planting
Late August through late September
September 13 ideal · Direct sow for fall harvest
Plant a second crop in mid-summer for fall harvest. Dill actually prefers the cooling temperatures of fall.
Overview
Dill thrives in our Pacific Northwest climate, making it one of the most rewarding herbs for Zone 7B gardeners. The cool nights that characterize our mild summers actually improve dill's flavor, preventing the leaves from becoming bitter as quickly as they would in hotter regions. You'll appreciate having fresh dill for pickling those summer cucumbers, seasoning salmon, or adding to potato salad during our pleasant outdoor dining weather.
While our wet springs can delay planting and the short growing season means you need to time things right, dill's hardy nature makes it manageable for PNW gardeners. With our 193-day growing season, you have plenty of opportunities for succession planting to keep fresh dill coming from late spring through our excellent fall weather. The key is working with our climate patterns rather than fighting them.
Starting Seeds Indoors
Starting dill indoors isn't the preferred method, but it can work well in our Pacific Northwest springs when you want an early start despite the cool, wet weather. Sow seeds in seed trays from mid-March through early April, about 4 weeks before you plan to transplant outdoors. Use bottom watering to prevent damping off, which can be an issue during our overcast spring days.
Dill develops a taproot quickly, so use deeper seed trays or individual pots to avoid root disturbance later. Keep your seedlings in a warm spot (65-70°F) with good light, whether from a south window or grow lights. The slow start to our spring season actually works in your favor here, giving seedlings time to establish before transplanting.
Remember that dill doesn't love being transplanted due to that taproot, so handle seedlings carefully and don't let them get too large indoors. Smaller, younger transplants actually establish better in the garden.
Transplanting Outdoors
Transplant your dill seedlings from late April through early June, once soil temperatures consistently stay above 50°F and the worst of our spring rains have passed. Our springs can be unpredictable, so hardening off is especially important here - give seedlings a full week of gradual outdoor exposure before planting.
Space transplants 12 inches apart in your sunniest spot, as dill needs those 6-8 hours of direct sun to develop its best flavor. Plant on a calm day if possible, since our spring winds can stress newly transplanted seedlings. Water gently at the base to help roots establish without encouraging slug problems that are common during our wet spring weather.
Be patient with transplanted dill - it may sulk for a week or two as the taproot adjusts. Once established, though, it'll grow steadily through our mild summer months.
Direct Sowing
Direct sowing is actually dill's preferred method and works beautifully in our Pacific Northwest climate. You can sow seeds from mid-April through early September, taking advantage of our long, mild growing season. Wait until soil temperatures reach at least 60°F consistently - usually by mid to late April in most of Zone 7B.
Prepare your soil by working in some compost, as dill appreciates well-draining soil but needs consistent moisture. Sow seeds about 1/4 inch deep and 12 inches apart in your sunniest location. Our cool spring soil means germination might take 2-3 weeks rather than the 7-10 days you'd see in warmer climates.
The beauty of direct sowing dill here is that you can succession plant every 2-3 weeks through summer for continuous harvest. The taproot develops naturally without transplant shock, and plants often self-seed for next year's crop during our mild fall weather.
Watering Dill in Zone 7B (Pacific Northwest)
Dill needs moderate, consistent watering in our Pacific Northwest climate, which works well with our natural rainfall patterns. During our wet spring months, you'll rarely need to water established plants. Check soil moisture by inserting your finger 2 inches deep - if it's dry at that depth, it's time to water.
Once our dry summer months arrive (typically July through September), plan to provide about 1 inch of water per week. Water at the base of plants rather than overhead to prevent foliar diseases and avoid attracting slugs. Our typically mild summer temperatures (rarely above 90°F) mean dill won't bolt as quickly as it would in hotter regions, but consistent moisture is still key to keeping leaves tender.
Watch for signs of stress during any unexpected heat spells we might get. Underwatered dill will have grayish-green foliage and may bolt prematurely, while overwatered plants in our clay-heavy soils can develop root rot. The finger test is your best guide.
A light mulch of compost around plants helps retain moisture during our dry summer months while keeping weeds down. This is especially helpful if you're growing dill in containers, which dry out faster than garden beds in our low-humidity summer air.
🧪Fertilizing Dill
Feeding Schedule
Organic Fertilizer Options
Harvest Time
You can start harvesting dill leaves about 40 days after sowing, typically from late May through early November in our climate. Begin snipping the feathery foliage when plants are 4-6 inches tall, cutting stems just above a leaf node to encourage bushier growth. The cool nights in our Pacific Northwest summers keep the leaves tender longer than in hotter regions.
For the best flavor, harvest in the early morning after the dew dries but before the day warms up. Cut what you need regularly - dill produces more when harvested frequently. If you want dill seed for pickling, let some plants flower and wait until the seed heads turn brown and papery, usually by late summer.
Our long, mild fall extends your harvest season significantly compared to harsher climates. Even after the first light frosts that typically arrive in late October, dill often continues producing in protected spots or cold frames. You can harvest right up until hard freeze, making it worthwhile to plant a fall crop in late August.
Common Problems in Zone 7B (Pacific Northwest)
Bolting shows up as dill suddenly sending up a tall flower stalk while the plant is still relatively small, with leaves becoming bitter and tough. In our Pacific Northwest climate, bolting is usually triggered by late spring heat spells or inconsistent watering during our dry summer months. Prevent bolting by keeping soil consistently moist, providing afternoon shade during any unexpected hot weather, and succession planting every 2-3 weeks rather than trying to keep one planting going all season.
Aphids appear as clusters of tiny green, black, or white insects on stems and the undersides of leaves, often leaving sticky honeydew residue and causing new growth to curl. Our mild summers can allow aphid populations to build steadily rather than getting knocked back by extreme heat. Encourage natural predators like ladybugs and lacewings, and use a strong water spray to knock aphids off plants. Avoid over-fertilizing with nitrogen, which makes plants more attractive to aphids.
Caterpillars, particularly parsleyworms (the larvae of swallowtail butterflies), can quickly defoliate dill plants. These green caterpillars with black and yellow stripes are actually beneficial butterfly larvae, so handpicking and relocating them is often the best approach. If populations get out of hand, Bt (Bacillus thuringiensis) provides organic control without harming beneficial insects.
Pacific Northwest Specific Challenges: Our region's mild, humid springs can encourage slug problems around young dill plants, while the dry summer months may stress plants if irrigation isn't consistent. The cool soil temperatures in spring mean slower germination, but our excellent fall weather allows for extended harvests that gardeners in harsher climates can't enjoy.
Best Companions for Dill
Plant these nearby for healthier Dill and better harvests.

Keep Away From
Companion Planting Details
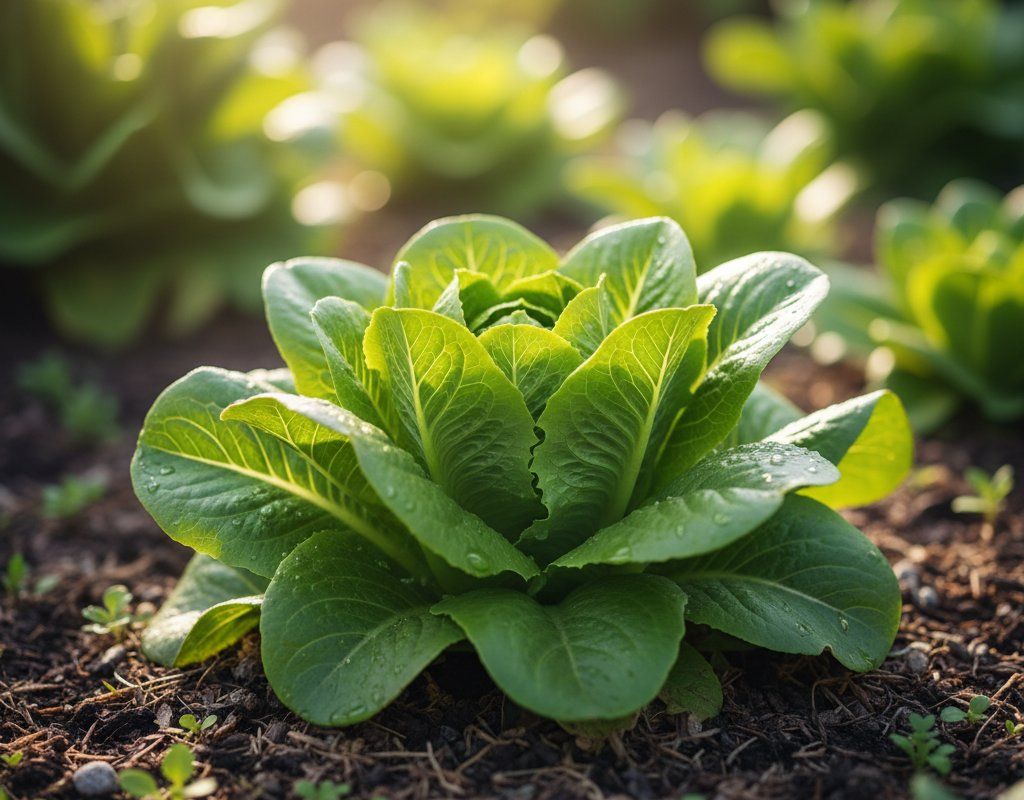
Dill makes an excellent companion for cabbage family crops, as it repels cabbage worms and attracts beneficial insects that prey on common brassica pests. Plant it near your kale, broccoli, and cauliflower for natural pest control. Cucumbers and dill are classic garden partners - dill's flowers attract predatory insects that help control cucumber beetles, while both crops thrive in our mild summer conditions.
Onions and lettuce also pair well with dill, creating a diverse planting that confuses pest insects and makes efficient use of garden space during our long growing season. Avoid planting dill near carrots, as they can cross-pollinate and affect each other's flavor, and keep it away from tomatoes, which may not get enough heat in our climate and can be further stressed by dill's allelopathic compounds.
🌸Best Flowers to Plant with Dill
These flowers protect your Dill from pests and attract pollinators for better harvests.
For Pest Control




Get a Reminder When It's Time to Plant
We'll email you when key planting windows open for your zone.