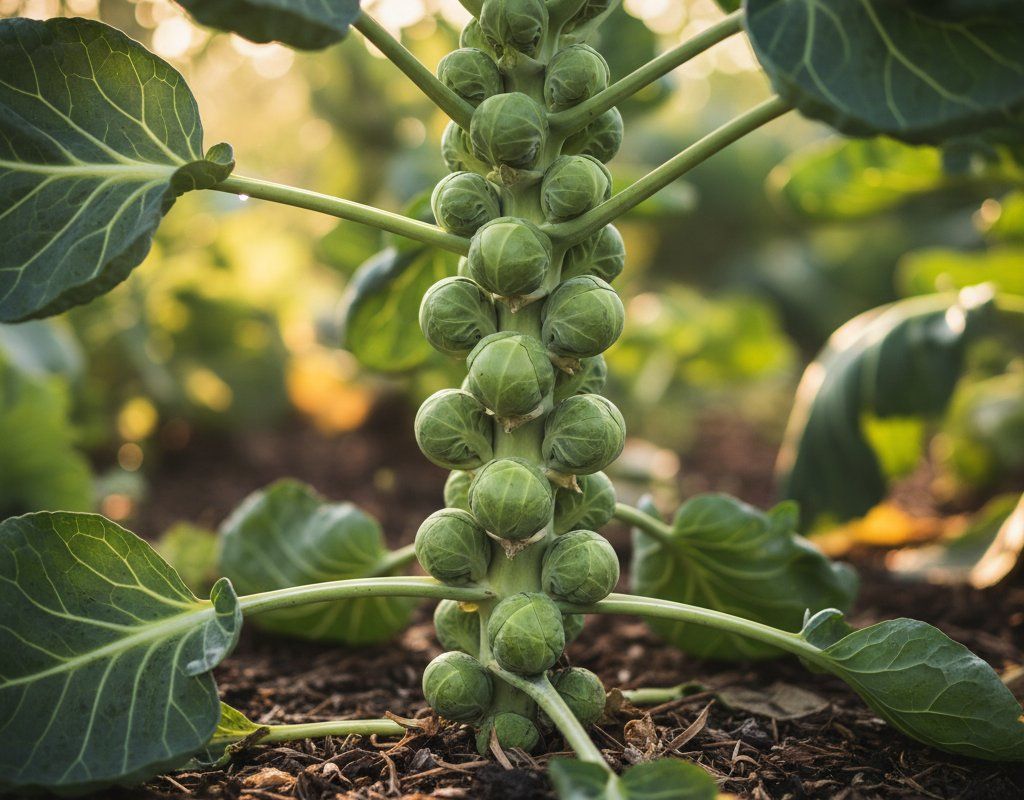
Brussels Sprouts in Zone 10A — Southern California
Brassica oleracea var. gemmifera · Your Complete 2026 Planting Guide
Check Planting Details Below
See the full planting guide for timing information.
How to Plant Brussels Sprouts in Zone 10A — Southern California
Here are all your options for getting brussels sprouts in the ground, from the easiest method to more advanced approaches.
Start Seeds Indoors
RecommendedLate November through mid December
around December 4
Then transplant: Mid January through early February
Start seeds 6-8 weeks before transplanting outdoors.
Very long season (90+ days). Must start early or plant for fall harvest.
Buy Starts
Works WellMid January through early February
around January 15
Plant purchased starts after last frost (January 15).
Direct Sow Seeds
ChallengingDirect sowing is not typical for Brussels Sprouts.
Transplant Outdoors
Timing InfoMid January through early February
around January 15
Can tolerate light frost, but wait for soil to be workable.
Plan to transplant within a few weeks of your target date.
Fall Planting
Late September through late October
October 14 ideal · Transplant for fall harvest
Plant a second crop in mid-summer for fall harvest. Brussels Sprouts actually prefers the cooling temperatures of fall.
Overview
Brussels sprouts might not be the first thing that comes to mind for SoCal gardens, but trust me, fresh, homegrown sprouts are a world apart from what you find in the store. They have a nutty sweetness that's fantastic roasted, shaved in salads, or even grilled. Plus, there's a real satisfaction in harvesting those little green gems you grew yourself.
We definitely have our gardening challenges here, like the potential for drought and those Santa Ana winds, but Brussels sprouts are a cool-season crop, and our long, mild winters give us a good shot at a successful harvest. With our 349-day growing season, timing is key, but we can definitely make it work.
Starting Seeds Indoors
Starting your Brussels sprouts indoors gives them a head start before the cooler months. Begin sowing seeds from late November through mid December, roughly six weeks before you plan to transplant. Use seed trays with a good seed-starting mix, and keep them in a warm spot with plenty of light – a sunny windowsill or under grow lights works great.
A little trick I use is bottom watering: set the tray in a shallow dish of water and let the soil soak it up from the bottom. This encourages strong root growth. Remember, spring comes very early here, so getting these seedlings going early is crucial for a spring harvest.
Transplanting Outdoors
Once your seedlings have a few sets of true leaves and the worst of our "winter" chill has passed, it's time to transplant. This is usually from mid January through early February. Before planting them in the ground, harden them off by gradually exposing them to outdoor conditions for about a week.
Plant them 18-24 inches apart in a spot that gets full sun. Even though our winters are mild, keep an eye on the forecast. A sudden cold snap can still stress young plants, so be ready to cover them if needed.
Watering Brussels Sprouts in Zone 10A (Southern California)
Brussels sprouts need consistent moisture to develop those tight, flavorful sprouts we all crave. In our Southern California climate, that means paying close attention to your watering schedule, especially with potential water restrictions. Feel the soil about two inches deep; if it's dry, it's time to water.
During our winter-wet season, you might not need to water much at all, but as things dry out in the spring, you'll want to give them about 1-1.5 inches of water per week. Water at the base of the plants to avoid getting the leaves wet, which can lead to fungal issues in our low-to-moderate humidity. If the sprouts are loose and not forming tightly, that's a sign of underwatering. Yellowing leaves can indicate overwatering. Adding a layer of mulch helps retain moisture in the soil.
Supporting Your Brussels Sprouts
Brussels sprouts can get pretty tall and top-heavy, especially when those sprouts start forming. A good stake is your best friend. I prefer using sturdy bamboo stakes or even metal garden stakes.
Install the stake when you transplant the seedlings, or soon after, to avoid damaging the roots later. As the plant grows, gently tie the main stem to the stake with soft twine or plant ties. This will keep it from toppling over, especially when those Santa Ana winds kick up.
Pruning & Maintaining Brussels Sprouts
Pruning Brussels sprouts is pretty straightforward. As the sprouts start to develop from the bottom up, you can remove the lower leaves that are yellowing or touching the ground. This improves air circulation and helps prevent disease.
About 3-4 weeks before you plan to harvest, top the plant by cutting off the top rosette of leaves. This forces the plant to put all its energy into developing the sprouts. As our first frost usually arrives around late December, any sprouts still on the plant can be harvested then.
🧪Fertilizing Brussels Sprouts
Feeding Schedule
Organic Fertilizer Options
Harvest Time
You can usually start harvesting your Brussels sprouts from mid April through late May, about 90 days after transplanting. The sprouts are ready when they're firm, tight, and about 1-2 inches in diameter. Start harvesting from the bottom of the plant and work your way up.
Twist or cut the sprouts off the stem, being careful not to damage the plant. The plant will continue to produce sprouts as you harvest. Even though we don't get super hard freezes here, the flavor really does improve after a light frost, so if we get one, that's the time to harvest!
Common Problems in Zone 10A (Southern California)
Here are some common problems you might encounter growing Brussels sprouts in Southern California:
Aphids
- What it looks like: Clusters of tiny green, black, or white bugs on stems and under leaves. Sticky honeydew and curled leaves.
- What causes it: These sap-suckers thrive in our warm weather and can multiply quickly. Ants often "farm" them.
- How to fix/prevent it: Blast them off with a strong stream of water. Encourage ladybugs. Use insecticidal soap or neem oil if needed. Avoid over-fertilizing with nitrogen.
Cabbage Worms
- What it looks like: Green caterpillars munching on leaves, leaving irregular holes. You might see white cabbage butterflies fluttering around.
- What causes it: The larvae of those pretty white butterflies are hungry for your brassicas.
- How to fix/prevent it: Use Bt spray, which is very effective. Cover plants with floating row covers. Handpick the worms when you see them.
Loose Sprouts From Heat
- What it looks like: Instead of tight, firm sprouts, you get loose, leafy ones. They often taste bitter.
- What causes it: Our summer heat inland can stress the plants, especially if they don't get enough water.
- How to fix/prevent it: Plant early enough to harvest before the worst heat. Provide consistent moisture and afternoon shade if possible. Choose heat-tolerant varieties.
Clubroot
- What it looks like: Stunted growth, wilting, yellowing leaves. Roots are swollen and distorted.
- What causes it: A soil-borne disease that loves acidic, wet soil. It can stick around for years.
- How to fix/prevent it: Raise soil pH with lime. Improve drainage. Rotate brassicas every 7 years. Start transplants in sterile mix.
Southern California Specific Challenges: Our hot summers inland can stress Brussels sprouts, leading to loose sprouts. Water restrictions mean you have to be smart about watering, but consistent moisture is key. The low-to-moderate humidity is good for avoiding fungal diseases, but you still need to monitor for pests like aphids and cabbage worms.
Best Companions for Brussels Sprouts
Plant these nearby for healthier Brussels Sprouts and better harvests.


Keep Away From


Companion Planting Details
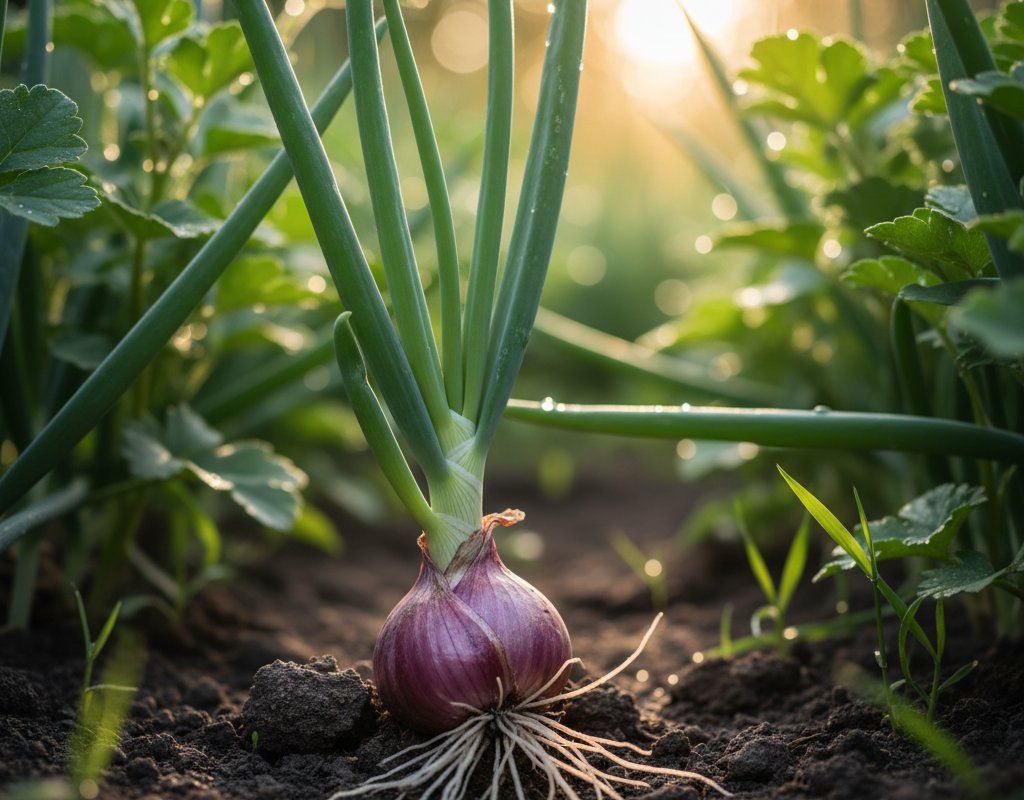
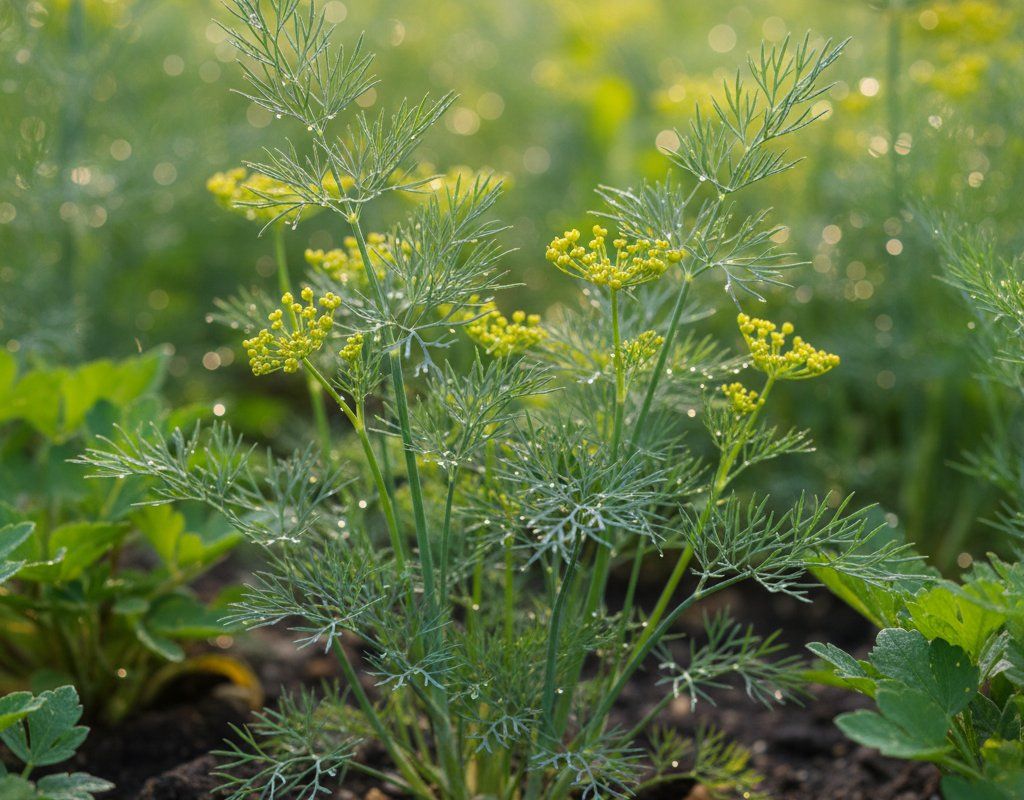
Companion planting can really help your Brussels sprouts thrive. Green beans are a great choice because they fix nitrogen in the soil, which Brussels sprouts love. Celery and onions can deter pests, while potatoes help improve soil structure. Dill attracts beneficial insects that prey on pests.
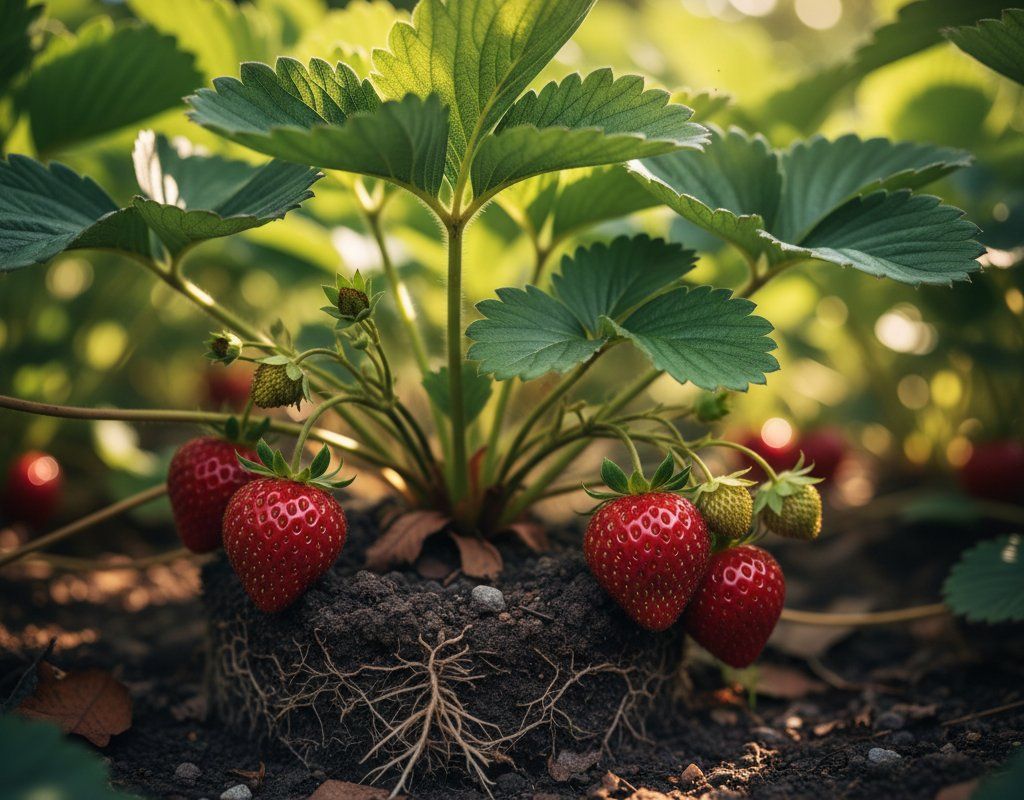
Avoid planting tomatoes, strawberries, or peppers near your Brussels sprouts. Tomatoes and strawberries are susceptible to verticillium wilt, which can also affect Brussels sprouts. Peppers can attract aphids, which can then spread to your Brussels sprouts.
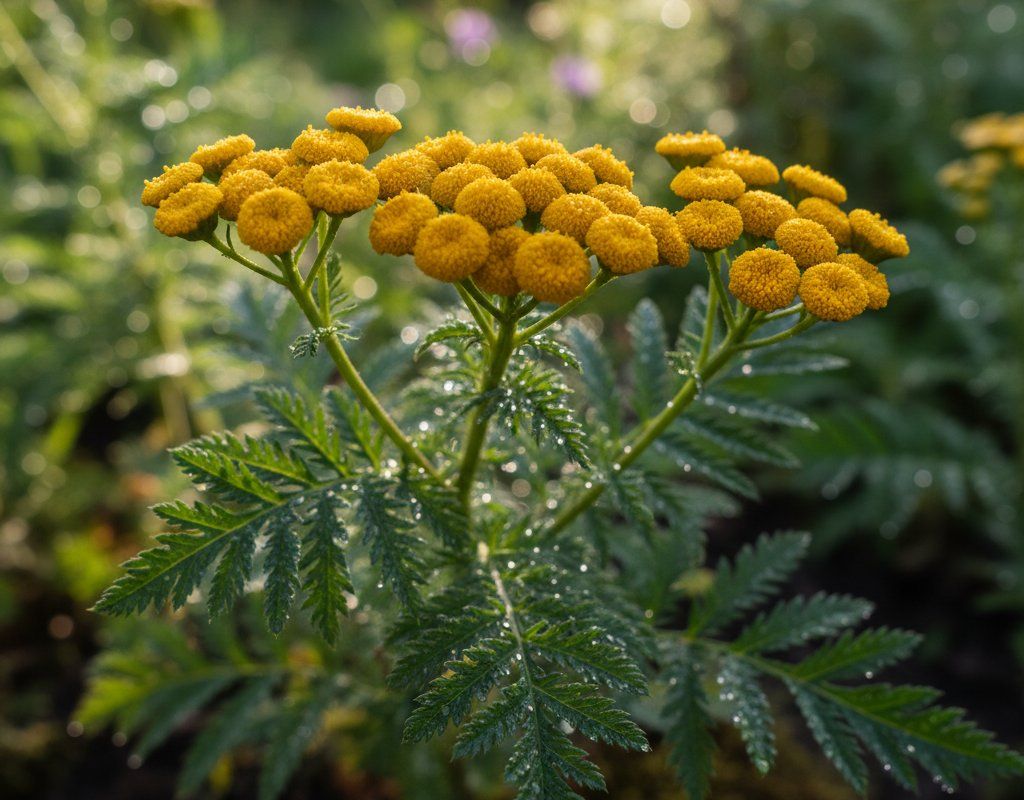
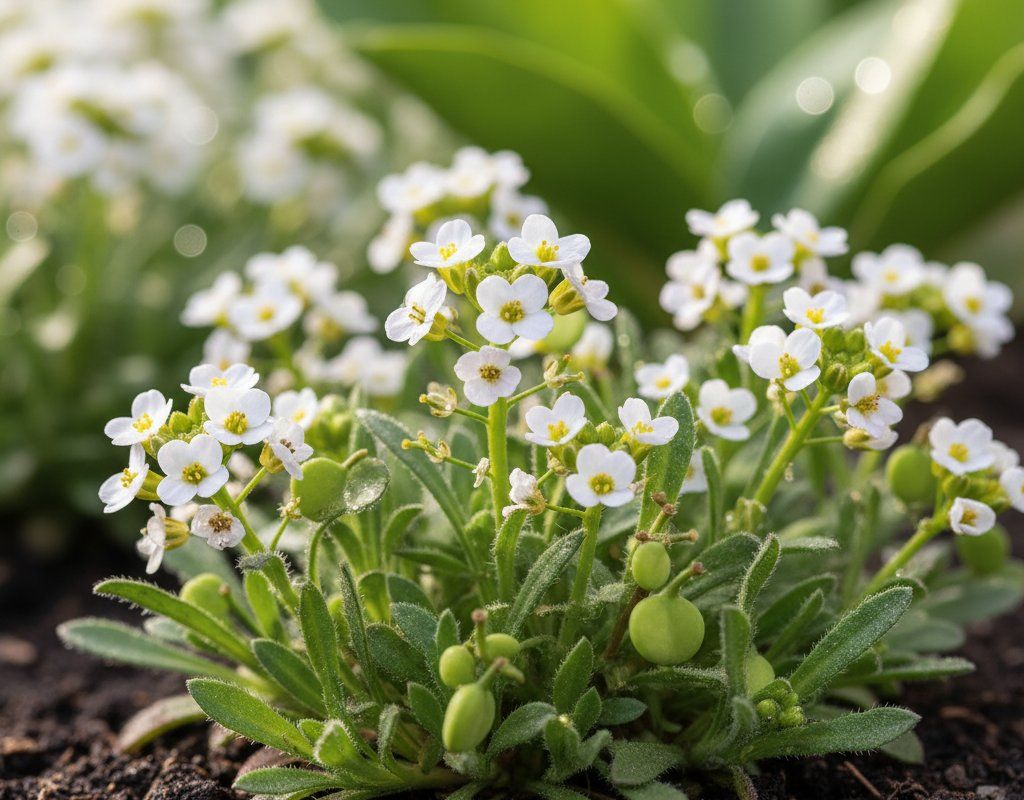
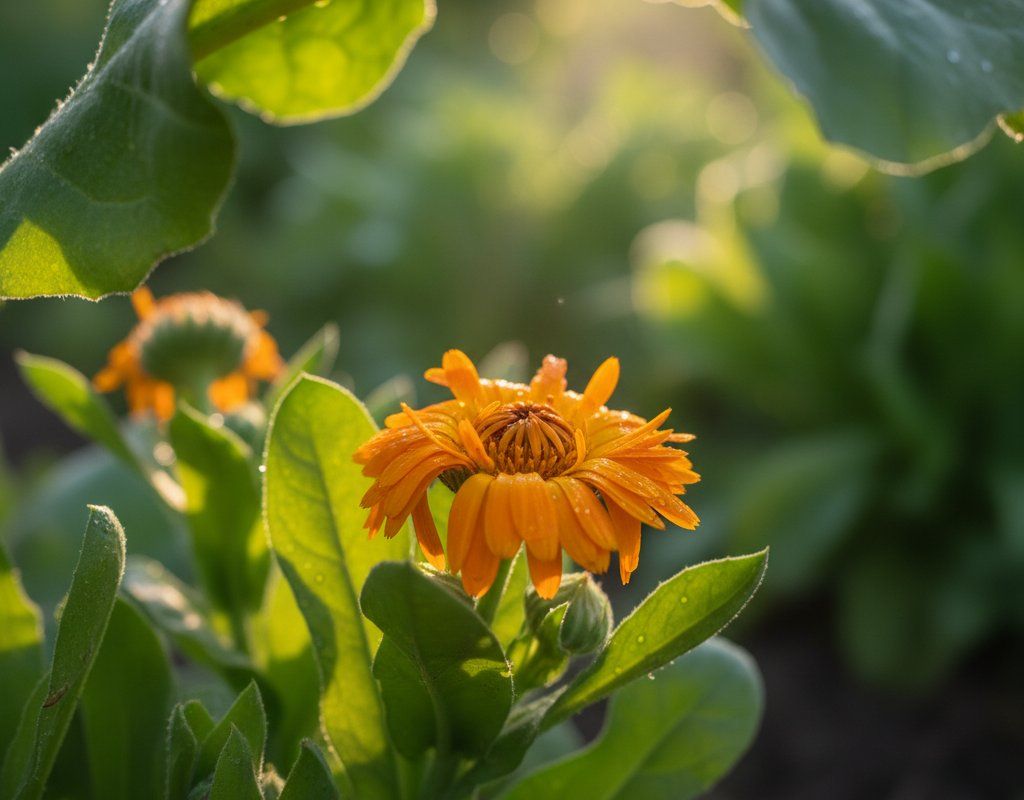
🌸Best Flowers to Plant with Brussels Sprouts
These flowers protect your Brussels Sprouts from pests and attract pollinators for better harvests.
For Pest Control


Get a Reminder When It's Time to Plant
We'll email you when key planting windows open for your zone.