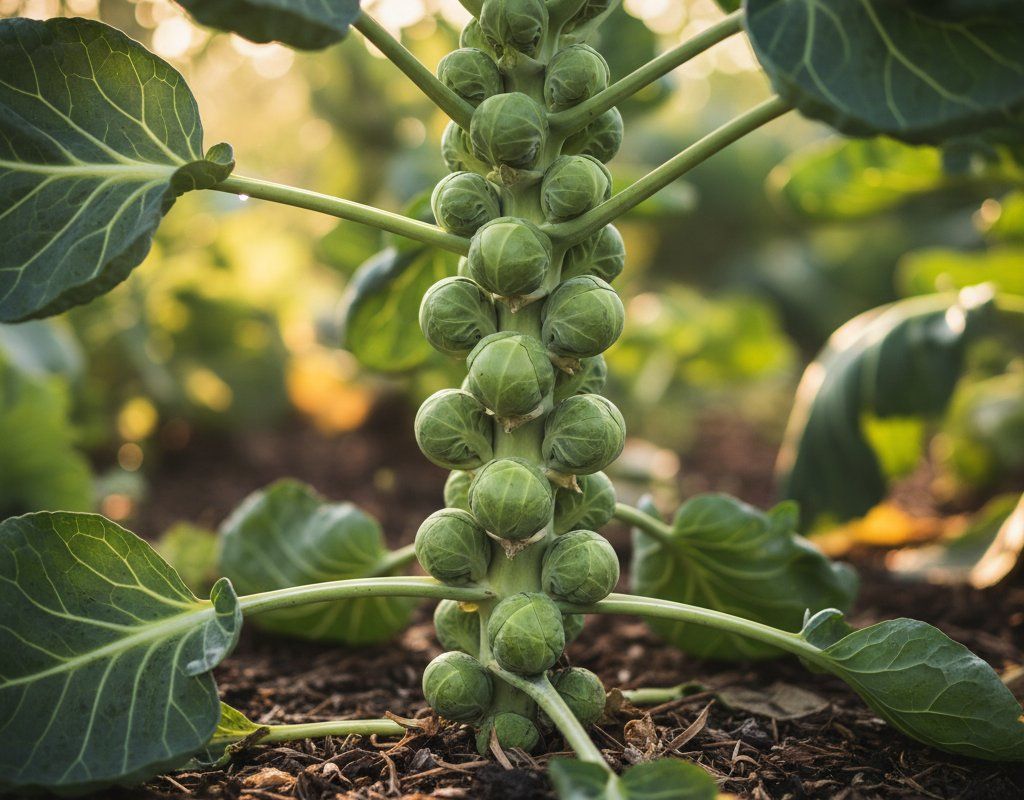
Brussels Sprouts in Zone 7B — Pacific Northwest
Brassica oleracea var. gemmifera · Your Complete 2026 Planting Guide
Last Call for Seed Starting!
Indoor seed starting window closes in 14 days.
Start Seeds This Week
Start seeds now for transplanting later.
Or Wait for Starts
If you don’t want to start seeds, starts will be available around April 15.
How to Plant Brussels Sprouts in Zone 7B — Pacific Northwest
Here are all your options for getting brussels sprouts in the ground, from the easiest method to more advanced approaches.
Start Seeds Indoors
RecommendedLate February through mid March
around March 4
Then transplant: Mid April through early May
Start seeds 6-8 weeks before transplanting outdoors.
Very long season (90+ days). Must start early or plant for fall harvest.
Buy Starts
Works WellMid April through early May
around April 15
Plant purchased starts after last frost (April 15).
Direct Sow Seeds
ChallengingDirect sowing is not typical for Brussels Sprouts.
Transplant Outdoors
Timing InfoMid April through early May
around April 15
Can tolerate light frost, but wait for soil to be workable.
Plan to transplant within a few weeks of your target date.
Fall Planting
Late July through late August
August 9 ideal · Transplant for fall harvest
Plant a second crop in mid-summer for fall harvest. Brussels Sprouts actually prefers the cooling temperatures of fall.
Overview
Brussels sprouts are a surprisingly rewarding crop to grow here in the Pacific Northwest. Their flavor is fantastic, especially after a touch of frost sweetens them up, and they're incredibly versatile in the kitchen. Plus, harvesting those tightly packed sprouts from a tall stalk is just plain satisfying.
While our mild summers and wet springs can present some challenges, especially with a long-season crop like Brussels sprouts, careful timing and a little extra attention will set you up for success. With our long 193-day growing season, you can absolutely enjoy a bountiful harvest.
Starting Seeds Indoors
Starting Brussels sprouts indoors gives them a head start, which is essential for our climate. Begin sowing seeds from late February through mid March, about six weeks before you plan to transplant them outdoors. This timing helps you avoid the cool, wet soil of early spring and ensures the plants are strong enough to thrive once the weather warms up just a bit.
Use seed trays or small pots filled with a good seed-starting mix. Keep the soil consistently moist, and consider bottom watering to prevent damping-off. A heat mat can help speed up germination, and once the seedlings emerge, provide plenty of light, especially on those overcast spring days we often get here in the PNW.
Transplanting Outdoors
Transplant your Brussels sprouts seedlings outdoors from mid April through early May, after the danger of hard frost has passed. Before transplanting, harden off the seedlings by gradually exposing them to outdoor conditions for about a week. This helps them adjust to the cooler temperatures and stronger sunlight.
Space the plants 18-24 inches apart in a sunny spot with well-drained soil. Given our wet springs, good drainage is key to preventing root rot. Water them well after transplanting, and consider using row covers to protect them from early-season pests like cabbage moths.
Watering Brussels Sprouts in Zone 7B (Pacific Northwest)
Brussels sprouts need consistent moisture to develop plump, well-formed sprouts, and our dry summer months can make this tricky. Aim to keep the soil consistently moist but not waterlogged, especially during sprout formation. In general, give them about 1-1.5 inches of water per week, but adjust based on rainfall.
The "finger test" is a good way to check moisture levels. Stick your finger into the soil about 2 inches deep. If it feels dry, it's time to water. Focus watering at the base of the plants to avoid wetting the foliage, which can encourage fungal diseases in our sometimes humid conditions, even during our dry-summer.
Underwatering can lead to loose, bitter sprouts, while overwatering can cause root rot. Signs of underwatering include wilting leaves and stunted growth. Overwatering can cause yellowing leaves and a mushy soil surface. Mulching around the plants with straw or compost helps retain moisture and suppress weeds, which is especially helpful during our drier summer months.
Supporting Your Brussels Sprouts
Brussels sprouts can grow quite tall, often reaching 2-3 feet, and the stalks can become top-heavy, especially when loaded with sprouts. This is why supporting them is a good idea, particularly in areas prone to wind. Staking is the most common and effective method.
Use sturdy stakes, like bamboo or metal, and insert them near the base of each plant when they reach about 2 feet tall. Tie the stalks loosely to the stakes with soft twine or plant ties to prevent damage. Check the ties regularly and adjust as the plants grow taller.
Pruning & Maintaining Brussels Sprouts
Brussels sprouts require minimal pruning, but a little attention can improve your harvest. As the sprouts develop from the bottom up, remove the lower leaves that turn yellow or brown. This improves air circulation and helps prevent disease.
About 3-4 weeks before your anticipated harvest, top the plant by cutting off the top cluster of leaves. This directs the plant's energy into sprout development, resulting in larger, more uniform sprouts. As the first frost approaches in late October, harvest any remaining sprouts, even if they're small, as hard freezes can damage them.
🧪Fertilizing Brussels Sprouts
Feeding Schedule
Organic Fertilizer Options
Harvest Time
You can typically expect your first harvest of Brussels sprouts from mid July through late August, about 90 days after transplanting. The sprouts are ready to harvest when they are firm, tight, and about 1-2 inches in diameter. Start harvesting from the bottom of the stalk upwards, twisting or snapping off the sprouts.
Harvesting from the bottom encourages the plant to continue producing sprouts higher up the stalk. After a light frost, the flavor of Brussels sprouts improves dramatically, becoming sweeter and less bitter. Continue harvesting as needed throughout the fall and early winter, as our mild climate often allows for an extended harvest.
Common Problems in Zone 7B (Pacific Northwest)
Aphids
- What it looks like: Clusters of tiny green, black, or white insects on stems and leaf undersides. Sticky honeydew residue and curled or distorted new growth.
- What causes it: Rapid-reproducing sap-sucking insects that thrive in warm weather. Ant colonies may farm them for honeydew.
- How to fix/prevent it: A strong spray of water from the hose can knock them off. Encourage natural predators like ladybugs and lacewings. Insecticidal soap or neem oil works well for heavier infestations. Avoid over-fertilizing with nitrogen.
Cabbage Worms
- What it looks like: Smooth green caterpillars chewing irregular holes in leaves. Dark green droppings and white butterflies fluttering around the plants.
- What causes it: Larvae of white cabbage butterflies. They can have multiple generations in a single mild season.
- How to fix/prevent it: Bt (Bacillus thuringiensis) spray is very effective. Floating row covers prevent the butterflies from laying eggs. Handpick the caterpillars regularly. Plant aromatic herbs like thyme and sage nearby to deter them.
Loose Sprouts from Heat
- What it looks like: Sprouts that are not tightly closed and compact, appearing more like loose leaves than firm buds.
- What causes it: High temperatures during sprout formation can cause them to loosen. While we rarely get extreme heat, even our mild summers can sometimes stress the plants.
- How to fix/prevent it: Ensure consistent watering to prevent drought stress. Provide afternoon shade if possible during heat waves. Choose heat-tolerant varieties.
Clubroot
- What it looks like: Stunted growth, wilting in the afternoon heat, and yellowing leaves. Roots are swollen, distorted, and club-shaped when dug up.
- What causes it: A soil-borne pathogen (Plasmodiophora brassicae) that persists in the soil for many years. It favors acidic, wet soil.
- How to fix/prevent it: Raise the soil pH to 7.0-7.2 with lime. Improve drainage. Rotate brassicas on a 7-year cycle. Remove and destroy infected plants (don't compost). Start transplants in sterile mix.
Pacific Northwest Specific Challenges: Our mild summers generally favor Brussels sprouts, but consistent moisture is key, especially during sprout formation, to avoid loose sprouts. Late blight is less of a concern for Brussels sprouts than tomatoes, but good air circulation is always beneficial. Cool soil in spring can slow growth, so starting indoors is highly recommended. Slugs can be a nuisance on young plants, so use slug bait or traps as needed.
Best Companions for Brussels Sprouts
Plant these nearby for healthier Brussels Sprouts and better harvests.

Keep Away From

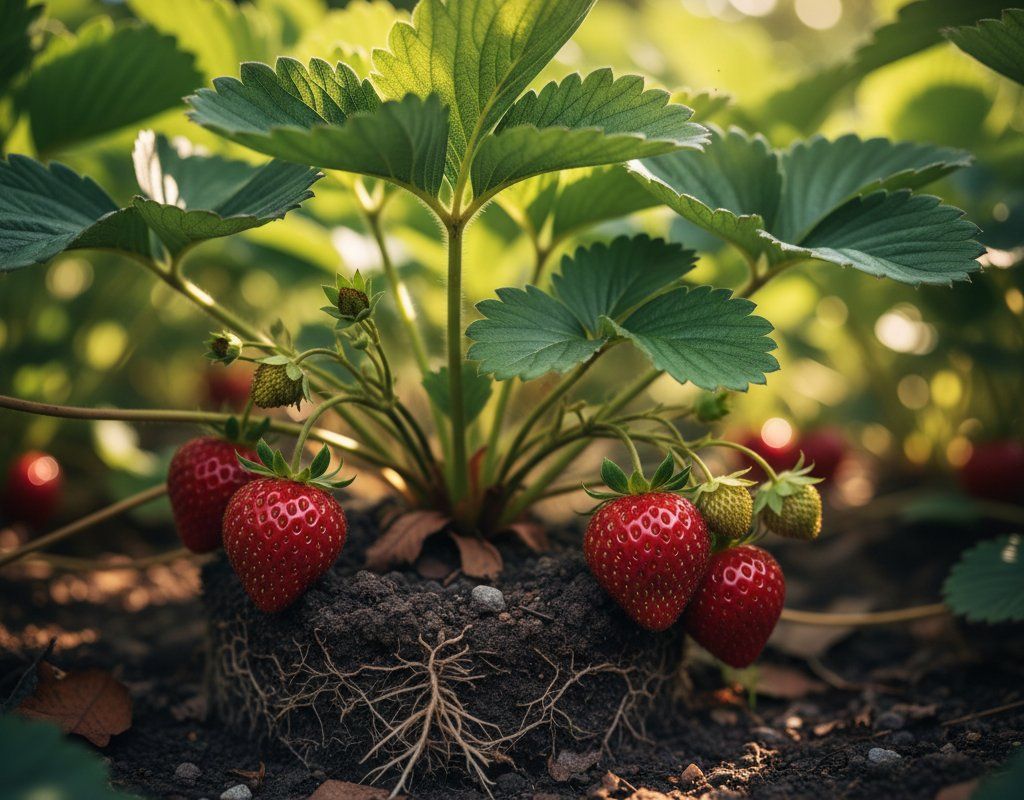

Companion Planting Details
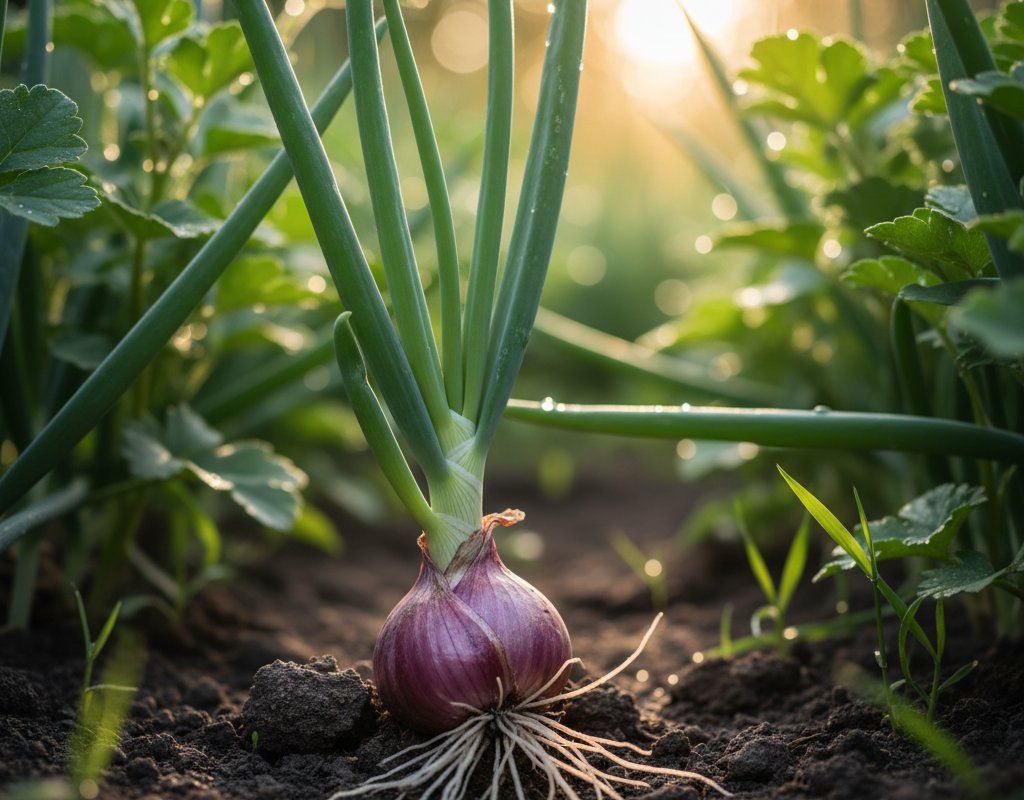
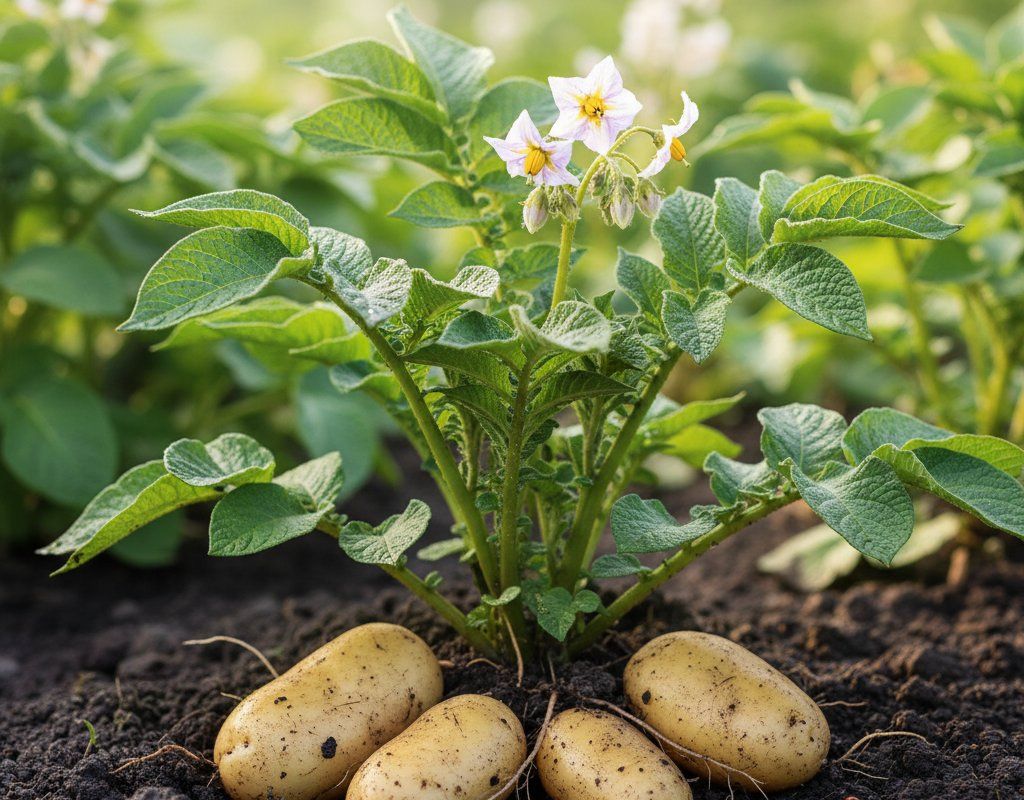
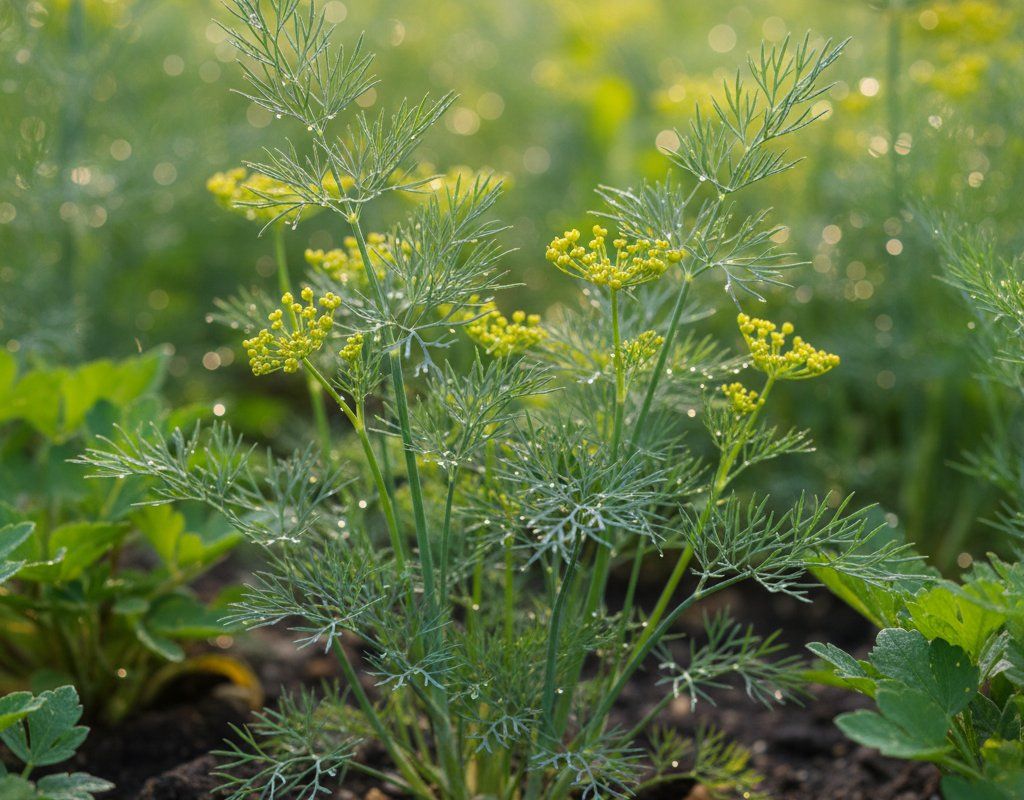
Companion planting can really give your Brussels sprouts a boost. Green beans are good companions because they fix nitrogen in the soil, which Brussels sprouts need. Celery is thought to deter cabbage moths. Onion helps repel various pests with its strong scent. Potatoes don't directly help the Brussels Sprouts, but they don't compete heavily for resources and can be grown nearby. Dill attracts beneficial insects that prey on pests.
Avoid planting tomatoes, strawberries, and peppers near Brussels sprouts. Tomatoes and peppers are susceptible to similar diseases that can spread between them. Strawberries compete for nutrients and can attract pests that also affect Brussels sprouts.
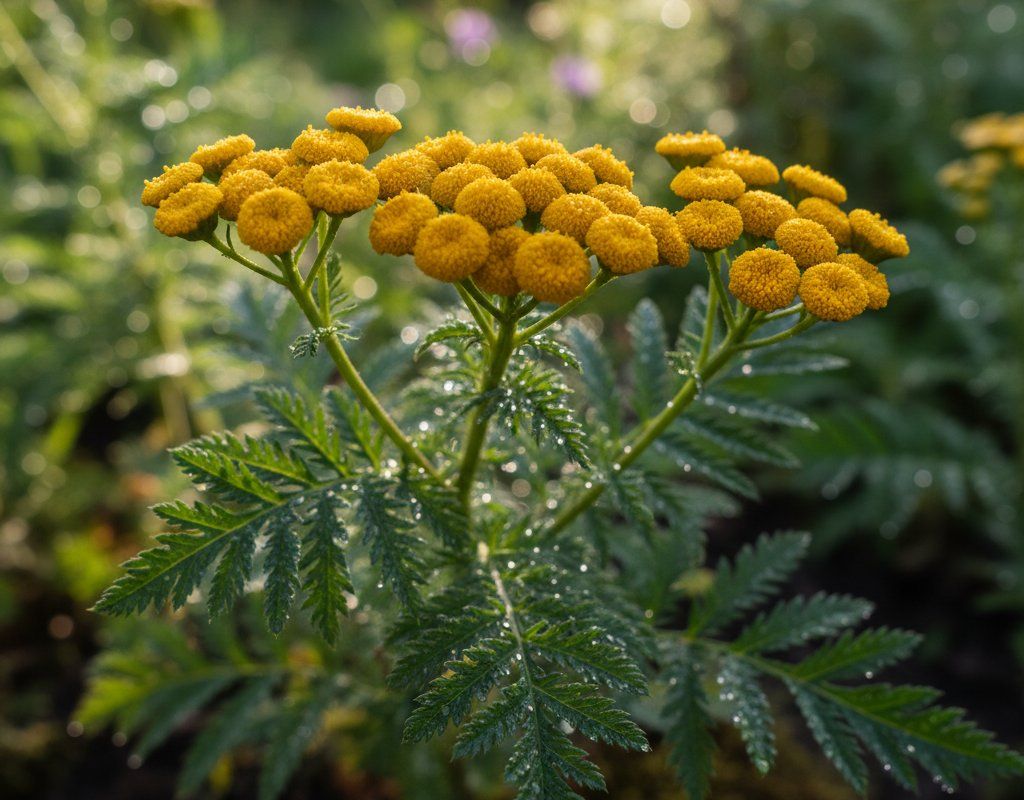
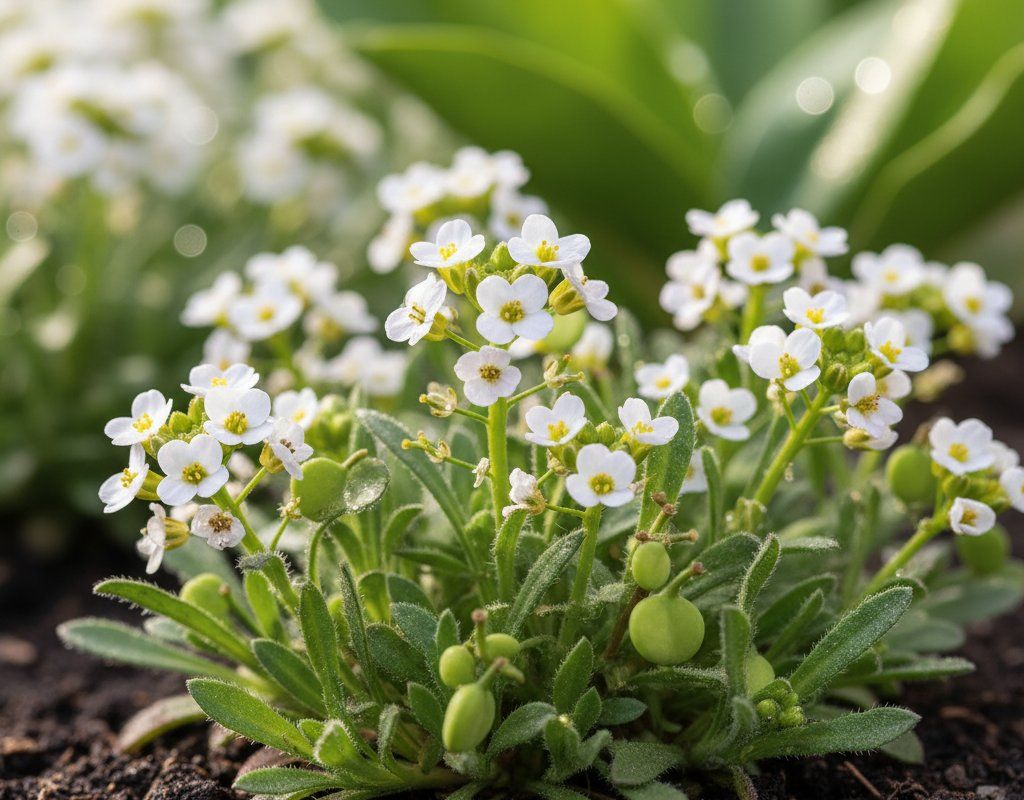
🌸Best Flowers to Plant with Brussels Sprouts
These flowers protect your Brussels Sprouts from pests and attract pollinators for better harvests.
For Pest Control



Get a Reminder When It's Time to Plant
We'll email you when key planting windows open for your zone.