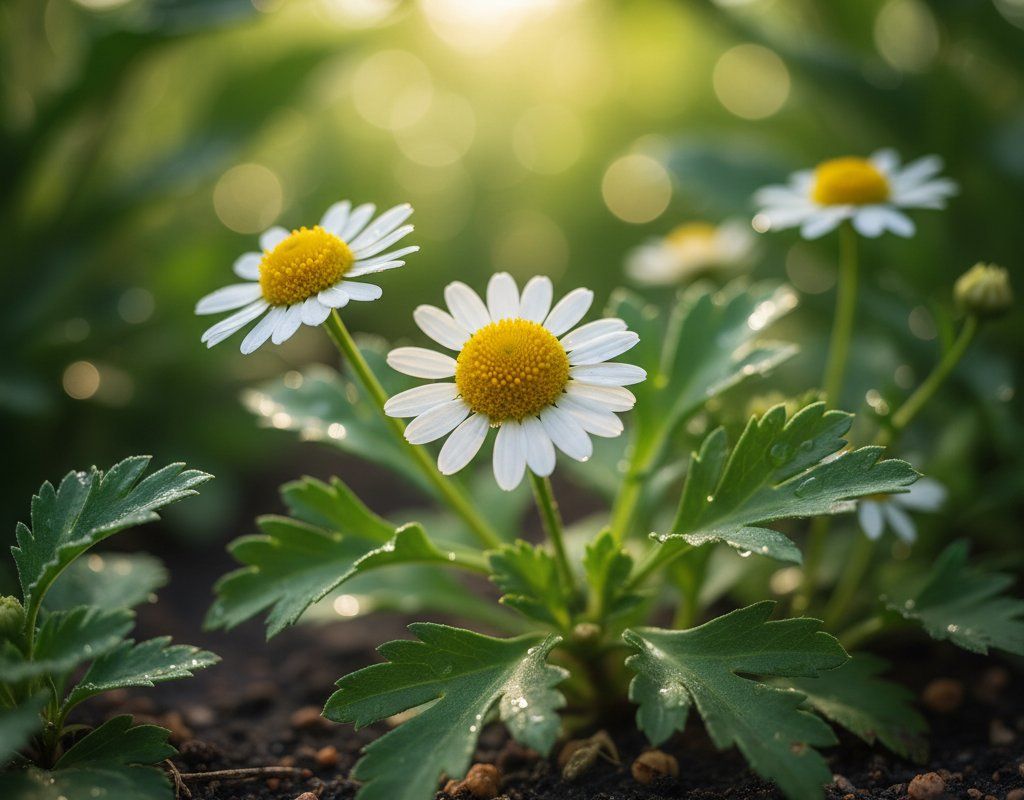
Chamomile in Zone 3B — Great Plains
Matricaria chamomilla · Your Complete 2026 Planting Guide
Planning Ahead — Great!
You’re ahead of the season. Here’s when to start.
Mark Your Calendar
How to Plant Chamomile in Zone 3B — Great Plains
Here are all your options for getting chamomile in the ground, from the easiest method to more advanced approaches.
Direct Sow Seeds
RecommendedEarly May through early July
around May 6
Consider succession planting every 2-3 weeks for continuous harvest.
Start Seeds Indoors
RecommendedMid March through early April
around March 25
Then transplant: Early May through early June
Start seeds 6-8 weeks before transplanting outdoors.
Buy Starts
Works WellEarly May through early June
around May 6
Plant purchased starts after last frost (May 20).
Transplant Outdoors
Timing InfoEarly May through early June
around May 6
Can tolerate light frost, but wait for soil to be workable.
You have a nice window — no need to rush.
Overview
Chamomile is a fantastic addition to any Great Plains garden. The delicate, apple-like flavor of its flowers makes a soothing tea, and it's surprisingly easy to grow here. Plus, its calming properties are welcome after a long day battling our prairie winds and blazing sunshine.
Our region presents challenges like extreme temperature swings and the constant threat of hail, but don't let that deter you. With a little planning, you can enjoy a bountiful chamomile harvest. The 118-day growing season might seem short, but it's plenty of time for chamomile to thrive.
Starting Seeds Indoors
Starting chamomile indoors gives you a head start, especially if you're further north in Zone 3B where the growing season is shortest. Starting seeds indoors from mid-March through early April, about six weeks before transplanting, is a good bet. This is particularly useful if you want to harvest sooner.
Use seed trays with a good seed-starting mix. Keep the soil consistently moist, but not soggy; bottom watering helps prevent damping-off. Place the trays in a warm spot with plenty of light – a sunny south-facing window or under grow lights works well. Remember that spring here is variable, with potential for late frosts, so indoor starts give you extra security.
Transplanting Outdoors
Transplant your chamomile seedlings outdoors from early May through early June, once the risk of frost has passed. Before transplanting, harden off the seedlings by gradually exposing them to outdoor conditions for about a week. This helps them adjust to the sun and wind.
Plant the seedlings 6-8 inches apart in well-drained soil. Even though chamomile tolerates full sun, a bit of afternoon shade can be beneficial during our hottest summer days. Keep an eye on the weather forecast around transplant time. A sudden temperature drop or a late-season hail storm can set them back, so be prepared to cover them if necessary.
Direct Sowing
Direct sowing chamomile is a simple and effective method, especially if you're not looking for an early harvest. Sow seeds outdoors from early May through early July, once the soil has warmed up. Direct sowing avoids the hassle of transplanting and gives the plants a chance to establish strong roots right where they'll grow.
Prepare the soil by loosening it and removing any weeds. Chamomile seeds are tiny, so sprinkle them lightly on the surface and gently press them into the soil. Keep the soil consistently moist until the seedlings emerge. Thin the seedlings to 6-8 inches apart once they're a few inches tall.
Watering Chamomile in Zone 3B (Great Plains)
Chamomile is drought-tolerant, making it well-suited to our variable rainfall patterns on the Plains. While it doesn't need a ton of water, consistent moisture during establishment is key. After that, you'll need to monitor the soil moisture levels, especially during our hot summer months.
A good rule of thumb is to water deeply when the top two inches of soil feel dry to the touch – the "finger test." In general, chamomile needs about an inch of water per week, either from rainfall or irrigation. Water at the base of the plants to avoid wetting the foliage, which can encourage fungal diseases in our low-to-moderate humidity.
During extended dry spells, increase watering frequency. Yellowing leaves indicate underwatering, while leggy growth and pale foliage suggest overwatering. A layer of mulch, like straw or wood chips, can help retain soil moisture and suppress weeds.
🧪Fertilizing Chamomile
Feeding Schedule
Organic Fertilizer Options
Harvest Time
You can expect your first chamomile harvest from early July through late September, about 60 days after planting. The best time to harvest is in the morning, after the dew has dried, but before the sun gets too hot. This is when the flowers' essential oils are most concentrated.
Look for flowers with petals that are just beginning to bend slightly backward – this indicates they're at their peak flavor. Gently pluck the flowers from the stems, being careful not to damage the plant. Regular harvesting encourages continued production throughout the season.
As our first frost approaches in mid-September, harvest any remaining flowers, even if they're not fully open. Dry the flowers by spreading them in a thin layer on a screen or tray in a cool, dark, well-ventilated place. Once dried, store them in an airtight container for tea.
Common Problems in Zone 3B (Great Plains)
Chamomile is generally a hardy plant, but like any garden favorite, it can encounter problems:
Aphids
- What it looks like: Clusters of tiny soft-bodied insects (green, black, or white) on stems and leaf undersides. Sticky honeydew residue. Curled or distorted new growth.
- What causes it: Rapid-reproducing sap-sucking insects. Populations explode in warm weather. Ant colonies may farm them for honeydew.
- How to fix/prevent it: Strong water spray knocks them off. Encourage ladybugs and lacewings (natural predators). Insecticidal soap for heavy infestations. Neem oil works systemically. Avoid excess nitrogen fertilizer (it attracts them).
Mealybugs
- What it looks like: Small, white, cottony masses on stems, leaves, and in leaf joints. Stunted growth. Sticky honeydew residue.
- What causes it: Sap-sucking insects that thrive in warm, dry conditions. Often introduced by ants.
- How to fix/prevent it: Wipe off with a cotton swab dipped in rubbing alcohol. Insecticidal soap or neem oil. Control ant populations. Ensure good air circulation.
Thrips
- What it looks like: Tiny, slender insects (yellow or black) on flowers and leaves. Silvery streaks on foliage. Distorted or damaged flowers.
- What causes it: Sap-sucking insects that are attracted to light-colored flowers. Damage is exacerbated by hot, dry weather.
- How to fix/prevent it: Strong water spray. Insecticidal soap or neem oil. Blue sticky traps. Remove infested plant parts.
Great Plains Specific Challenges: Our hot summers can stress chamomile, making it more susceptible to pests. The low-to-moderate humidity generally helps prevent fungal diseases, but proper watering is crucial. Variable rainfall means you need to be vigilant about monitoring soil moisture and adjusting your watering schedule accordingly.
Best Companions for Chamomile
Plant these nearby for healthier Chamomile and better harvests.
View Full Companion Planting Chart →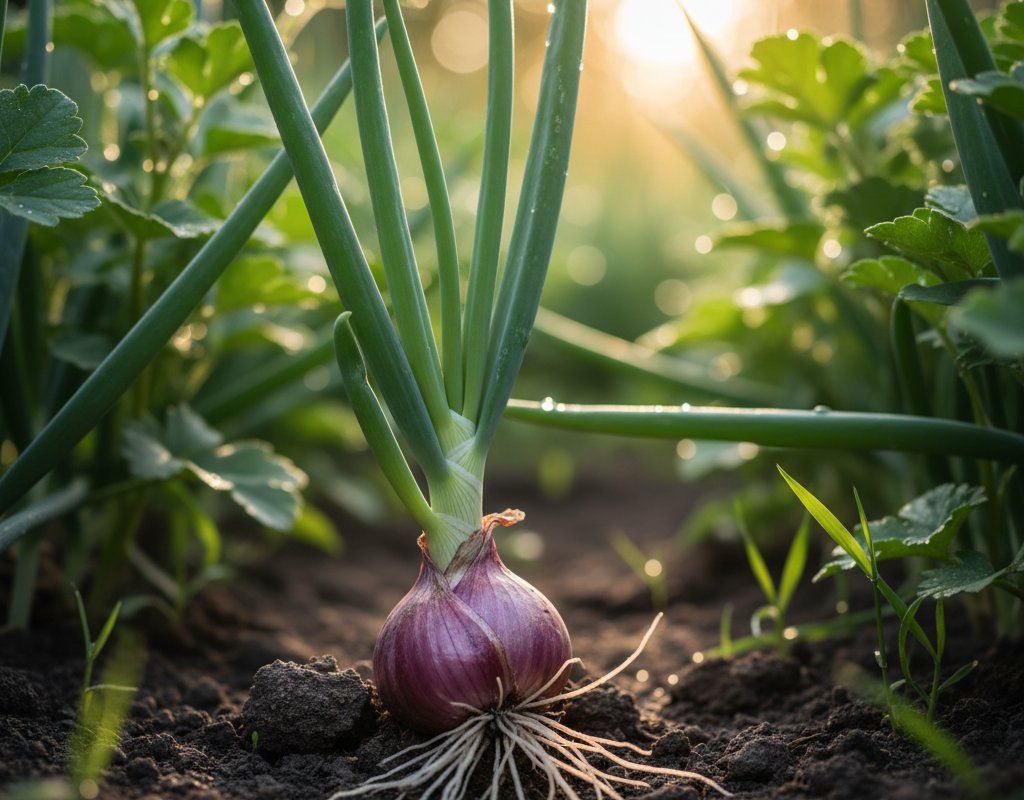


Companion Planting Details
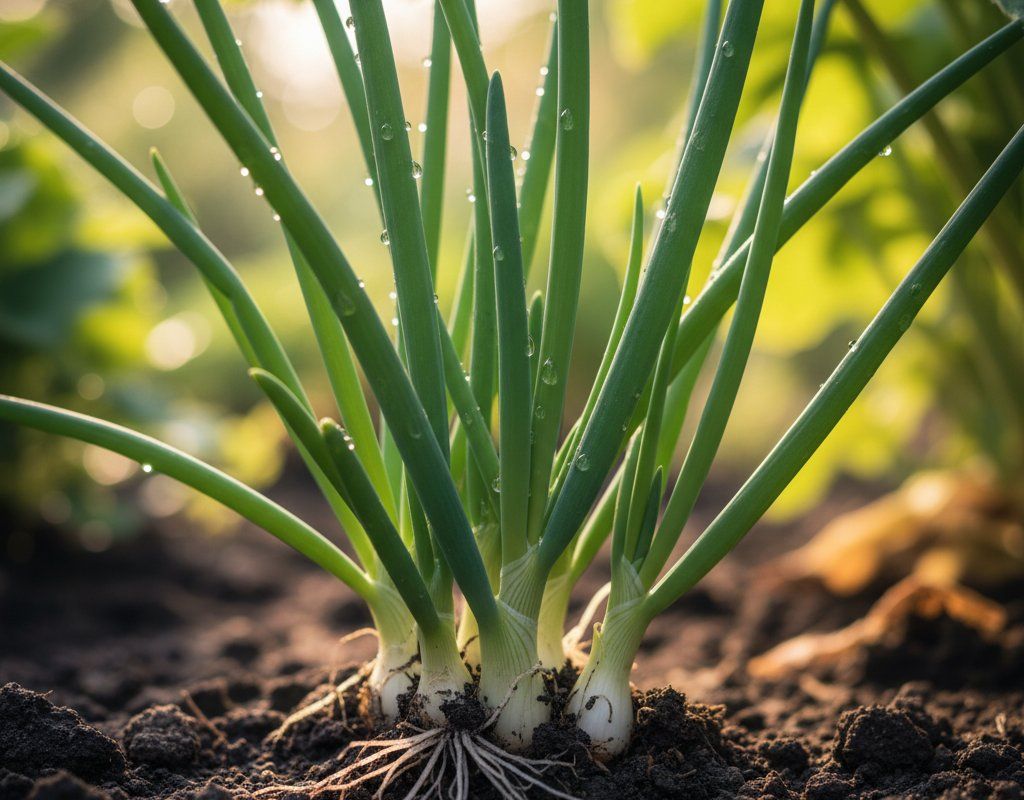
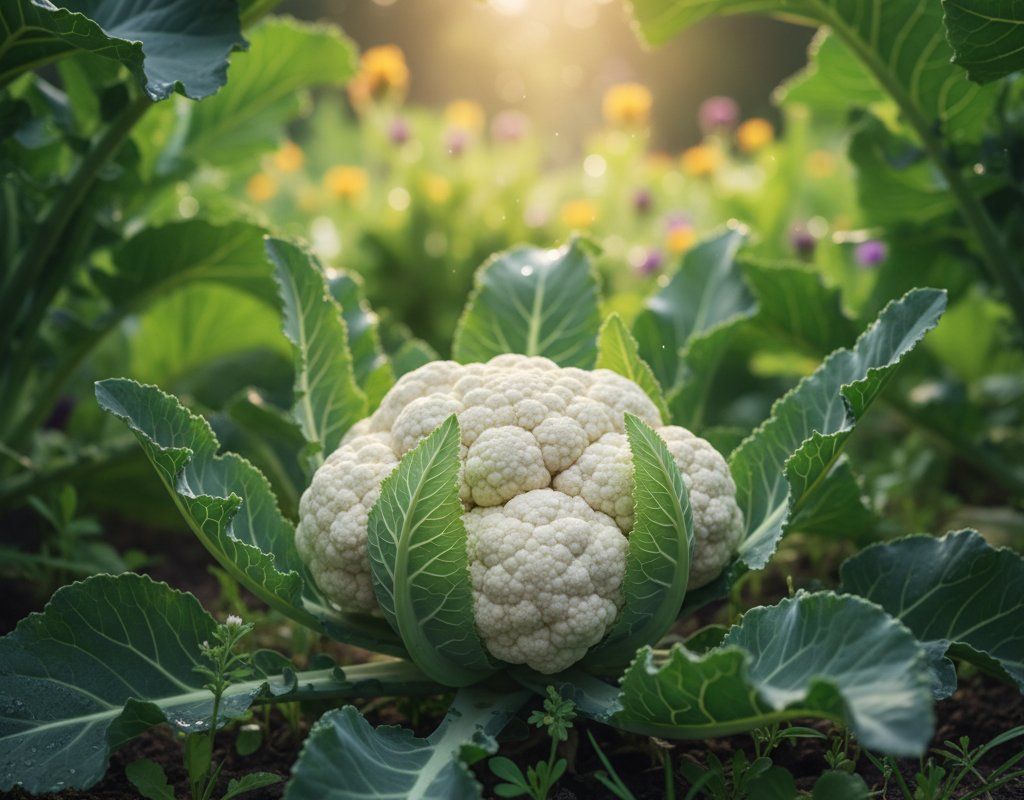
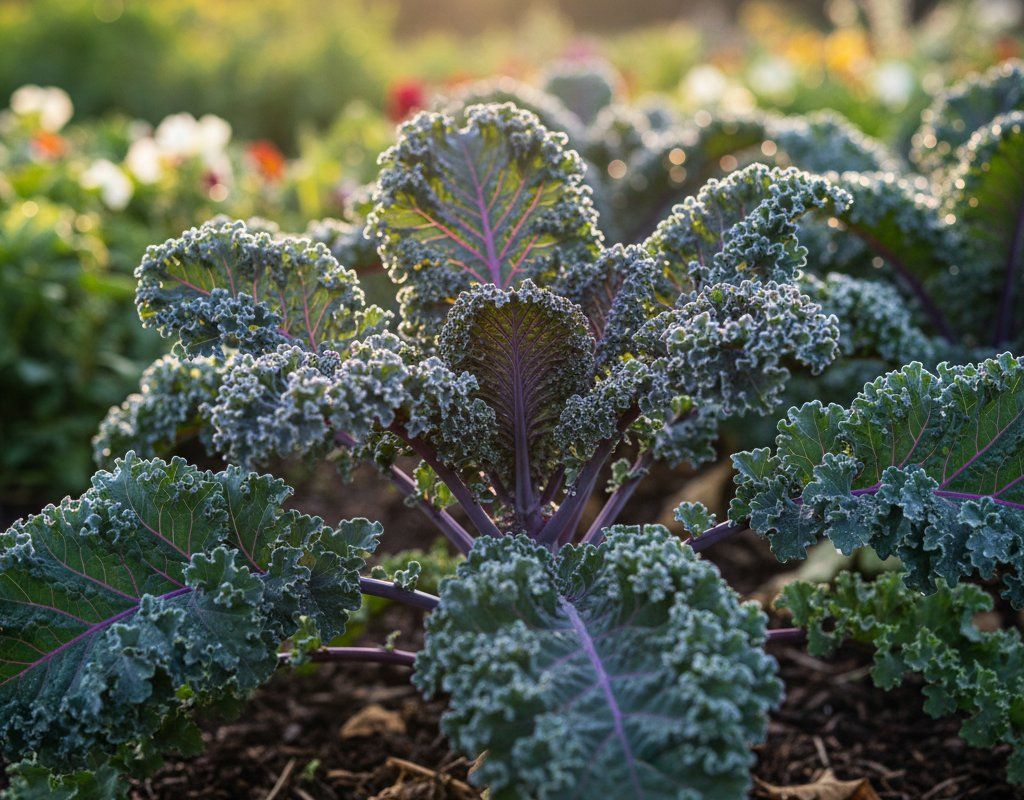
Chamomile is a great companion plant for many garden vegetables. Planting chamomile near onions helps repel onion flies, protecting your onion crop. Cabbage and broccoli also benefit from chamomile's presence, as it deters cabbage moths and other pests.
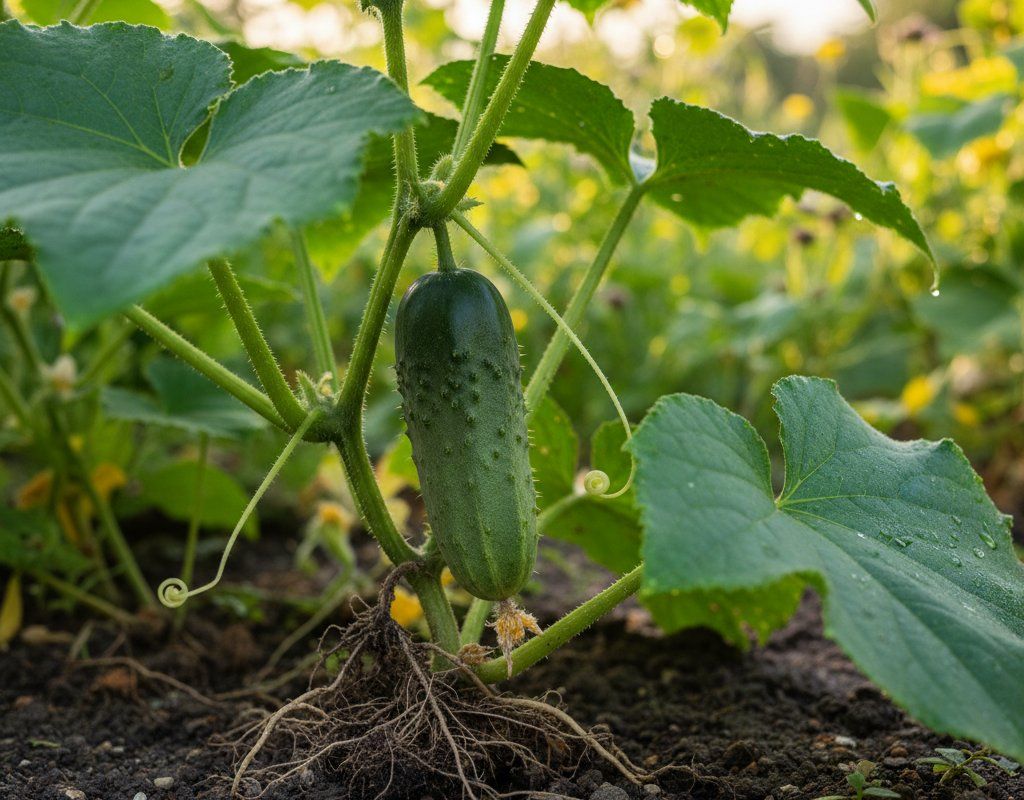
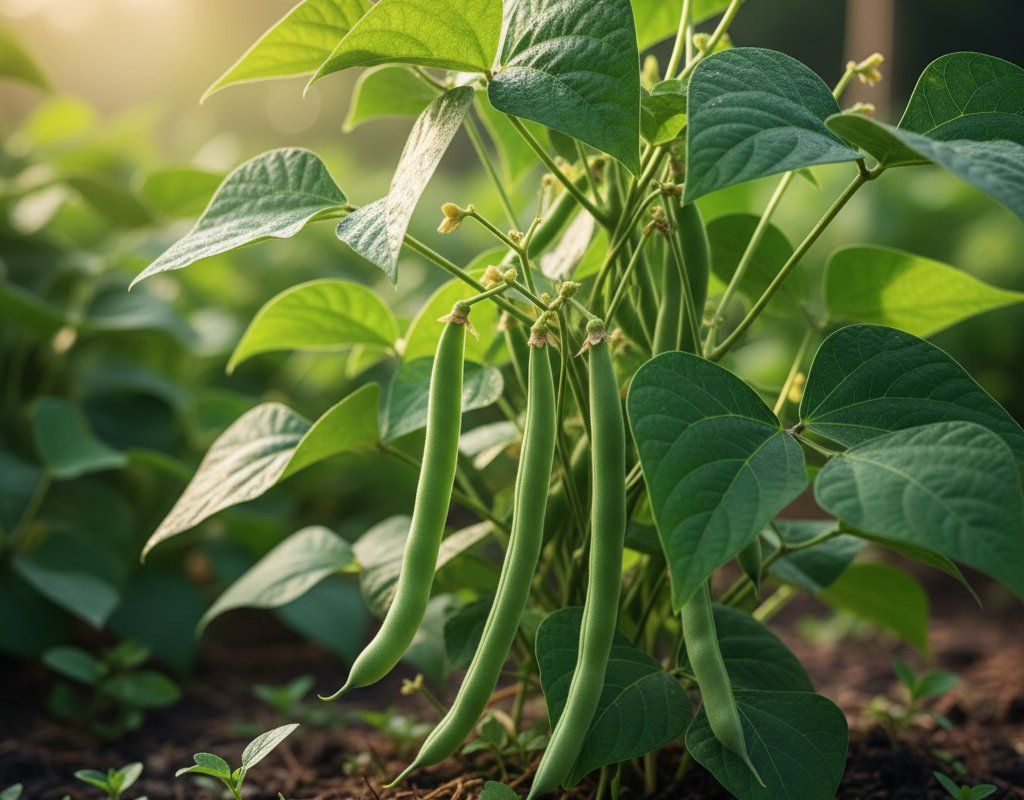
Chamomile can improve the flavor and growth of cucumbers, and it's said to help green beans grow more vigorously. Avoid planting chamomile near mint or fennel, as they can inhibit its growth.
🥬Best Vegetables to Pair With Chamomile
Chamomile benefits these vegetables through pest control, pollinator attraction, or improved garden health.
Get a Reminder When It's Time to Plant
We'll email you when key planting windows open for your zone.