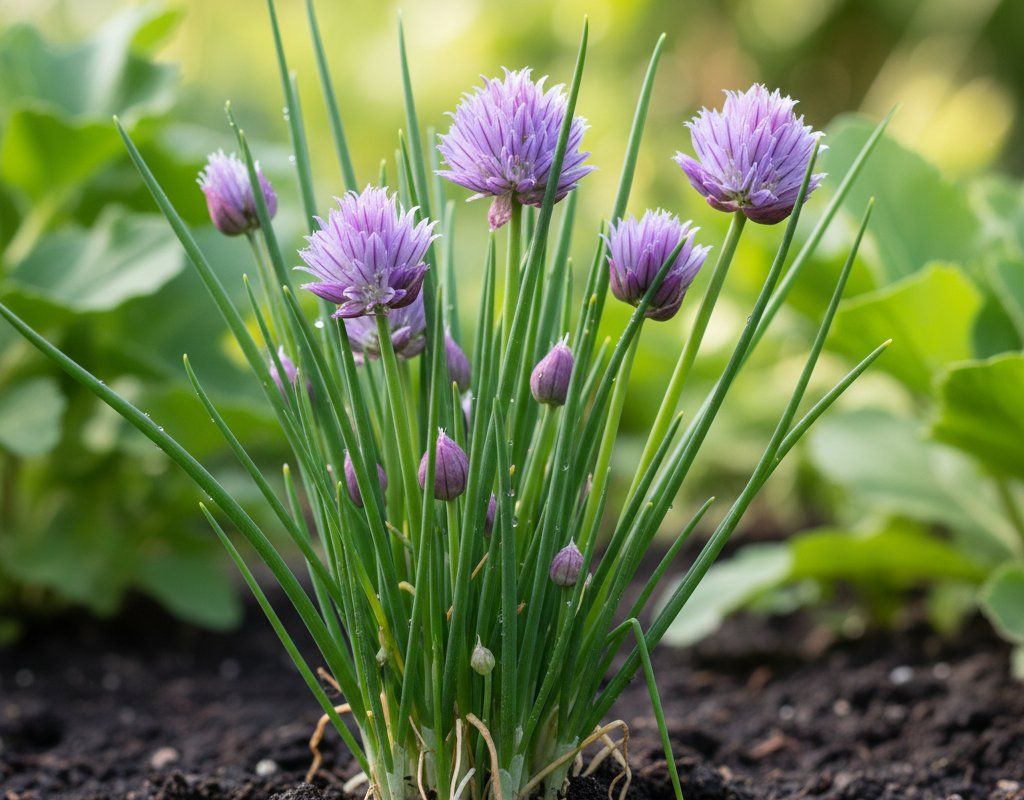
Chives in Zone 10B — Desert Southwest
Allium schoenoprasum · Your Complete 2026 Planting Guide
You Can Still Sow!
Direct sowing window is open for Chives.
Direct Sow Now
Slow to establish from seed. Divisions or starts are faster.
How to Plant Chives in Zone 10B — Desert Southwest
Here are all your options for getting chives in the ground, from the easiest method to more advanced approaches.
Direct Sow Seeds
RecommendedMid December through late September
around December 18
Consider succession planting every 2-3 weeks for continuous harvest.
Slow to establish from seed. Divisions or starts are faster.
Start Seeds Indoors
RecommendedLate October through mid November
around November 6
Then transplant: Early to late January
Start seeds 8-10 weeks before transplanting outdoors.
Buy Starts
Works WellEarly to late January
around January 1
Plant purchased starts after last frost (January 15).
Buying starts or dividing existing clumps is much faster than seed.
Transplant Outdoors
Timing InfoEarly to late January
around January 1
Can tolerate light frost, but wait for soil to be workable.
You have a nice window — no need to rush.
Overview
Chives are a fantastic addition to any Desert Southwest garden. Their mild onion flavor brightens up everything from eggs to salads, and they're incredibly easy to grow here with our two growing seasons. Plus, the cheerful purple blooms attract pollinators, adding beauty to your herb garden.
Our extreme heat and alkaline soil can present challenges, but with proper timing and care, you can enjoy a continuous harvest of chives nearly year-round. Take advantage of our extended 349-day growing season to grow tasty herbs.
Starting Seeds Indoors
Starting chives indoors is an option, but honestly, it's often easier to direct sow here in our mild winters. However, if you want a head start, sow seeds indoors from late October through mid November, about eight weeks before you plan to transplant. Use seed trays with a good seed-starting mix and provide warmth and light.
Bottom watering is key for seedlings, as it prevents damping off and encourages strong root growth. Remember, our spring warmth can arrive very early, so starting indoors gives you a buffer against any unexpected temperature swings.
Transplanting Outdoors
Transplant your chives outdoors from early to late January. Before transplanting, harden off your seedlings by gradually exposing them to outdoor conditions for about a week. This helps them adjust to the sun and temperature changes.
Space your chives plants 8-12 inches apart in well-draining soil. Keep an eye on nighttime temperatures; although chives are frost-hardy, a sudden cold snap can still stress young transplants. Buying starts from a local nursery or dividing existing clumps is a much faster way to get established chives.
Direct Sowing
Direct sowing chives is a great option here in the Desert Southwest, and you can do it from mid December through late September. Prepare your soil by loosening it and adding compost to improve drainage. Chives seeds need consistent moisture to germinate, so keep the soil consistently moist.
Sow the seeds 8-12 inches apart. Keep in mind that chives are slow to establish from seed, so be patient. Divisions or starts are often a faster way to get a productive chives patch going.
Watering Chives in Zone 10B (Desert Southwest)
Watering is critical for chives in our arid Desert Southwest climate. While they need moderate, consistent moisture, overwatering can lead to problems. The key is to find the right balance, especially during our extreme summer heat and monsoon season.
During the hottest months, water deeply about 2-3 times per week, providing about 1 inch of water each time. Use the finger test: stick your finger about 2 inches into the soil. If it feels dry, it's time to water. In the cooler months, you can reduce watering to once a week or less, depending on rainfall.
Water at the base of the plant to avoid wetting the foliage, which can encourage fungal diseases, especially during our monsoon season. Signs of underwatering include wilted, yellowing leaves, while overwatering can cause the leaves to turn mushy and brown. A layer of mulch around your chives helps retain moisture and regulate soil temperature, which is especially beneficial in our extreme climate.
🧪Fertilizing Chives
Feeding Schedule
Organic Fertilizer Options
Harvest Time
You can expect your first chives harvest from early March through early January, about 80 days after planting. The best time to harvest is when the leaves are at least 6 inches tall. Cut the leaves about 1-2 inches above the base of the plant.
Harvesting regularly encourages new growth, so don't be shy about snipping off what you need. Chives are a continuous harvest crop, so you can keep cutting them throughout the growing season. As the first frost approaches in late December, give your chives a final trim. You can either let them die back naturally or protect them with a frost cloth for continued growth through the winter. Divide clumps every 3 years to reinvigorate growth.
Common Problems in Zone 10B (Desert Southwest)
Here are a few common problems you might encounter with chives in the Desert Southwest:
Onion Fly
- What it looks like: Wilting or yellowing leaves, stunted growth, and small white maggots near the base of the plant.
- What causes it: Onion flies lay their eggs near the base of the plant, and the larvae burrow into the bulbs and roots. Our alkaline soil can sometimes exacerbate the issue.
- How to fix/prevent it: Use row covers to prevent flies from laying eggs. Remove and destroy any infested plants. Encourage beneficial nematodes in the soil.
Rust
- What it looks like: Rusty orange, yellow, or brown pustules on leaves and stems, mostly on undersides. Leaves yellow and drop prematurely.
- What causes it: Various rust fungi that spread via wind-borne spores. While our low humidity helps, monsoon moisture can create favorable conditions.
- How to fix/prevent it: Remove affected leaves. Avoid overhead watering. Improve air circulation. Apply sulfur or copper fungicide. Don't work among wet plants. Rotate crops.
Bulb Rot
- What it looks like: Soft, mushy bulbs and yellowing, wilting leaves.
- What causes it: Overwatering or poorly draining soil, especially during our monsoon season, can lead to bulb rot.
- How to fix/prevent it: Ensure your soil is well-draining. Avoid overwatering, especially during periods of heavy rainfall. Plant chives in raised beds if necessary.
Desert Southwest Specific Challenges: Our extreme heat can stress chives, making them more susceptible to pests and diseases. The arid humidity requires careful watering to avoid both drought stress and fungal problems. Our monsoon season can bring periods of intense rainfall, increasing the risk of bulb rot.
Best Companions for Chives
Plant these nearby for healthier Chives and better harvests.

Keep Away From
Companion Planting Details
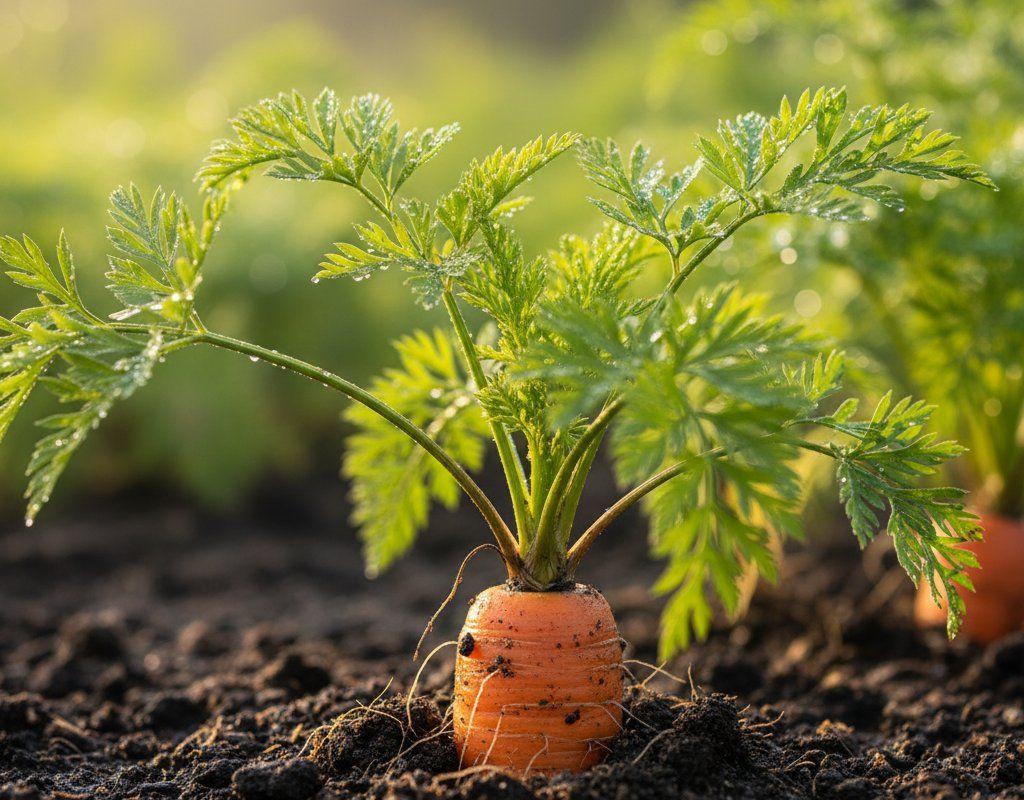
Chives make great companions for several plants in the Desert Southwest garden. Carrots benefit from chives because the chives repel carrot rust flies. Tomatoes thrive near chives because chives deter aphids and other pests. Roses also benefit from chives, as they help to prevent black spot and mildew. Grapes also benefit from the pest-repelling properties of chives.
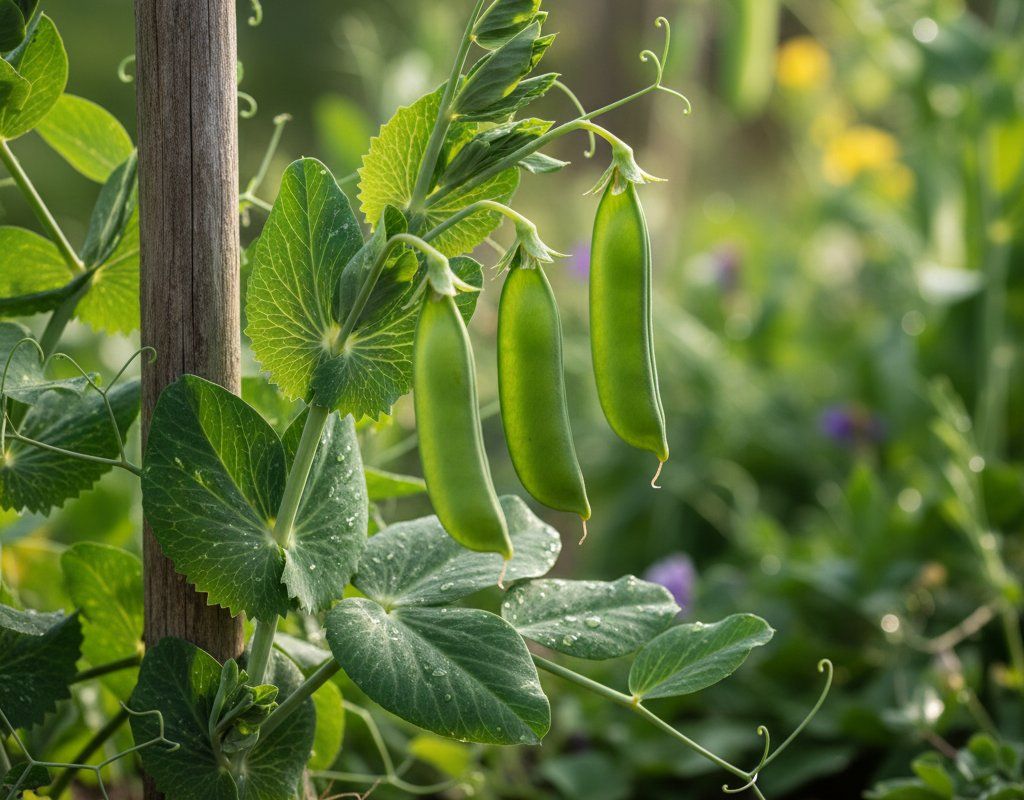
Avoid planting chives near beans and peas. Chives can inhibit the growth of these legumes, reducing your harvest.
🌸Best Flowers to Plant with Chives
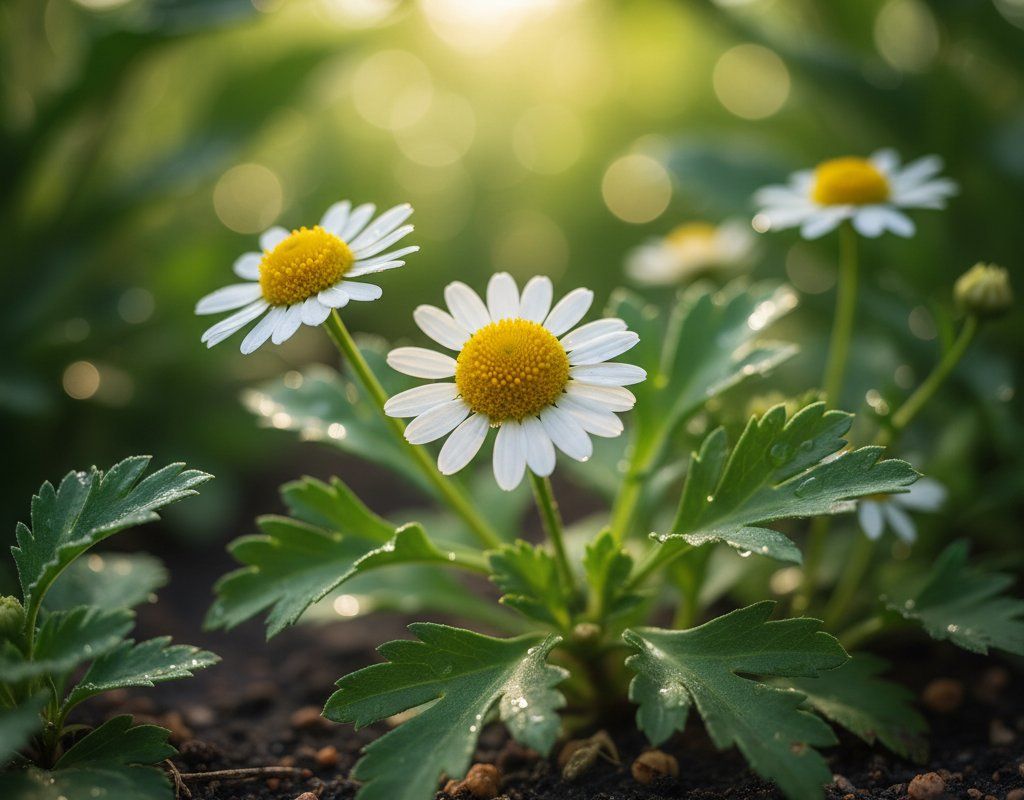
These flowers protect your Chives from pests and attract pollinators for better harvests.
For Pest Control


Get a Reminder When It's Time to Plant
We'll email you when key planting windows open for your zone.