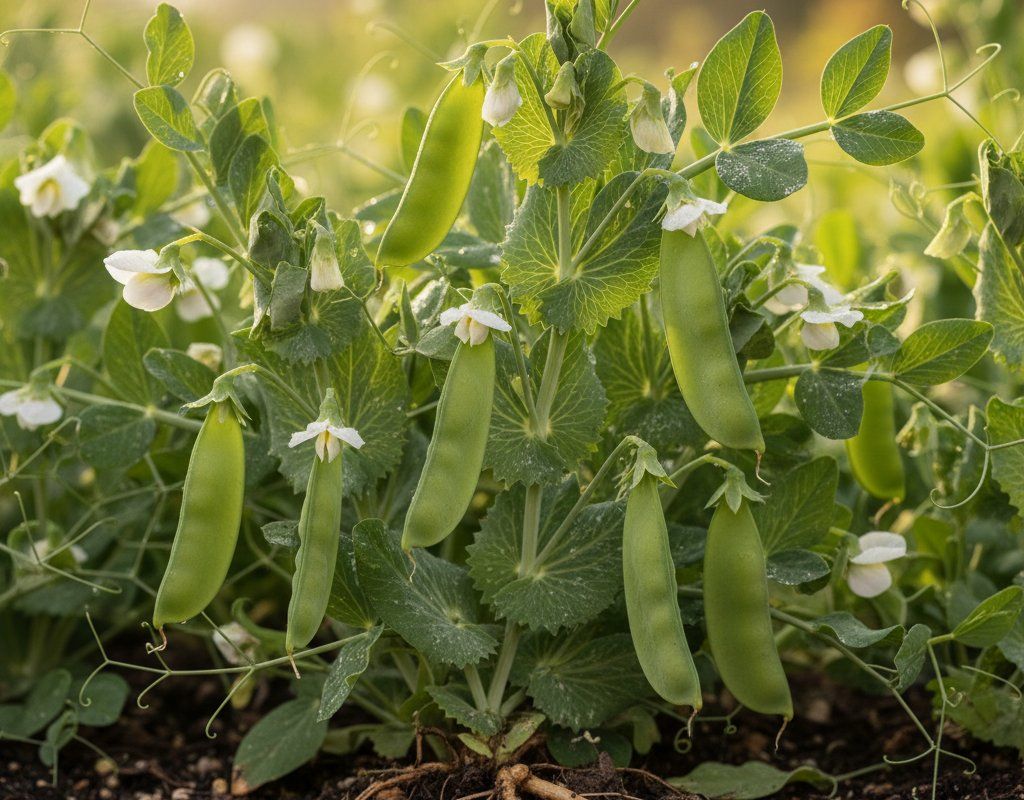
Snow Peas in Zone 4B — Mountain West
Pisum sativum var. saccharatum · Your Complete 2026 Planting Guide
Planning Ahead — Great!
You’re ahead of the season. Here’s when to start.
Mark Your Calendar
How to Plant Snow Peas in Zone 4B — Mountain West
Here are all your options for getting snow peas in the ground, from the easiest method to more advanced approaches.
Direct Sow Seeds
RecommendedEarly April through mid July
around April 3
Consider succession planting every 2-3 weeks for continuous harvest.
Same as garden peas — direct sow in early spring.
Buy Starts
Works WellMid April through mid May
around April 17
Plant purchased starts after last frost (May 15).
Start Seeds Indoors
ChallengingThis plant is typically not started indoors.
Transplant Outdoors
Timing InfoMid April through mid May
around April 17
Can tolerate light frost, but wait for soil to be workable.
You have a nice window — no need to rush.
Fall Planting
Early July through early August
July 19 ideal · Direct sow for fall harvest
Plant a second crop in mid-summer for fall harvest. Snow Peas actually prefers the cooling temperatures of fall.
Overview
Snow Peas are a fantastic addition to any Mountain West garden. Their sweet, crisp pods are delicious raw in salads, stir-fried, or simply enjoyed straight from the vine. The cool nights we experience even in summer here in the Mountain region actually enhance their flavor, making them even sweeter. Plus, the satisfaction of harvesting your own fresh veggies in our challenging climate is hard to beat!
Our high altitude, intense sun, and short growing season present unique hurdles for gardeners. However, with careful timing, Snow Peas thrive here. Our 128-day growing season is just enough to enjoy multiple harvests if you plan well.
Transplanting Outdoors
While direct sowing is preferred, you *can* transplant Snow Peas if you get a very early start. Begin transplants indoors about 4-6 weeks before the last expected frost. Transplant outdoors in mid-April through mid-May, after hardening them off for about a week.
Hardening off is critical. Gradually expose your seedlings to the intense Mountain sun and cooler temperatures for increasing periods each day. This prevents transplant shock.
Space transplants 3-4 inches apart. Keep an eye out for late frosts, which are common in the Mountain West even in late spring. Be ready to cover your young plants if temperatures dip unexpectedly.
Direct Sowing
Direct sowing is the most common and successful method for Snow Peas in our region. Sow seeds directly into the garden from early April through mid-July. The soil temperature should be at least 45°F for optimal germination.
Prepare the soil by loosening it and amending with compost. Snow Peas prefer well-drained soil. Plant seeds 1 inch deep and 3-4 inches apart.
Keep the soil consistently moist until germination, which usually takes about a week or two. Since the soil here tends to be alkaline, consider adding some peat moss around the plants to increase acidity.
Watering Snow Peas in Zone 4B (Mountain West)
Consistent watering is essential for Snow Peas, especially during flowering. While we have moderate-at-altitude summer heat and low humidity, our dry climate means supplemental watering is almost always necessary. Aim to keep the soil evenly moist, but not waterlogged.
In the spring, when temperatures are cooler, you might only need to water once or twice a week, providing about 1 inch of water each time. As summer progresses and temperatures rise, increase watering to every other day, or even daily, ensuring the top 2 inches of soil never dry out—use the finger test to check. Water at the base of the plants to avoid wetting the foliage, which can encourage powdery mildew even in our low-humidity environment.
Signs of underwatering include wilting leaves and stunted growth. Overwatering can lead to yellowing leaves and root rot. A layer of mulch, like straw or wood chips, helps retain moisture and regulate soil temperature, which is especially helpful during our intense summer sun.
Supporting Your Snow Peas
Snow Peas are vining plants and need support to grow properly. A trellis is the best option. Even though their vines are lighter than those of snap peas, they still need something to climb.
Install the trellis at planting time to avoid disturbing the roots later. A simple string trellis, netting, or even twiggy branches stuck in the ground will work well.
As the plants grow, gently guide the vines onto the trellis. They will eventually grab on their own. Training them early encourages them to climb vertically, maximizing space and airflow.
🧪Fertilizing Snow Peas
Feeding Schedule
Organic Fertilizer Options
Harvest Time
You can expect your first Snow Pea harvest from late May through late September, about 55 days after planting. The key is to harvest when the pods are flat, tender, and you can just barely see the developing peas inside. The pods should be translucent and crisp.
Harvest regularly, every few days, to encourage continued production. Use scissors or your fingers to gently snap off the pods, being careful not to damage the plant.
As our first frost approaches in mid-September, harvest any remaining pods, even if they are not quite fully mature. They'll still be delicious! You can also cover your plants with a frost blanket to extend the harvest a bit longer if a light frost is predicted.
Common Problems in Zone 4B (Mountain West)
Here are some common problems you might encounter with Snow Peas in the Mountain West:
Powdery Mildew
- What it looks like: White or grayish powdery coating on leaves, stems, and sometimes fruit. Leaves curl, yellow, and die. Reduces plant vigor.
- What causes it: Various fungi that thrive in warm days, cool nights, and moderate humidity. Dry leaf surfaces actually favor it (unlike most fungi). Our fluctuating temperatures can create ideal conditions.
- How to fix/prevent it: Improve air circulation through spacing and pruning. Remove affected leaves. Neem oil or potassium bicarbonate sprays help. Milk spray (1 part milk to 9 parts water) is surprisingly effective. Plant resistant varieties.
Pea Aphids
- What it looks like: Tiny green insects clustered on stems and leaves, especially on new growth. Leaves may be distorted or yellowed. Sticky honeydew can attract ants.
- What causes it: Aphids are attracted to stressed plants. They thrive in warm, dry conditions, which we often experience in the Mountain West.
- How to fix/prevent it: Strong blasts of water from a hose can dislodge aphids. Introduce beneficial insects like ladybugs and lacewings. Insecticidal soap or neem oil can also be effective.
Root Rot
- What it looks like: Yellowing leaves, stunted growth, and wilting, even with adequate watering. Roots are brown, mushy, and may have a foul odor.
- What causes it: Overwatering and poorly drained soil create an environment where fungal pathogens thrive. Our alkaline soil can exacerbate the problem.
- How to fix/prevent it: Ensure good drainage by amending soil with compost and avoiding overwatering. Plant in raised beds if necessary. Use a fungicide if the problem persists.
Fusarium Wilt
- What it looks like: Wilting on one side of the plant first, then spreading. Yellow leaves starting on one side. Brown streaks in stem when cut open.
- What causes it: Soil-borne fungus (Fusarium oxysporum). Persists in soil for years. Enters through roots. Warm soil temperatures favor it.
- How to fix/prevent it: No cure once infected — remove and destroy the plant. Plant resistant varieties (look for 'F' on seed labels). Rotate crops on a 4-year cycle. Solarize soil in hot zones. Raise soil pH above 6.5.
Mountain West Specific Challenges: Our intense sun can stress plants, making them more susceptible to pests and diseases. The low humidity, while generally beneficial, can also create conditions favorable for powdery mildew. Be vigilant about watering and provide shade during the hottest part of the day if needed.
Best Companions for Snow Peas
Plant these nearby for healthier Snow Peas and better harvests.
View Full Companion Planting Chart →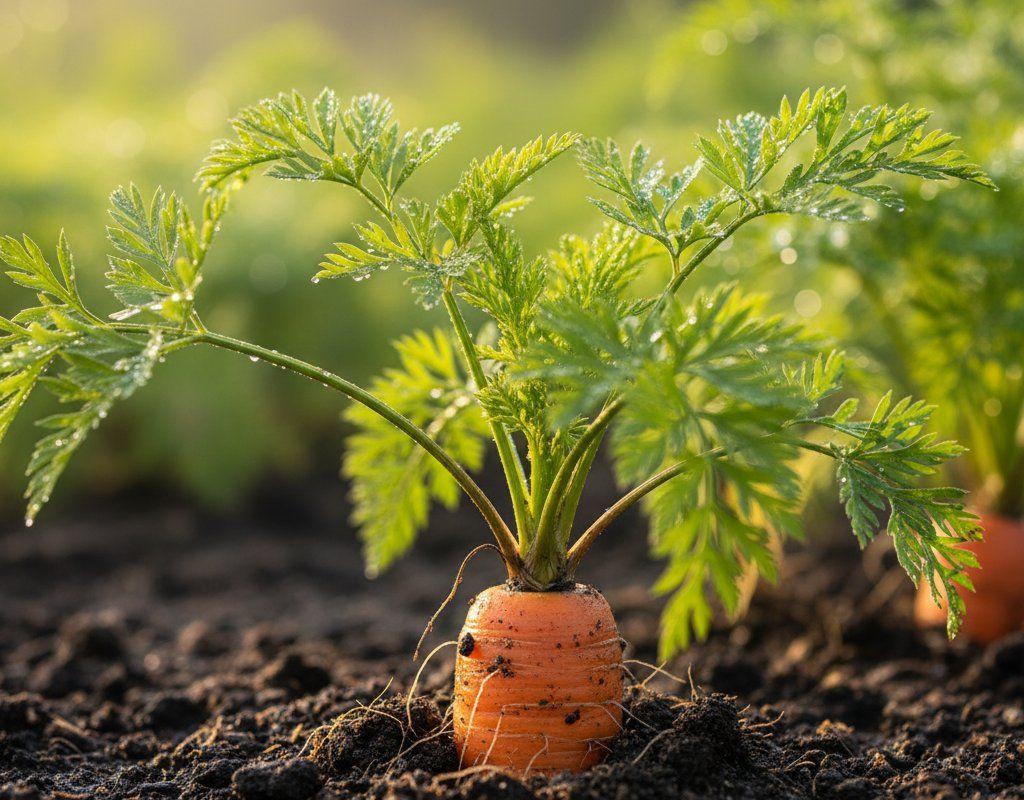

Companion Planting Details
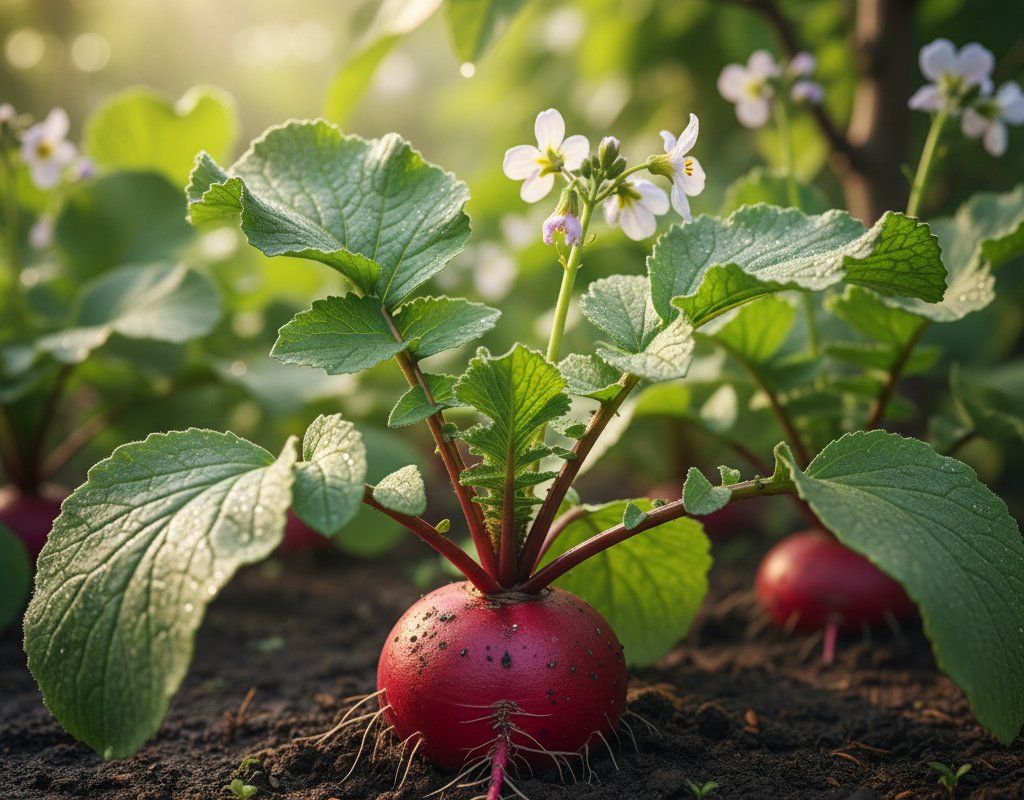
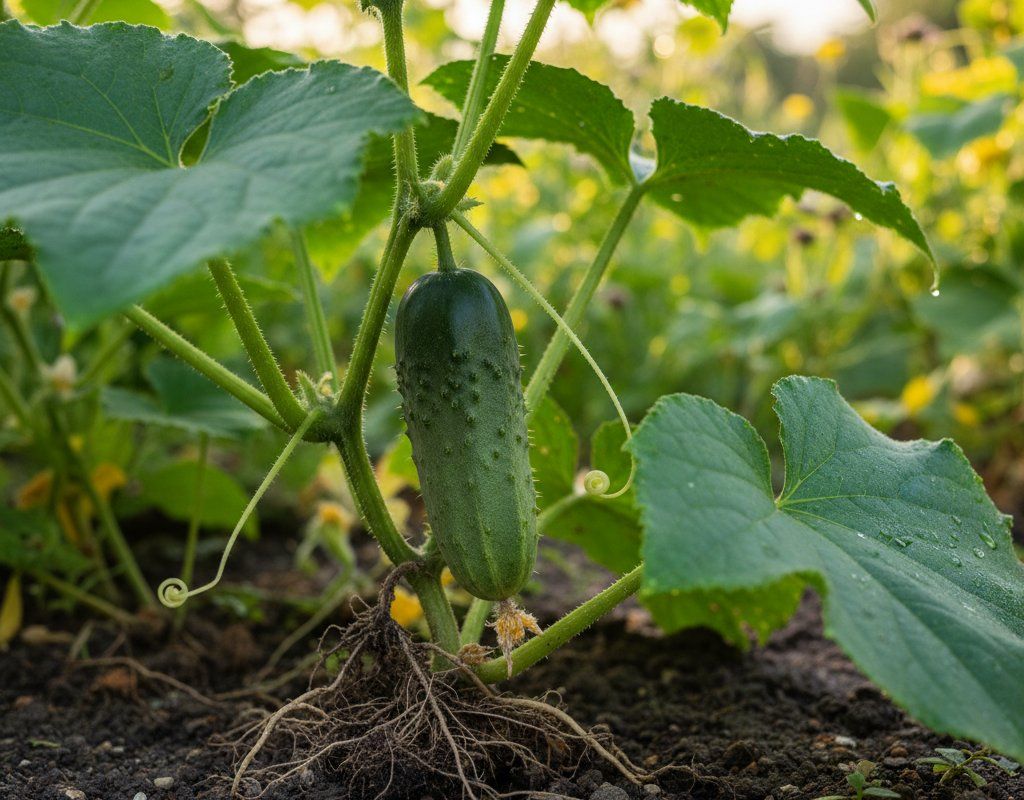
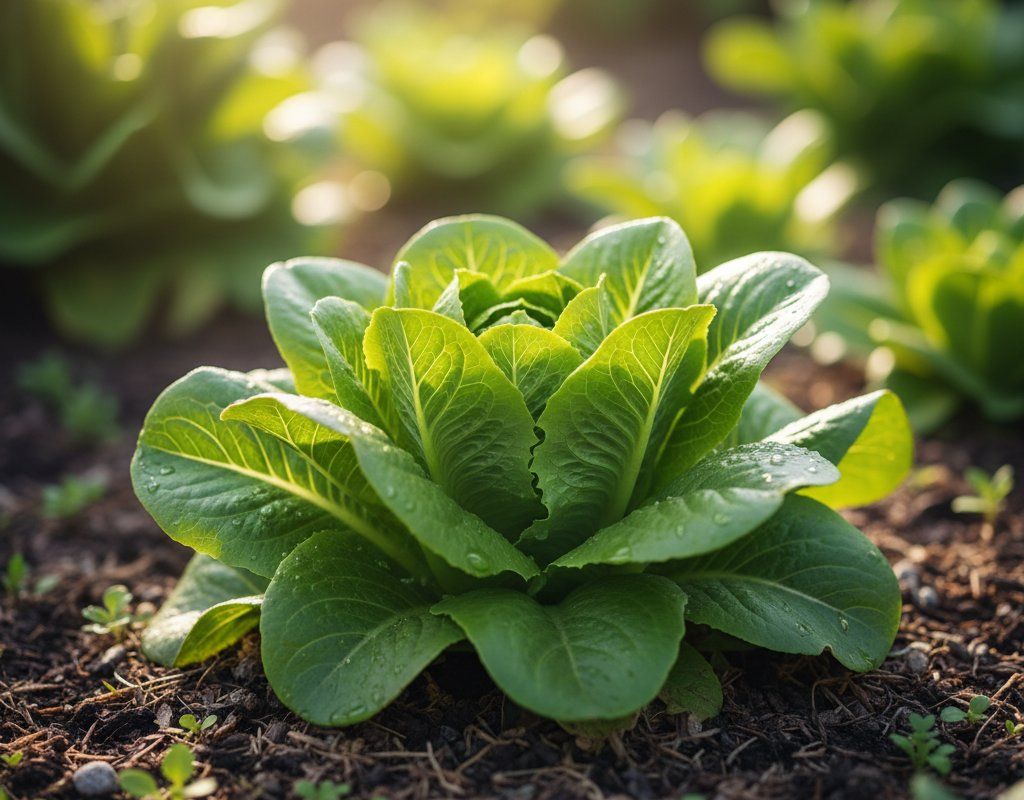
Companion planting can be beneficial for Snow Peas in the Mountain West. Carrots and radishes make good companions because they loosen the soil, aiding drainage. Cucumbers and corn provide shade during the hottest part of the day, which can help prevent bolting. Lettuce also benefits from the shade provided by Snow Peas.
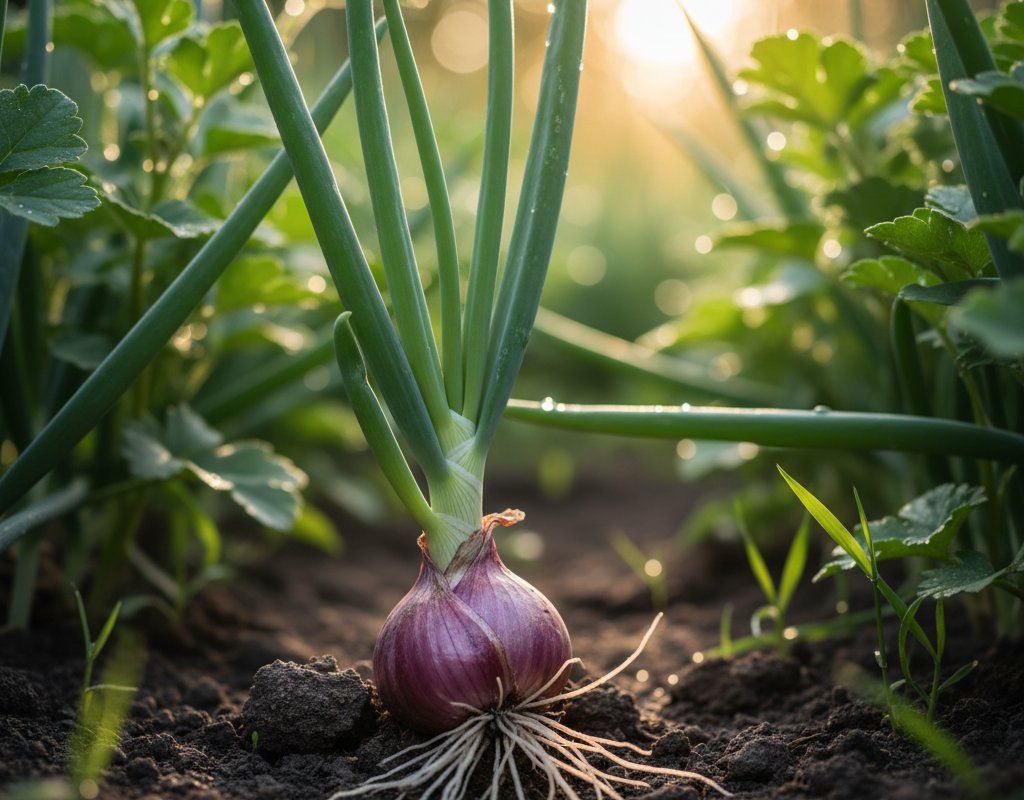
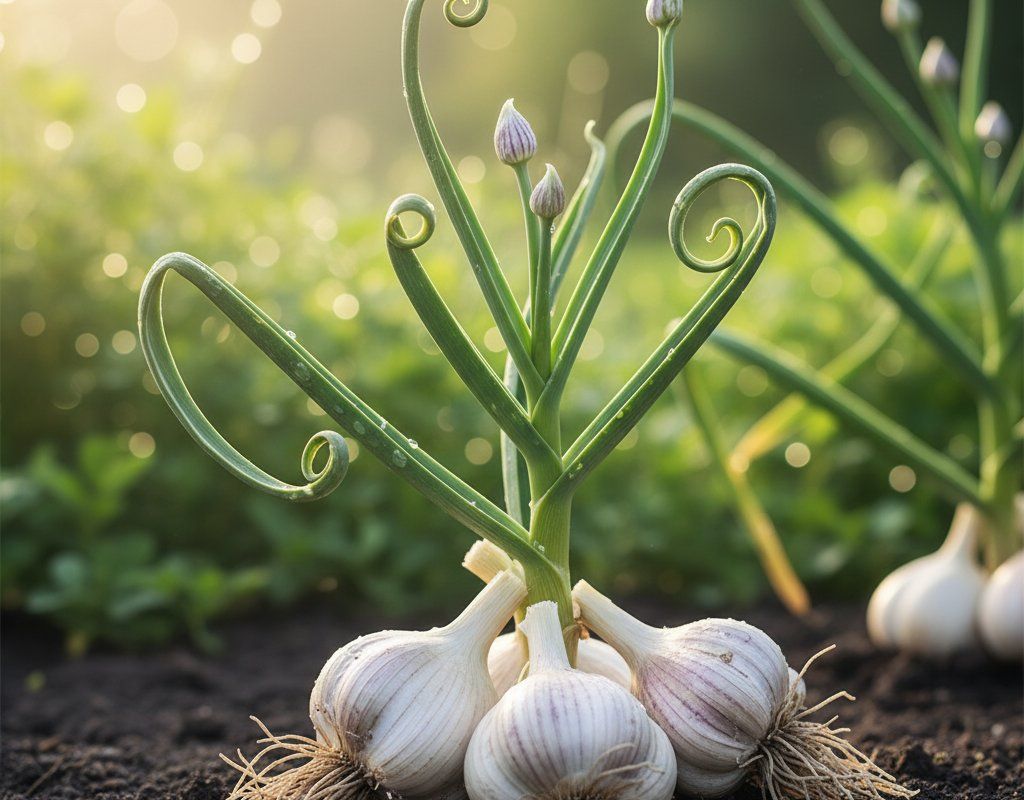
Avoid planting Snow Peas near onions and garlic. These plants inhibit the growth of peas and other legumes. By choosing the right companions, you can create a thriving and productive garden, even in our challenging Mountain climate.
🌸Best Flowers to Plant with Snow Peas
These flowers protect your Snow Peas from pests and attract pollinators for better harvests.


For Pollinators


Get a Reminder When It's Time to Plant
We'll email you when key planting windows open for your zone.