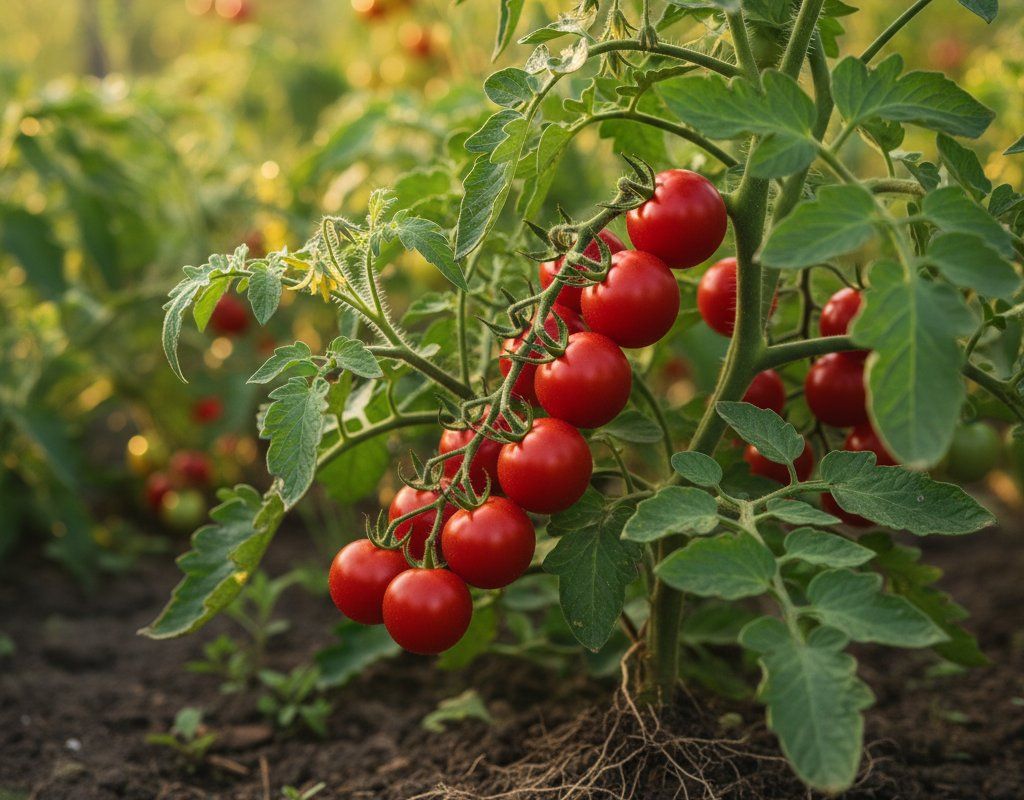
Cherry Tomatoes in Zone 9A — Desert Southwest
Solanum lycopersicum var. cerasiforme · Your Complete 2026 Planting Guide
Time to Buy Starts!
Seed starting window passed, but starts are available now.
Buy Starts Now
Head to your local nursery, Home Depot, or farmers market for transplants.
- Look for stocky plants with dark green leaves
- Avoid leggy seedlings or plants already flowering
- Check that roots aren't circling the pot (rootbound)
How to Plant Cherry Tomatoes in Zone 9A — Desert Southwest
Here are all your options for getting cherry tomatoes in the ground, from the easiest method to more advanced approaches.
Start Seeds Indoors
RecommendedMid January through early February
around January 18
Then transplant: Early to late March
Start seeds 6-8 weeks before transplanting outdoors.
Buy Starts
Works WellEarly to late March
around March 1
Plant purchased starts after last frost (February 15).
Direct Sow Seeds
ChallengingDirect sowing is not typical for Cherry Tomatoes.
Transplant Outdoors
Timing InfoEarly to late March
around March 1
Wait until nighttime temperatures stay above 50°F.
You have a nice window — no need to rush.
Overview
Cherry tomatoes thrive in our Desert Southwest climate, offering sweet, concentrated flavor that puts store-bought varieties to shame. These prolific producers deliver hundreds of bite-sized gems throughout our long growing season, perfect for salads, snacking, and roasting when the extreme heat makes cooking indoors unbearable. Their smaller size means faster ripening, which is crucial for beating our intense summer temperatures.
While our arid climate and alkaline soil present challenges, cherry tomatoes are surprisingly adaptable when planted at the right time. With our 298-day growing season and two distinct growing periods, you can enjoy fresh harvests from late spring through early summer, then again in fall if you plan succession plantings. The key is working with our climate patterns rather than against them.
Starting Seeds Indoors
Start your cherry tomato seeds indoors during mid-January through early February, about six weeks before your planned transplant date. Our very early spring character means you'll want seeds sprouted and growing strong before outdoor conditions become suitable. Set up seed trays in a warm spot (70-75°F) with good light – a sunny south window or grow lights work well.
Use quality seed-starting mix and keep it consistently moist through bottom watering, which prevents damping-off disease that can plague seedlings in our dry indoor air. Fill a shallow tray with water and let your seed containers absorb moisture from below rather than watering from above.
Once seeds germinate, which typically takes 7-10 days, ensure they get 12-14 hours of light daily. Our intense desert sun will shock unprepared seedlings, so strong indoor lighting helps build sturdy stems that can handle the transition to outdoor conditions.
Transplanting Outdoors
Transplant your seedlings outdoors from early to late March, once nighttime temperatures consistently stay above 50°F. Before moving them outside permanently, harden them off over one week by gradually increasing their outdoor exposure – start with 2-3 hours of morning sun, then extend daily until they're outside full-time.
Space plants 24-36 inches apart to allow for good air circulation, which becomes crucial as our temperatures climb toward summer. Cherry tomatoes grow vigorously in our mild spring weather, and proper spacing prevents overcrowding that can lead to disease issues later.
Watch for late cold snaps during transplant season – our desert nights can still surprise you with unexpected temperature drops. Keep row covers or buckets handy to protect young plants if a cold front moves through, though this becomes less likely as March progresses into April.
Watering Cherry Tomatoes in Zone 9A (Desert Southwest)
Cherry tomatoes need consistent, deep watering throughout their growing season, especially in our arid climate where soil moisture evaporates quickly. Plan on providing 1-2 inches of water per week, adjusting upward as temperatures climb and plant size increases. The finger test works well here – stick your finger 2 inches into the soil, and if it's dry, it's time to water.
Water deeply at the base of plants rather than overhead to minimize evaporation and prevent disease issues. Our low humidity means water on leaves evaporates quickly, but it's still better practice to keep foliage dry. Morning watering allows plants to absorb moisture before the day's heat peaks.
Inconsistent watering leads to fruit cracking, a common problem with cherry varieties that occurs when plants experience the dry-then-wet cycle typical of infrequent deep watering. This becomes especially problematic when our monsoon rains arrive, delivering heavy moisture after weeks of dry conditions.
Apply 2-3 inches of organic mulch around plants to retain soil moisture and moderate temperature swings that stress root systems. In our climate, mulch is essential for maintaining the consistent soil moisture that prevents both blossom end rot and fruit cracking.
Supporting Your Cherry Tomatoes
Install tall tomato cages (at least 5-6 feet) or sturdy stakes at planting time, as cherry tomatoes are indeterminate growers that reach 6-8 feet in our favorable spring conditions. These vigorous plants will sprawl across the ground without support, making fruit vulnerable to soil-dwelling pests and diseases common in our region.
Cages work better than stakes for cherry tomatoes since their numerous side branches need multiple support points. If using stakes, plan on tying branches every 12-18 inches as plants grow. Our frequent spring winds can snap unsupported branches loaded with fruit clusters.
Train main stems upward and allow some side shoots to develop, as cherry tomatoes produce fruit on these laterals. Unlike larger tomato varieties, you don't need to be as aggressive about removing growth since the small fruits ripen quickly and don't weigh down branches as heavily.
Pruning & Maintaining Cherry Tomatoes
Remove suckers that develop between the main stem and leaf branches, focusing primarily on lower suckers that reduce air circulation near soil level. Good airflow becomes increasingly important as our humidity drops and temperatures rise, helping prevent fungal diseases that thrive in stagnant air pockets.
You can leave more upper suckers on cherry varieties than you would on larger tomatoes, since their small fruits ripen quickly and don't create the weight burden that breaks branches. Focus your energy on removing any growth below the first fruit cluster and any suckers that crowd the plant's interior.
As the growing season progresses toward our first frost around early December, top plants by removing growing tips in late October. This directs energy toward ripening existing fruit rather than producing new flowers that won't have time to mature before cold weather arrives.
🧪Fertilizing Cherry Tomatoes
Feeding Schedule
Organic Fertilizer Options
Harvest Time
Expect your first harvest from late April through mid-June, roughly 60 days from transplanting. Cherry tomatoes ripen in clusters, with fruits changing from green to their mature color – typically red, but varieties include yellow, purple, and striped options. Ripe cherries feel slightly soft and often pop right off the vine with gentle pressure.
Pick tomatoes when fully colored but still firm for best flavor and storage. Unlike larger varieties, cherry tomatoes can become overripe quickly in our intense heat, so check plants daily once harvest begins. A single plant can produce hundreds of fruits over the season when properly maintained.
Continue harvesting regularly to encourage continued production, as leaving overripe fruit on the vine signals the plant to slow down flower production. During peak season, you might need to pick every other day to stay ahead of ripening.
As first frost approaches in early December, harvest all green fruits and bring them indoors to ripen on windowsills. Cherry tomatoes ripen well off the vine, though flavor won't be quite as intense as vine-ripened fruit. You can also pull entire plants and hang them in a cool, dry place to continue ripening.
Common Problems in Zone 9A (Desert Southwest)
Cracking appears as splits in the tomato skin, either in circles around the stem end or radiating lines from stem to bottom. You'll notice this most after heavy watering following dry periods, which is common when our monsoon rains arrive after weeks of dry conditions. Prevent cracking by maintaining consistent soil moisture through regular deep watering and mulching heavily to buffer moisture fluctuations.
Blossom end rot shows as dark brown or black leathery patches on the bottom of fruits, often affecting the season's first tomatoes. Despite appearing to be a disease, it's actually a calcium deficiency caused by inconsistent watering that prevents proper nutrient uptake. Fix this by watering consistently – the single most effective solution – and avoiding over-fertilization with nitrogen, which interferes with calcium absorption.
Early blight creates brown spots with distinctive bullseye patterns on lower leaves first, then spreads upward as leaves yellow and drop. This fungal disease thrives in our warm conditions and spreads through soil splash onto foliage. Combat it by removing affected leaves immediately, mulching to prevent soil splash, watering at plant bases rather than overhead, and ensuring good air circulation through proper spacing.
Hornworms strip large sections of leaves overnight, leaving dark droppings below bare stems. These large green caterpillars with white diagonal stripes can defoliate entire plants within days. Hand-picking works well since they don't bite, or spray with Bt (Bacillus thuringiensis) for organic control. If you find hornworms covered with white cocoons, leave them alone – those are beneficial parasitic wasp eggs that will create more natural predators.
Our Desert Southwest climate intensifies several of these issues: extreme heat stresses plants and makes consistent watering more challenging, while our alkaline soil can worsen calcium uptake problems that lead to blossom end rot. The good news is our low humidity reduces many fungal disease pressures compared to humid climates.
Best Companions for Cherry Tomatoes
Plant these nearby for healthier Cherry Tomatoes and better harvests.
View Full Companion Planting Chart →


Companion Planting Details
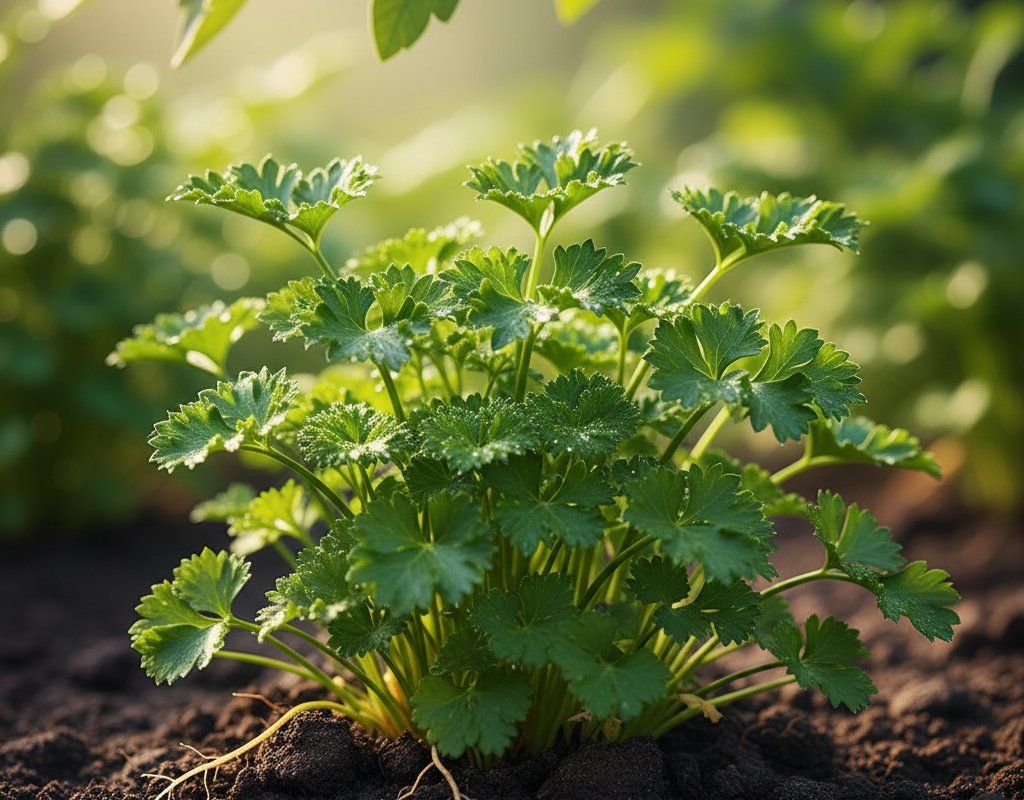
Plant basil near your cherry tomatoes – it reportedly improves tomato flavor while repelling aphids and other small pests that multiply quickly in our warm conditions. Carrots make excellent companions since their deep taproots don't compete with tomato roots, and they help break up our often-compacted desert soil. Parsley attracts beneficial insects that prey on tomato pests, while marigolds deter nematodes that can be problematic in our year-round growing climate.
Avoid planting brassicas like cabbage or broccoli near tomatoes, as they're heavy nitrogen feeders that compete for nutrients, and they prefer cooler conditions that conflict with tomato growing seasons. Skip fennel entirely – it inhibits tomato growth through chemical interactions. Corn creates too much shade for tomatoes and attracts similar pests like hornworms, making pest management more difficult in our concentrated growing spaces.
🌸Best Flowers to Plant with Cherry Tomatoes
These flowers protect your Cherry Tomatoes from pests and attract pollinators for better harvests.
For Pest Control








Get a Reminder When It's Time to Plant
We'll email you when key planting windows open for your zone.