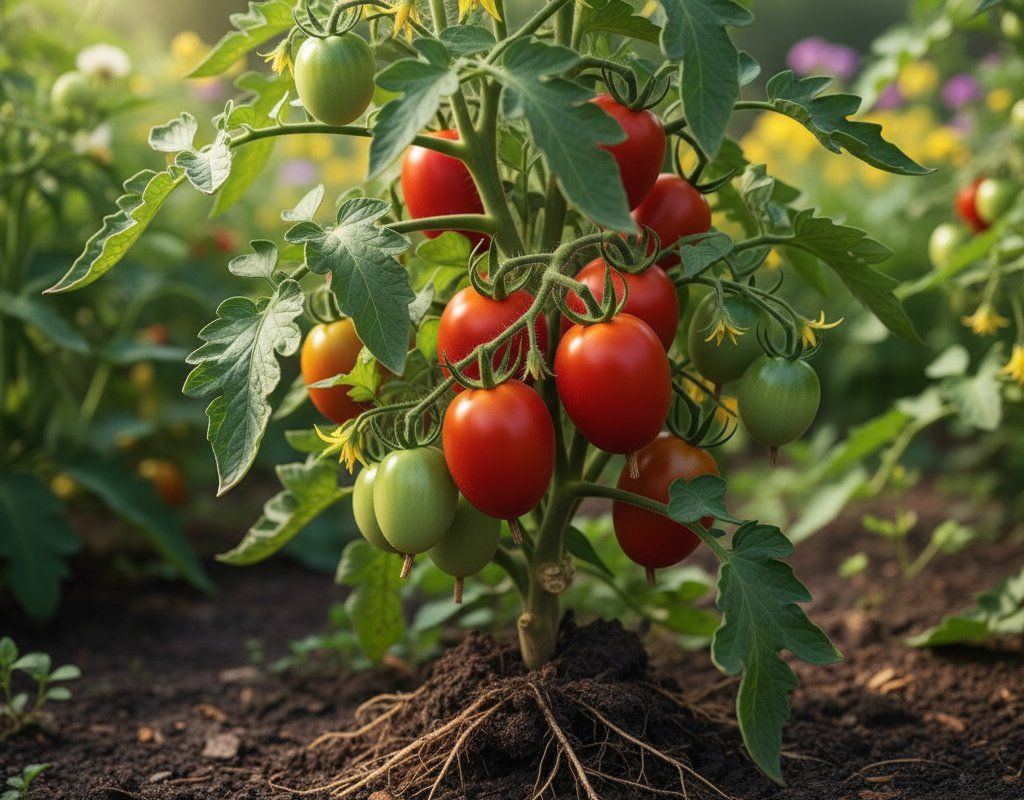
Roma Tomatoes in Zone 7A — Pacific Northwest
Solanum lycopersicum · Your Complete 2026 Planting Guide
Planning Ahead — Great!
You’re ahead of the season. Here’s when to start.
Mark Your Calendar
How to Plant Roma Tomatoes in Zone 7A — Pacific Northwest
Here are all your options for getting roma tomatoes in the ground, from the easiest method to more advanced approaches.
Start Seeds Indoors
RecommendedMid March through early April
around March 23
Then transplant: Early May through early June
Start seeds 6-8 weeks before transplanting outdoors.
Buy Starts
Works WellEarly May through early June
around May 4
Plant purchased starts after last frost (April 20).
Direct Sow Seeds
ChallengingDirect sowing is not typical for Roma Tomatoes.
Transplant Outdoors
Timing InfoEarly May through early June
around May 4
Wait until nighttime temperatures stay above 50°F.
You have a nice window — no need to rush.
Overview
Roma tomatoes are a standout choice for Pacific Northwest gardeners who want a reliable paste tomato that actually thrives in our mild summers. These determinate plants produce heavy clusters of meaty, low-moisture fruit perfect for sauces, canning, and drying — and they do it all within our 183-day growing season without needing the intense heat that many paste varieties demand. The cool nights we're known for actually concentrate the flavors, giving you tomatoes with better taste than anything you'll find at the store.
While Roma tomatoes are technically tender annuals that need some coddling in our wet springs and cool soil, the timing works beautifully once you get the rhythm down. Starting seeds indoors during our typically overcast March gives them the head start they need, and transplanting after our mid-April last frost sets them up perfectly for our dry summer months when consistent watering becomes your main focus.
Starting Seeds Indoors
Start your Roma tomato seeds indoors from mid-March through early April, about 6 weeks before you plan to transplant outdoors. This timing works perfectly with our slow spring start — while it's still too cool and wet outside, you're giving your plants the warm, controlled environment they need to develop strong roots and sturdy stems.
Set up seed trays with a quality seed-starting mix and keep them consistently warm (70-75°F works well). A heat mat helps tremendously during our cool spring days when indoor temperatures can be inconsistent. Once seeds germinate, they'll need good light — either a sunny south window or grow lights positioned 2-3 inches above the seedlings.
Bottom watering is your friend here — it prevents the damping-off issues that can plague tomato seedlings in our naturally humid spring conditions. Place seed trays in a shallow dish of water and let the soil soak up moisture from below, which keeps the surface drier while ensuring roots get the water they need.
Transplanting Outdoors
Plan to transplant your Roma tomatoes outdoors from early May through early June, once soil temperatures consistently stay above 55°F and you're past the risk of late frost. Here in the Pacific Northwest, this timing gives your plants the full benefit of our long, mild growing season without the shock of cold soil that can stunt growth for weeks.
Hardening off is crucial — spend a full week gradually introducing your indoor plants to outdoor conditions. Start with 2-3 hours of filtered sunlight and work up to full sun exposure over 7-10 days. Our spring weather can swing from overcast and cool to surprisingly bright, so this gradual transition prevents transplant shock.
Space Roma plants 24-36 inches apart to ensure good air circulation, which is especially important in our naturally humid spring conditions. The wider spacing also gives you room to walk between plants for watering at the base — essential for preventing the fungal issues that our wet springs can encourage.
Watering Roma Tomatoes in Zone 7A (Pacific Northwest)
Roma tomatoes need consistent, deep watering throughout our dry summer months, and this is where many Pacific Northwest gardeners struggle. Unlike regions with regular summer rain, you'll be the sole source of water from June through September. Plan to provide 1-2 inches per week, delivered slowly and deeply rather than light, frequent sprinklings.
The finger test works perfectly here — stick your finger 2 inches into the soil near the base of the plant. If it's dry at that depth, it's time to water. During our mild summers with typical highs around 82°F, this usually means watering 2-3 times per week, but always let the soil guide you rather than the calendar.
Water at the base of plants rather than overhead, taking advantage of our naturally low summer humidity. Soaker hoses or drip irrigation work beautifully, or simply use a watering wand to direct water to the soil around each plant. Consistent moisture is absolutely critical for Roma tomatoes — their elongated fruit shape makes them particularly prone to blossom end rot when water levels fluctuate.
Mulch heavily around plants with straw or shredded leaves to maintain even soil moisture and reduce your watering frequency. In our dry summer climate, a 3-4 inch mulch layer can cut your watering needs in half while keeping soil temperatures more consistent during those occasional heat waves above 85°F.
Supporting Your Roma Tomatoes
Install cages or stakes at planting time, even though Roma tomatoes are determinate and stay more compact than indeterminate varieties. The heavy fruit load these plants produce — often 15-20 pounds per plant — benefits tremendously from support, and the shorter, bushier growth habit means you can use 4-5 foot cages rather than the tall supports indeterminate tomatoes require.
Cages work particularly well for Roma tomatoes because the plants develop multiple stems that benefit from support in all directions. Choose sturdy cages with wide openings that let you reach through for harvesting — the wire grid types from garden centers often work better than the flimsy cone-shaped versions.
If you prefer staking, use sturdy 6-foot stakes driven 12 inches into the ground. As the plant grows, tie the main stem loosely with soft material like strips of old t-shirt, making the ties in a figure-8 pattern to avoid cutting into the stem. Pinch off suckers that develop in leaf joints to focus the plant's energy on fruit production.
🧪Fertilizing Roma Tomatoes
Feeding Schedule
Organic Fertilizer Options
Harvest Time
Your first Roma tomatoes will be ready from mid-July through early September, about 75 days from transplanting. Look for deep red color throughout the fruit, with flesh that feels firm but gives slightly when gently squeezed. The fruit should detach easily from the stem with a gentle twist — if you're pulling hard, it's not quite ready yet.
Unlike slicing tomatoes that you might pick slightly underripe, Roma tomatoes are best when fully colored on the plant. The thick walls and low moisture content that make them perfect for sauce also mean they need that full ripening time to develop proper flavor and texture.
Since Roma tomatoes are determinate, you'll get most of your harvest within a 2-3 week period rather than continuous production all season. This makes them perfect for sauce-making and preserving — you'll have plenty of ripe fruit at once to make it worth firing up the canning pot.
As first frost approaches in mid-October, pick any remaining green tomatoes and bring them indoors to ripen. Roma tomatoes ripen well off the vine when placed in a paper bag with a ripe apple or banana, or simply laid out in a single layer in a cool, dark place. Check them weekly and use as they turn red — they won't have quite the same flavor as vine-ripened fruit, but they're still excellent for cooking.
Common Problems in Zone 7A (Pacific Northwest)
Blossom End Rot This shows up as sunken, dark brown or black leathery patches on the bottom (blossom end) of your Roma tomatoes, often affecting the first fruits of the season. It's not a disease but a calcium deficiency caused by inconsistent watering — exactly what happens when our dry summers catch gardeners off guard with irregular watering schedules. The elongated shape of Roma tomatoes makes them particularly susceptible compared to round varieties. Fix this with consistent watering above all else, heavy mulching to maintain even soil moisture, and avoiding over-fertilizing with nitrogen which can interfere with calcium uptake.
Early Blight Watch for brown spots with distinctive concentric rings (like a bullseye or target) on lower leaves first, gradually spreading upward as leaves yellow and drop. This fungal disease thrives in the warm, humid conditions we sometimes get during wet springs, spreading via soil splash onto lower leaves during overhead watering. Remove and destroy affected leaves immediately (don't compost them), mulch heavily to prevent soil splash, water only at the base of plants, and improve air circulation through proper spacing. Copper fungicide can slow the spread if caught early.
Fusarium Wilt This appears as wilting on one side of the plant first, then spreading, with yellowing leaves starting on one side. Cut open an affected stem and you'll see brown streaks inside. This soil-borne fungus persists for years and enters through roots, favored by the warm soil temperatures we get during our mild summer heat. There's no cure once infected — remove and destroy the entire plant. Prevention means planting resistant varieties (look for 'F' on seed labels), rotating crops on a 4-year cycle, and raising soil pH above 6.5.
Pacific Northwest Specific Challenges Our region's combination of wet springs and dry summers creates a unique challenge for Roma tomatoes. The cool, moist conditions early in the season can encourage fungal issues, while the sudden transition to dry conditions in June often catches gardeners unprepared for consistent watering needs. Additionally, our relatively mild heat means Roma tomatoes may take longer to ripen than in hotter climates, making them more susceptible to late-season problems if you don't stay on top of watering and disease prevention throughout the growing season.
Best Companions for Roma Tomatoes
Plant these nearby for healthier Roma Tomatoes and better harvests.
View Full Companion Planting Chart →


Companion Planting Details
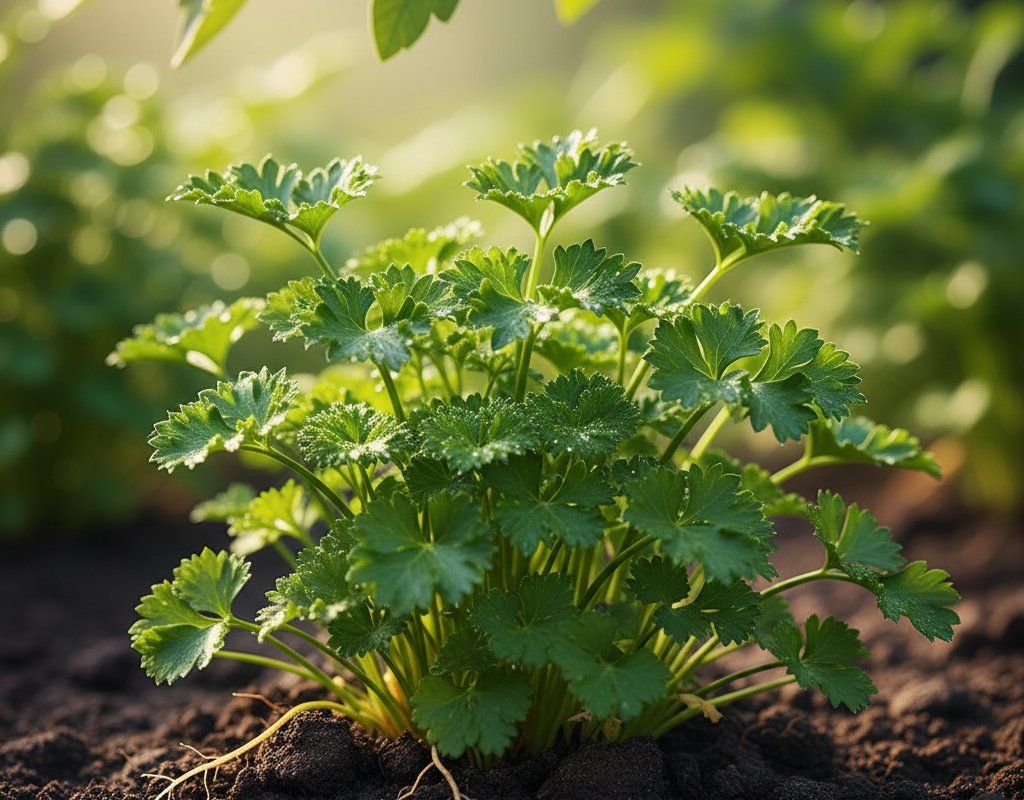
Plant basil near your Roma tomatoes — it naturally repels aphids and spider mites while supposedly improving tomato flavor, though the real benefit is having fresh basil right where you need it for sauce-making. Carrots make excellent companions because their taproots break up soil compaction around tomato roots, and their feathery foliage doesn't compete for light. Parsley attracts beneficial insects that prey on tomato pests, while marigolds help deter nematodes and add color to your tomato bed.
Avoid planting brassicas (cabbage, broccoli, kale) near Roma tomatoes — both crops are heavy feeders that compete for the same nutrients, and brassicas can stunt tomato growth. Keep fennel far away as it can inhibit tomato growth through allelopathy, and avoid corn since both crops attract similar pests and diseases. In our Pacific Northwest climate where space might be limited due to shorter growing seasons, it's especially important to give Roma tomatoes companions that enhance rather than compete with their growth.
🌸Best Flowers to Plant with Roma Tomatoes
These flowers protect your Roma Tomatoes from pests and attract pollinators for better harvests.
For Pest Control



For Pollinators

Get a Reminder When It's Time to Plant
We'll email you when key planting windows open for your zone.