
Tomato in Zone 3B — Midwest
Solanum lycopersicum · Your Complete 2026 Planting Guide
Planning Ahead — Great!
You’re ahead of the season. Here’s when to start.
Mark Your Calendar
How to Plant Tomato in Zone 3B — Midwest
Here are all your options for getting tomato in the ground, from the easiest method to more advanced approaches.
Start Seeds Indoors
RecommendedMid April through early May
around April 22
Then transplant: Early to late June
Start seeds 6-8 weeks before transplanting outdoors.
Tomatoes need 6-8 weeks head start indoors for best production.
Buy Starts
Works WellEarly to late June
around June 3
Plant purchased starts after last frost (May 20).
Look for stocky plants with dark green leaves. Avoid leggy or already-flowering seedlings.
Direct Sow Seeds
ChallengingDirect sowing is not typical for Tomato.
Transplant Outdoors
Timing InfoEarly to late June
around June 3
Wait until nighttime temperatures stay above 50°F.
Plan to transplant within a few weeks of your target date.
Overview
Growing tomatoes in the Midwest Zone 3B is one of gardening's greatest rewards — nothing beats the taste of a vine-ripened tomato that actually has flavor, picked warm from your own garden on an August afternoon. Our fertile Midwest soil and reliable summer heat create ideal conditions for tomatoes once they get established, and with 118 days in our growing season, we have plenty of time to grow exceptional crops that put grocery store varieties to shame.
Yes, our variable spring weather and that mid-September first frost mean we can't just toss seeds in the ground and hope for the best. But with proper indoor starting and careful timing, you'll be harvesting abundant, flavorful tomatoes from mid-August through the first frost. The key is working with our Midwest weather patterns rather than fighting them.
Starting Seeds Indoors
Start your tomato seeds indoors from mid-April through early May — about 6 weeks before you plan to transplant outdoors. This timing gives your plants a strong head start while avoiding the unpredictability of our moderate-to-late Midwest springs. You'll want warm soil (around 70°F) for good germination, so consider placing seed trays on top of your refrigerator or using a heat mat.
Set up your seeds in quality seed-starting mix in deep cells or 4-inch pots — tomatoes develop extensive root systems and need room to grow. Bottom watering works best to prevent damping-off disease; just set your trays in a shallow pan of water and let the soil wick up moisture. Once seedlings emerge (usually within 7-10 days), they'll need bright light — either a sunny south window or grow lights positioned 2-3 inches above the plants.
As your seedlings grow, keep them stocky by brushing your hand over them daily or running a small fan nearby. This mimics outdoor wind and strengthens their stems. You'll know they're ready to start hardening off when they have their second set of true leaves and nighttime temperatures consistently stay above 50°F.
Transplanting Outdoors
Wait until early to late June to transplant your tomatoes outdoors — this timing ensures soil has warmed thoroughly and our last frost risk has passed. Even though Memorial Day weekend is tempting, our Midwest springs can surprise you with an unexpected cold snap that will set your plants back significantly.
Start hardening off your seedlings about a week before transplant time. Begin with just an hour outdoors in a protected spot, gradually increasing exposure to wind, direct sun, and temperature fluctuations. By the end of the week, they should be spending full days outside and coming in only for the night.
Plant your hardened seedlings 24-36 inches apart in full sun locations. Our summer heat spells mean good air circulation is crucial for preventing disease. Bury the stem up to the first set of true leaves — tomatoes will develop roots along the buried stem, creating a stronger root system. Choose stocky plants with dark green leaves over tall, leggy ones, and avoid any that are already flowering as they often struggle to establish well.
Watering Tomato in Zone 3B (Midwest)
Consistent watering is absolutely critical for tomatoes in our moderate-to-humid Midwest climate. While we typically receive 30-40 inches of rainfall annually, summer heat spells and our clay soil's tendency to either hold too much water or become rock-hard when dry means you can't rely on nature alone. Inconsistent moisture causes blossom end rot, fruit cracking, and blossom drop — the three most frustrating tomato problems.
Water at the base of plants, not overhead, to prevent disease issues that thrive in our moderate humidity. Use the finger test: stick your finger 2 inches deep into the soil, and if it's dry, it's time to water. During our typical summer weather, established plants need about 1-1.5 inches per week, including rainfall. When temperatures hit the upper 80s or 90s, you may need to water every other day.
Signs of underwatering include wilting during the day (especially in heat), small fruit, and that telltale blossom end rot on the bottom of fruits. Overwatering shows up as yellowing lower leaves, sluggish growth, and increased disease pressure. A 3-4 inch layer of organic mulch around plants helps maintain consistent soil moisture and keeps our clay soil from baking hard during summer heat spells.
Apply water slowly and deeply rather than frequent shallow watering. Soaker hoses or drip irrigation work perfectly for tomatoes, delivering consistent moisture right where it's needed. During our wet summer periods, pull mulch away slightly to improve drainage around the stem.
Supporting Your Tomato
Install sturdy support systems at planting time — don't wait until your indeterminate tomatoes are already sprawling. These varieties will easily reach 6-8 feet tall in our fertile Midwest soil and need substantial support to handle both their weight and our occasional severe weather. Heavy-duty tomato cages (at least 5-6 feet tall) or strong stakes work best.
For cages, choose ones with wide openings so you can actually harvest fruit without wrestling through tiny squares. Drive them at least 8 inches into the ground — our summer thunderstorms can pack serious wind. For staking, use 6-8 foot posts driven 12 inches deep, and plan to tie plants every 12-18 inches as they grow.
Train your plants by gently weaving the main stem through cage openings or tying to stakes with soft materials like cloth strips or tomato ties. Never use wire or string that can cut into stems. Check and adjust ties every couple of weeks as stems thicken — what fits in June will be too tight by August.
Pruning & Maintaining Tomato
Remove suckers (shoots growing between the main stem and branches) that develop below the first flower cluster throughout the growing season. These lower suckers drain energy from fruit production and create dense foliage that restricts air circulation — important for preventing disease in our moderate humidity.
You can also remove upper suckers if you want fewer but larger tomatoes, though this is optional in our climate. Focus your pruning energy on removing any diseased, yellowing, or ground-touching leaves promptly. This improves air circulation and reduces disease pressure, particularly important during our humid summer periods.
As our first frost approaches in mid-September, stop all pruning and focus on ripening existing fruit. About 4-6 weeks before expected frost, you can pinch growing tips to direct energy into ripening rather than new growth. Remove any new flower clusters that appear after early August since they won't have time to develop mature fruit before frost.
🧪Fertilizing Tomato
Feeding Schedule
Organic Fertilizer Options
Harvest Time
Expect your first ripe tomatoes from mid-August through mid-September, depending on variety and when you transplanted. Look for fruits that have reached full color and give slightly when gently squeezed — they should twist easily off the vine with a gentle upward motion. Don't pull straight down as this can damage the plant.
Harvest regularly (every 2-3 days during peak season) to encourage continued production. Leaving overripe fruit on the plant signals it to stop producing new flowers. Pick fruits when they just start to show color if you're dealing with pest pressure or expect severe weather — they'll ripen perfectly indoors on your kitchen counter.
As our first frost approaches in mid-September, you'll need to make decisions about green tomatoes. Those that are mature-sized and starting to show any color will ripen indoors if harvested before frost. Wrap individual fruits in newspaper or place them in paper bags with an apple to speed ripening.
For the final harvest before frost, pick everything regardless of size. Small green tomatoes make excellent pickles or fried green tomatoes, while larger ones can ripen indoors for weeks, extending your harvest well into October. Pull the entire plant if frost threatens suddenly — you can hang it upside down in a cool garage to continue ripening remaining fruit.
Common Problems in Zone 3B (Midwest)
Blossom End Rot Dark brown or black leathery patches appear on the bottom (blossom end) of fruits, often affecting the first tomatoes of the season. This sunken, dry rot makes fruit inedible and typically shows up just as you're getting excited about your first harvest.
This isn't a disease but a calcium deficiency caused by inconsistent watering — exactly what happens in our clay soil during summer heat spells when soil goes from saturated to bone-dry quickly. The plant can't uptake calcium without consistent moisture. Water deeply and consistently, and apply 3-4 inches of mulch to buffer moisture swings. Remove affected fruits immediately so the plant redirects energy to healthy ones.
Early Blight Brown spots with distinctive concentric rings (bullseye pattern) appear on lower leaves first, then spread upward. Leaves turn yellow and drop, and the disease can eventually reach fruit, causing dark, leathery spots with the same ring pattern.
This fungal disease thrives in our moderate-to-humid summers and spreads when soil splashes onto lower leaves during rain or overhead watering. Remove affected leaves immediately (bag them, don't compost), mulch heavily to prevent soil splash, and water only at the base of plants. Space plants properly for air circulation and consider copper fungicide if the problem persists.
Hornworms Large sections of leaves disappear overnight, and you'll find dark green droppings on leaves and soil below. The culprits are huge (up to 4 inches) green caterpillars with white diagonal stripes that blend perfectly with tomato stems.
These larvae of hawk moths can strip a plant bare in just a few days. Handpicking is most effective — they don't bite, just look intimidating. Check plants in early morning or evening when they're most active. If you find hornworms with white cocoons attached, leave them alone — those are beneficial parasitic wasps that will kill the hornworm and produce more beneficial insects.
Fruit Cracking Tomatoes develop splits in their skin — either concentric circles around the stem end or radial cracks extending from the stem. These splits expose the flesh to rot and ruin otherwise perfect fruit.
Heavy rain or watering after dry periods causes fruit to absorb water faster than the skin can expand. This is common in our wet summers when drought stress is followed by heavy downpours. Maintain consistent soil moisture with mulch and regular watering. Harvest ripe fruit promptly, and choose crack-resistant varieties if this is an ongoing problem.
Midwest Specific Challenges: Our moderate-to-humid climate with wet summers creates perfect conditions for fungal diseases, while our clay soil's moisture extremes trigger calcium uptake problems. Focus on consistent watering, good air circulation, and prompt removal of disease symptoms to stay ahead of problems in our climate.
Best Companions for Tomato
Plant these nearby for healthier Tomato and better harvests.
View Full Companion Planting Chart →


Companion Planting Details
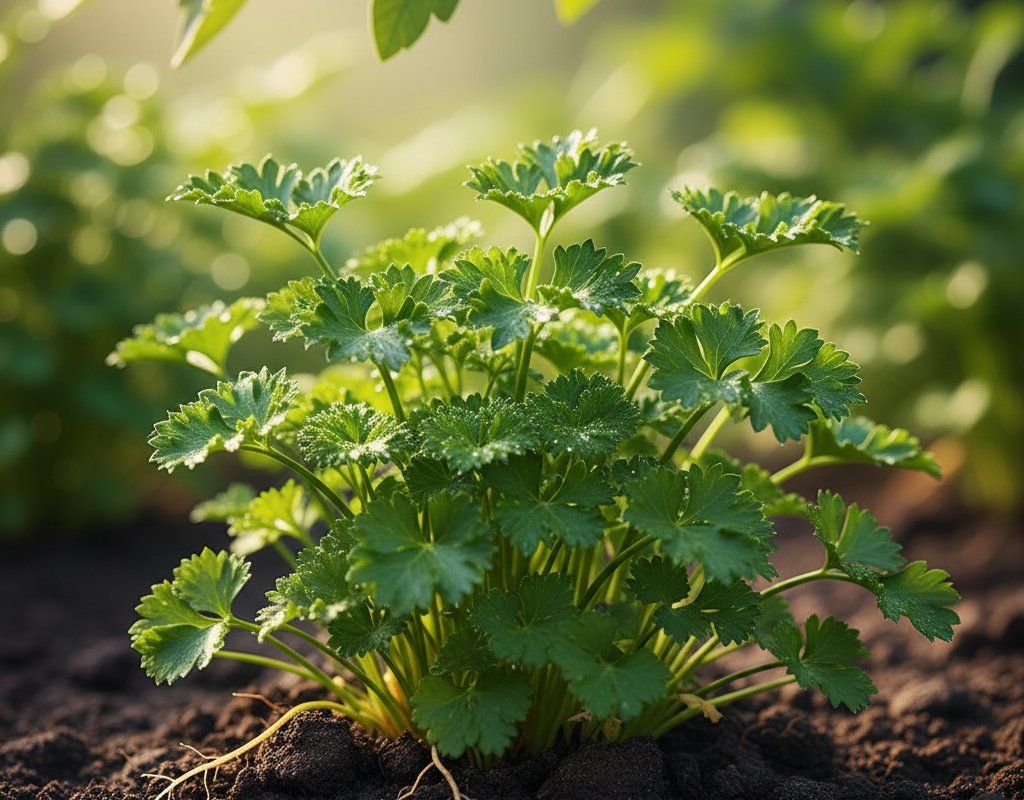
Basil planted near tomatoes improves flavor and helps repel aphids and hornworms with its strong scent. Carrots make excellent companions since their deep taproots break up our heavy clay soil while their feathery foliage doesn't compete for space. Parsley attracts beneficial insects that prey on tomato pests, while marigolds planted around the garden perimeter help deter nematodes and other soil pests.
Avoid planting brassicas (cabbage, broccoli, cauliflower) near tomatoes as they're heavy nitrogen feeders that compete aggressively with tomatoes for nutrients in our fertile soil. Keep fennel away from tomatoes since it can inhibit growth, and avoid corn since both are targets for the same hornworms, creating a pest magnet rather than protection.
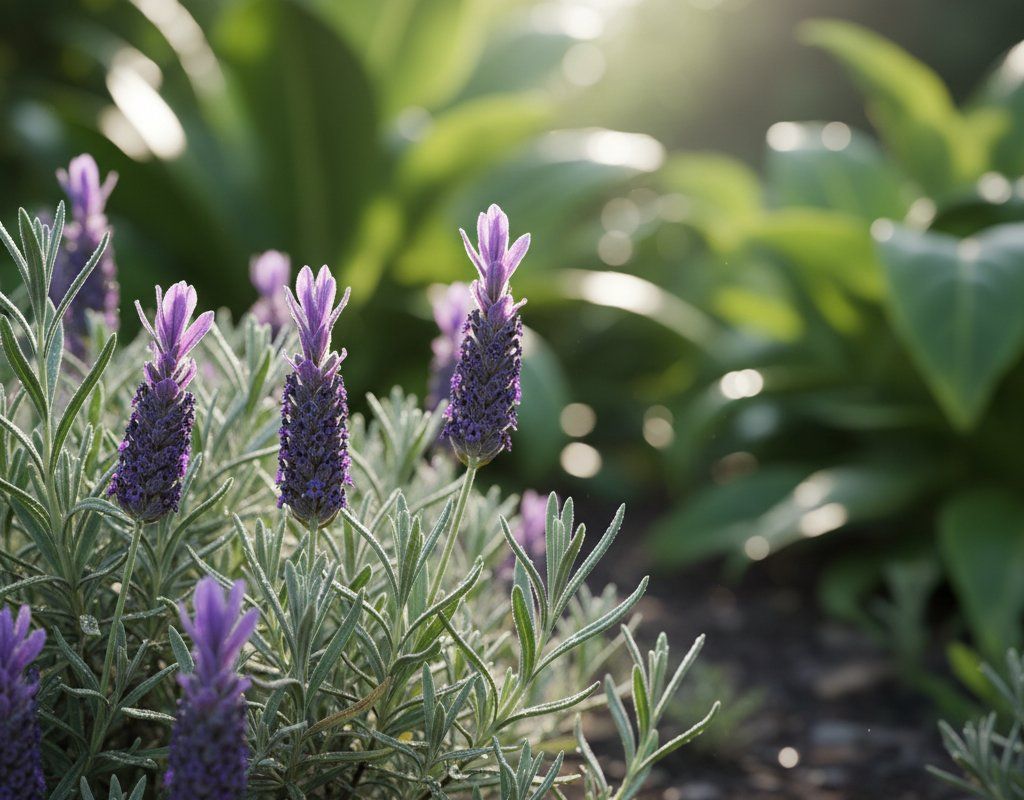
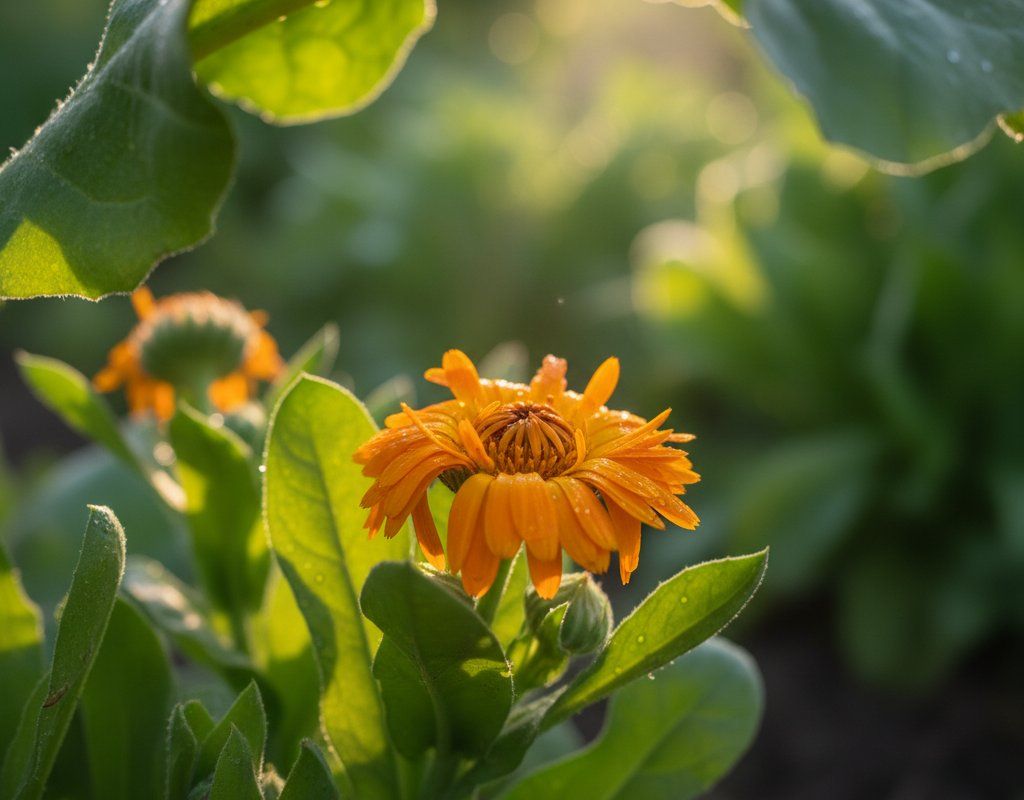
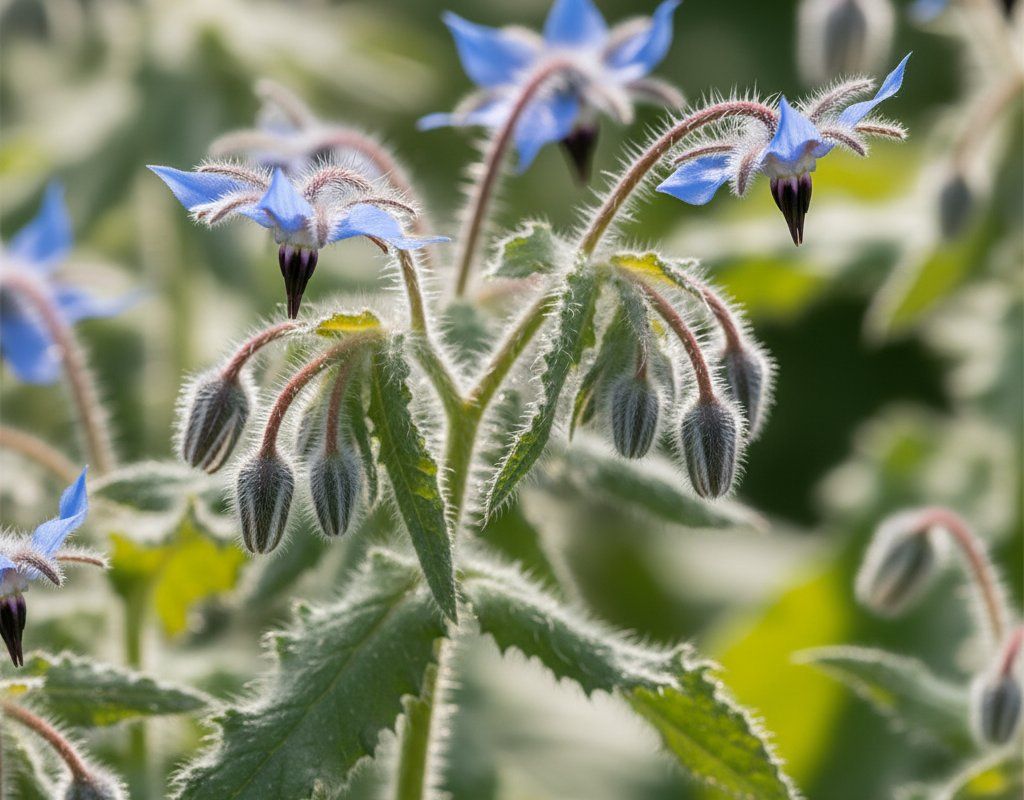
🌸Best Flowers to Plant with Tomato
These flowers protect your Tomato from pests and attract pollinators for better harvests.
For Pest Control


Get a Reminder When It's Time to Plant
We'll email you when key planting windows open for your zone.