
Tomato in Zone 8A — Northern California
Solanum lycopersicum · Your Complete 2026 Planting Guide
Missed Seed Starting? No Problem!
Wait for starts to become available.
What to Do
Starts will be available at nurseries in 20 days (around March 24).
How to Plant Tomato in Zone 8A — Northern California
Here are all your options for getting tomato in the ground, from the easiest method to more advanced approaches.
Start Seeds Indoors
RecommendedEarly to late February
around February 10
Then transplant: Late March through late April
Start seeds 6-8 weeks before transplanting outdoors.
Tomatoes need 6-8 weeks head start indoors for best production.
Buy Starts
Works WellLate March through late April
around March 24
Plant purchased starts after last frost (March 10).
Look for stocky plants with dark green leaves. Avoid leggy or already-flowering seedlings.
Direct Sow Seeds
ChallengingDirect sowing is not typical for Tomato.
Transplant Outdoors
Timing InfoLate March through late April
around March 24
Wait until nighttime temperatures stay above 50°F.
You have a nice window — no need to rush.
Overview
There's nothing quite like a sun-warmed tomato picked fresh from your own Northern California garden. Our Mediterranean climate creates ideal conditions for growing exceptional tomatoes — the long, warm growing season and abundant sunshine develop deep, complex flavors that make store-bought varieties taste like cardboard in comparison. Whether you're growing cherry tomatoes for snacking or beefsteaks for summer sandwiches, you'll find that homegrown tomatoes capture the essence of our golden California summers.
While our dry summers and occasional heat waves can stress tomato plants, proper timing makes all the difference. With our 255-day growing season and early spring warmth, you have plenty of flexibility to get plants established before the heat peaks. The key is starting indoors during our mild winter months and transplanting once our last frost passes in early spring.
Starting Seeds Indoors
Starting tomato seeds indoors is essential here in Northern California — you'll get much better production than trying to direct sow in our variable spring weather. Begin sowing seeds in early to late February, giving yourself about 6 weeks before transplant time. Our early spring character means you can start a bit earlier than gardeners in colder climates.
Set up your seeds in seed trays with quality potting mix, keeping them consistently warm (around 70-75°F) for best germination. A heat mat helps, but a warm spot near a sunny window often works fine during our mild winter days. Once seedlings emerge, they'll need bright light — either a south-facing window or grow lights positioned 2-3 inches above the plants.
Water from the bottom whenever possible by placing seed trays in shallow water until the soil surface feels moist. This prevents damping-off disease and encourages strong root development. Your seedlings will be ready to transplant when they're stocky, have their first true leaves, and nighttime temperatures consistently stay above 45°F.
Transplanting Outdoors
Plan to transplant your tomato seedlings between late March and late April, after our last frost window passes and soil temperatures warm up. Our Northern California spring can still surprise with cool snaps, so wait until nighttime temperatures consistently stay above 45°F and daytime temperatures reach the 60s.
Harden off your seedlings gradually over a week, starting with just 2-3 hours of morning sun and building up to full days outdoors. This process is particularly important in our region because indoor-grown plants need time to adjust to our intense California sunshine and dry air. Place them in a protected spot initially, away from strong afternoon sun and wind.
Space your transplants 24-36 inches apart in full sun locations that receive 6-8 hours of direct sunlight. Our microclimates vary wildly, so choose your sunniest, most protected spot if you're in a cooler pocket. Plant them deep — bury about two-thirds of the stem to encourage strong root development, which will help them handle our dry summer conditions better.
Watering Tomato in Zone 8A (Northern California)
Consistent moisture is absolutely critical for tomatoes in our Northern California climate. With our dry summers and low humidity, plants can quickly swing from drought stress to flood conditions if you're not careful with watering. This inconsistency causes blossom end rot, fruit cracking, and poor fruit set — common problems that frustrate many local gardeners.
Use the finger test religiously: stick your finger 2 inches into the soil near the base of the plant. If it's dry at that depth, it's time to water deeply. During our moderate-to-hot summer days (typically reaching 88°F), established plants need about 1-2 inches of water per week. Water early morning at the base of the plant, never overhead — our low humidity means leaves dry slowly, increasing disease risk.
Watch for signs of water stress: leaves curling upward and looking silvery indicate underwatering, while yellowing lower leaves and soft, mushy areas suggest overwatering. Since we get virtually no summer rain, you're in complete control of their water supply. This is actually an advantage once you establish a routine.
Apply a 3-4 inch layer of mulch around plants to conserve moisture and keep soil temperatures more even during our warm days and cool nights. Shredded leaves or straw work well and break down to improve soil. With water restrictions becoming more common in our region, efficient watering and mulching aren't just good gardening — they're essential for sustainability.
Supporting Your Tomato
Indeterminate tomato varieties need sturdy support from day one — they'll grow 6-8 feet tall in our long growing season and produce fruit continuously until first frost in mid-November. Install 5-6 foot cages or stakes at planting time, before roots spread. Trying to add support later damages established root systems and stresses plants during our warm growing season.
Heavy-duty cages work best for most home gardeners because they require less ongoing maintenance than staking. Choose cages with 6-inch openings so you can reach through to harvest fruit, and make sure they're tall enough — many store-bought cages are too short for indeterminate varieties. If you prefer staking, use 1x2 inch wooden stakes or metal T-posts driven at least 18 inches deep.
Train plants by gently weaving stems through cage openings or tying them loosely to stakes with soft ties. Check weekly and adjust as needed — tomatoes grow quickly during our warm spring and early summer weather. Good support prevents branches from breaking under the weight of fruit and keeps tomatoes off the ground, reducing pest and disease problems.
Pruning & Maintaining Tomato
Remove suckers (shoots growing between main stems and branches) below the first flower cluster throughout the season. This focuses the plant's energy on developing strong main stems and improves air circulation — important in our low-humidity climate where fungal diseases can still develop in dense foliage.
Beyond the first flower cluster, you can choose whether to continue removing suckers based on your goals. Removing all suckers produces larger but fewer tomatoes, while leaving some suckers increases total yield with smaller fruit. Either approach works well in our climate — it's more about personal preference and available garden space.
As our growing season winds down in late October, prune off new flower clusters since they won't have time to develop fruit before our mid-November frost. About 4-6 weeks before expected frost, pinch growing tips to redirect energy into ripening existing fruit. This end-of-season pruning helps you get the most from plants before cool weather arrives.
🧪Fertilizing Tomato
Feeding Schedule
Organic Fertilizer Options
Harvest Time
Your first tomatoes will ripen in early June through late July, depending on variety and when you transplanted. With our long, warm growing season, you'll enjoy continuous harvests until our first frost around mid-November — one of the great advantages of gardening in Northern California.
Harvest tomatoes when they're fully colored with slight give when gently squeezed. Ripe fruit should twist off easily with a gentle pull — if you have to yank, it's not ready. Pick regularly every 2-3 days during peak season to keep plants producing. Our warm days and cool nights create ideal ripening conditions, developing excellent flavor and texture.
As September arrives, start harvesting larger green tomatoes that have begun to turn. These will ripen beautifully indoors on a kitchen counter, and you'll avoid losing fruit to our first autumn cold snaps. Place green tomatoes in paper bags with a ripe apple or banana to speed ripening.
When frost threatens in mid-November, harvest all remaining fruit, regardless of size or color. Even small green tomatoes can ripen indoors or be used for fried green tomatoes or pickles. Pull up plants after harvest — don't compost diseased foliage, but healthy plants make excellent compost material for next year's garden.
Common Problems in Zone 8A (Northern California)
Blossom End Rot Black, sunken patches on the bottom (blossom end) of tomatoes, especially common on first fruits of the season. The affected area looks leathery and eventually covers much of the bottom half of the fruit. This isn't a disease — it's a calcium deficiency caused by inconsistent watering, extremely common in our dry California climate.
Our hot days and cool nights, combined with irregular watering, create the perfect conditions for blossom end rot. The plant can't uptake calcium when soil moisture swings between drought and flood conditions. Maintain consistent moisture through deep, regular watering and heavy mulching. Remove affected fruits immediately and focus on consistent care — new fruits will be fine.
Early Blight Brown spots with distinctive bullseye or target patterns appear on lower leaves first, then spread upward. Leaves yellow and drop, reducing the plant's ability to ripen fruit. This fungal disease thrives when our morning fog or overhead watering creates moisture on leaves, then our warm days provide ideal growing conditions.
Remove affected leaves immediately and don't compost them. Water only at soil level, never overhead, and ensure good air circulation through proper spacing. Mulch around plants to prevent soil from splashing onto lower leaves during watering. Our dry summers actually help control this disease once you eliminate overhead watering.
Hornworms Large sections of leaves disappear overnight, leaving just stems and major veins. You'll find large green caterpillars (up to 4 inches long) with white diagonal stripes and dark droppings on leaves below damaged areas. These voracious feeders can strip a plant in just a few days during our warm growing season.
Handpick hornworms in early morning or evening when they're most active — they're harmless to handle. Bt (Bacillus thuringiensis) spray provides organic control and works well in our climate. If you spot hornworms covered with white cocoons, leave them alone — those are beneficial parasitic wasps that will kill the hornworm and provide ongoing pest control.
Cracking Splits appear in tomato skins, either as concentric circles around the stem or radial lines extending downward. While the fruit is still edible if used immediately, cracks often lead to rot and attract pests. This problem intensifies during our dry summers when irregular watering creates rapid moisture changes.
The solution is consistent watering and good mulching to prevent the dry-wet cycles that cause cracking. Some varieties are more prone to cracking than others, so choose crack-resistant varieties if this is a recurring problem in your garden. Harvest promptly when fruits begin to color — they'll finish ripening indoors without the stress that causes cracking.
Northern California Specific Challenges: Our combination of hot days, cool nights, and bone-dry summers creates unique stresses for tomatoes. The key to success is understanding that consistency matters more than perfection — regular watering, good mulching, and proper spacing prevent most problems before they start.
Best Companions for Tomato
Plant these nearby for healthier Tomato and better harvests.
View Full Companion Planting Chart →


Companion Planting Details
Basil makes an excellent companion for tomatoes, improving flavor when planted nearby and helping repel aphids and hornworms with its strong scent. Plant basil between tomato plants or around the edges of beds — it thrives in our warm, dry summers and you'll have fresh herbs for all those tomatoes. Carrots work well planted around tomato bases since they don't compete for space and their fine foliage doesn't interfere with air circulation.
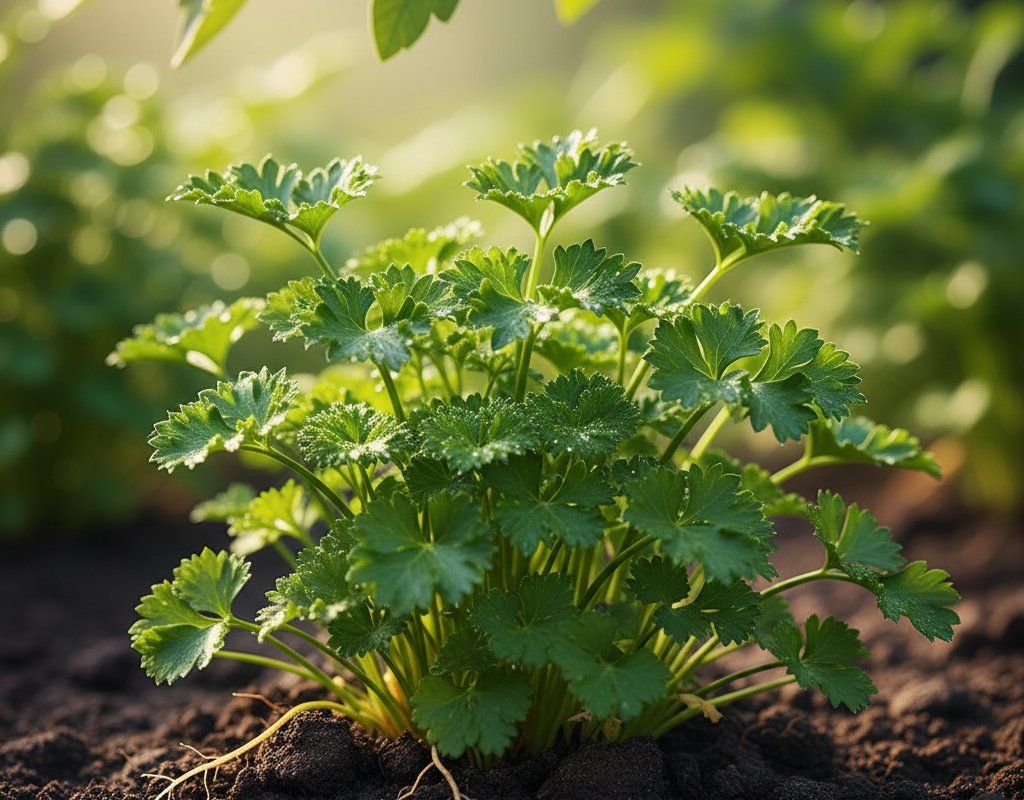
Parsley and marigolds provide additional pest control benefits. Parsley attracts beneficial insects that prey on tomato pests, while marigolds deter nematodes and whiteflies. Both handle our hot, dry conditions well when given adequate water. Avoid planting brassicals (cabbage family) near tomatoes — they compete heavily for nutrients and can stunt tomato growth. Keep fennel and corn away too, as fennel can inhibit tomato growth and corn attracts earworms that also damage tomatoes.
🌸Best Flowers to Plant with Tomato
These flowers protect your Tomato from pests and attract pollinators for better harvests.
For Pest Control







Get a Reminder When It's Time to Plant
We'll email you when key planting windows open for your zone.