
Tomato in Zone 9B — Gulf Coast
Solanum lycopersicum · Your Complete 2026 Planting Guide
Time to Buy Starts!
Seed starting window passed, but starts are available now.
Buy Starts Now
Head to your local nursery, Home Depot, or farmers market for transplants.
- Look for stocky plants with dark green leaves
- Avoid leggy seedlings or plants already flowering
- Check that roots aren't circling the pot (rootbound)
How to Plant Tomato in Zone 9B — Gulf Coast
Here are all your options for getting tomato in the ground, from the easiest method to more advanced approaches.
Start Seeds Indoors
RecommendedLate December through mid January
around January 2
Then transplant: Mid February through mid March
Start seeds 6-8 weeks before transplanting outdoors.
Tomatoes need 6-8 weeks head start indoors for best production.
Buy Starts
Works WellMid February through mid March
around February 13
Plant purchased starts after last frost (January 30).
Look for stocky plants with dark green leaves. Avoid leggy or already-flowering seedlings.
Direct Sow Seeds
ChallengingDirect sowing is not typical for Tomato.
Transplant Outdoors
Timing InfoMid February through mid March
around February 13
Wait until nighttime temperatures stay above 50°F.
You have a nice window — no need to rush.
Overview
Nothing beats the flavor of Gulf Coast homegrown tomatoes, especially when you taste that first sun-warmed slice in late spring. Here along the Gulf Coast, our long 319-day growing season means you can enjoy fresh tomatoes from late April clear through our first frost in mid-December. The satisfaction of growing your own indeterminate varieties that keep producing through our extended warm months makes the initial effort worthwhile.
Our high humidity and disease pressure can challenge tomato growers, but proper timing makes all the difference. Start your seeds indoors during our mild winter months, and you'll have strong transplants ready for our early spring planting window when conditions are ideal.
Starting Seeds Indoors
Start your tomato seeds indoors during late December through mid-January, giving them about 6 weeks to develop before transplanting. This timing works perfectly with our early spring character, allowing you to get transplants in the ground before our intense summer heat and humidity arrive.
Set up seed trays with quality seed-starting mix and keep them warm (70-75°F) for good germination. Once sprouted, they'll need bright light from a sunny south window or grow lights positioned 2-3 inches above the seedlings. Use bottom watering to prevent damping-off disease, which thrives in our humid conditions.
Your seedlings will be ready to transplant when they're 6-8 inches tall with sturdy stems and true leaves. This indoor head start is essential here - direct seeding rarely works well with our unpredictable late winter weather patterns.
Transplanting Outdoors
Transplant your tomato seedlings outdoors from mid-February through mid-March, after our last frost risk passes in late January. This timing takes advantage of our mild spring weather before summer's heat and humidity stress the plants.
Harden off your seedlings gradually over a week, starting with just an hour outdoors in filtered light and building up to full days outside. Space plants 24-36 inches apart to ensure good air circulation - crucial in our humid climate to prevent disease problems.
Choose a sunny location with well-draining soil, as our frequent afternoon storms and high rainfall can create soggy conditions. Look for stocky, dark green transplants and avoid any that are already flowering, as they may struggle to establish properly in your garden.
Watering Tomato in Zone 9B (Gulf Coast)
Consistent watering is absolutely critical for tomatoes in our Gulf Coast climate. Despite receiving 50-65 inches of annual rainfall, you'll still need to water regularly because tomatoes demand steady moisture to prevent blossom end rot, cracking, and fruit drop. Inconsistent watering - wet then dry cycles - causes more problems than almost anything else.
Water deeply at the base of plants, never overhead. Our very high humidity already creates perfect conditions for fungal diseases, so keeping foliage dry is essential. Check soil moisture by inserting your finger 2 inches deep - if it's dry, it's time to water. During our hot summers with 93°F days, established plants typically need 1-2 inches per week.
Early in the season, water 2-3 times weekly with deep soakings. As summer heat intensifies, you may need daily watering, especially for container plants. Watch for wilting in late afternoon (normal) versus morning wilting (needs water immediately). Yellowing lower leaves often signal overwatering, while blossom end rot indicates inconsistent moisture.
Mulch heavily around plants with 3-4 inches of organic matter to maintain even soil moisture and prevent our frequent afternoon storms from splashing soil onto leaves. This also helps moderate soil temperature during our intense summer heat.
Supporting Your Tomato
Install sturdy support systems at planting time, as indeterminate tomatoes will grow 6-8 feet tall throughout our long growing season. Use 5-6 foot tall cages made from concrete reinforcing wire, or install heavy-duty stakes with soft ties for training.
Cages work well here because they provide all-around support against our summer afternoon storms and potential hurricane winds. If using stakes, choose 8-foot posts driven 2 feet deep, as our sandy soils don't always provide the best anchoring.
Train plants weekly by gently weaving stems through cage openings or tying to stakes with soft cloth strips. Never use wire or string that can cut into stems as they thicken. Strong support is especially important during our hurricane season when even minor storms can topple unsupported plants.
Pruning & Maintaining Tomato
Remove suckers (shoots growing between main stems and branches) below the first flower cluster throughout the growing season. This focuses the plant's energy on fruit production and improves air circulation - critical in our humid environment where fungal diseases spread quickly.
As plants mature, you can also remove suckers in the upper portions for larger fruit, though this reduces total yield. Remove any leaves touching the ground and prune away diseased foliage immediately to prevent spread of early blight and other common problems.
In late November, as our first frost approaches in mid-December, top the plants by removing growing tips. This redirects energy to ripening existing fruit rather than producing new flowers that won't have time to mature.
🧪Fertilizing Tomato
Feeding Schedule
Organic Fertilizer Options
Harvest Time
Your first tomatoes will be ready from late April through mid-June, about 70 days from transplanting. Harvest when fruits show full color with a slight give when gently squeezed, and they twist easily from the vine with a gentle upward motion.
Pick regularly to encourage continued production throughout our long season. Morning harvest often provides the best flavor, as fruits have had all night to develop sugars. Don't wait for tomatoes to become completely soft on the vine - they'll continue ripening after picking and be less likely to crack or split.
During our intense summer heat, fruits may develop better flavor when picked at the first blush of color and ripened indoors in a cool spot. This also prevents sunscald and reduces splitting from afternoon thunderstorms.
As our first frost approaches in mid-December, harvest all remaining green tomatoes. Large green fruits will ripen indoors if stored in a warm spot, while small ones can be used for green tomato recipes. You'll typically get 6-8 months of harvest from a spring planting in our Gulf Coast climate.
Common Problems in Zone 9B (Gulf Coast)
Blossom End Rot: Dark, sunken leathery spots on the bottom of fruits, especially early in the season. This calcium deficiency results from inconsistent watering - our wet-dry cycles from afternoon storms followed by hot, drying days create perfect conditions. Maintain consistent moisture with deep, regular watering and thick mulch. Remove affected fruits immediately.
Early Blight: Brown spots with concentric rings appear on lower leaves first, spreading upward until leaves yellow and drop. This fungal disease thrives in our warm, humid conditions and spreads through soil splash during heavy rains. Water only at plant base, mulch to prevent splash, space plants properly for air circulation, and remove affected leaves immediately. Copper fungicide helps slow spread.
Hornworms: Large green caterpillars with white stripes can strip entire branches overnight, leaving only stems and dark droppings below. These hawk moth larvae are common in our long, warm growing season. Handpick in early morning or evening when they're most visible, or spray with Bt (organic caterpillar control). If you see white cocoons on a hornworm, leave it - parasitic wasps are doing your work for you.
Cracking: Splits in fruit skin, either in circles around the stem or radiating outward, often leading to rot. Our pattern of afternoon thunderstorms after hot, dry mornings creates rapid water uptake that splits the skin. Maintain even soil moisture with consistent watering and mulching. Harvest promptly when fruits first show color, and choose crack-resistant varieties.
Gulf Coast Specific Challenges: Our combination of extreme humidity, frequent afternoon storms, and 50-65 inches of annual rainfall creates ideal conditions for fungal diseases while our long, hot summers stress plants. Focus on air circulation, consistent moisture management, and disease-resistant varieties for best success.
Best Companions for Tomato
Plant these nearby for healthier Tomato and better harvests.
View Full Companion Planting Chart →


Companion Planting Details
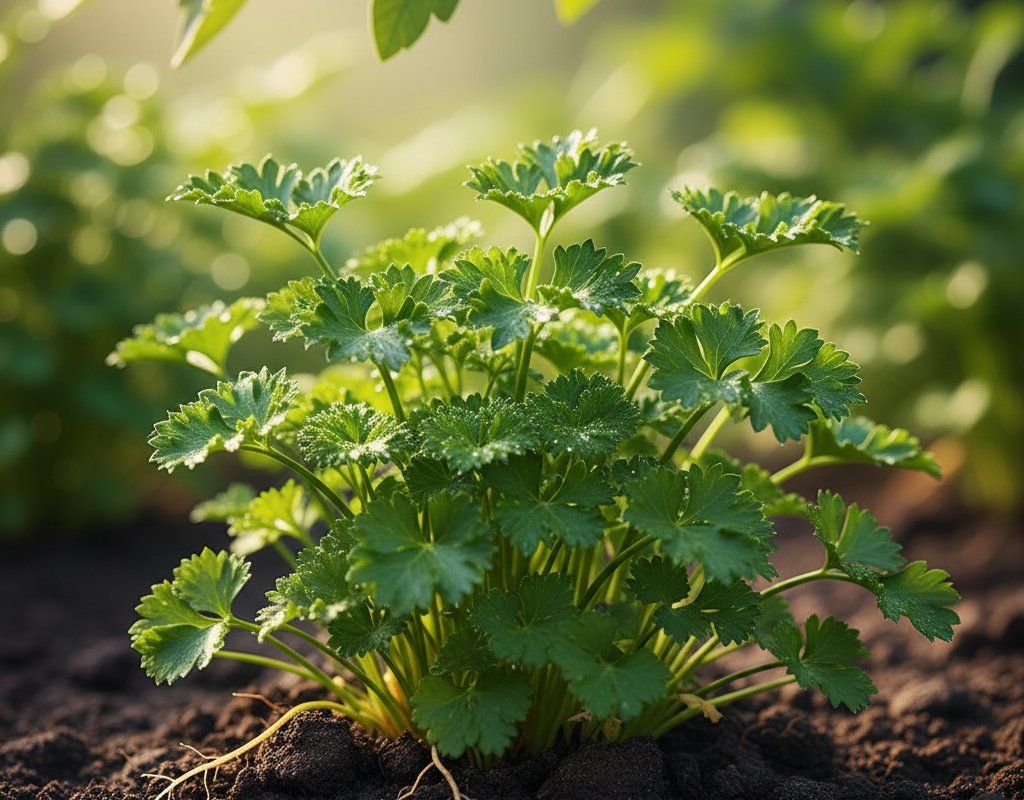
Plant basil nearby - it reportedly improves tomato flavor while repelling aphids and other pests common in our humid climate. Carrots make excellent companions as their deep taproots don't compete with tomatoes' shallow feeding roots, and parsley attracts beneficial insects that help control our abundant pest population. Marigolds planted around the bed edges deter nematodes, which thrive in our warm soils.
Avoid planting brassicas like cabbage or broccoli near tomatoes, as they compete heavily for nutrients and can stunt growth. Keep fennel away from your tomato patch - it inhibits growth in most vegetables. Corn isn't a good companion either, as both crops attract similar pests like hornworms, creating concentrated infestations that are harder to manage in our pest-friendly climate.
🌸Best Flowers to Plant with Tomato
These flowers protect your Tomato from pests and attract pollinators for better harvests.
For Pest Control







Get a Reminder When It's Time to Plant
We'll email you when key planting windows open for your zone.