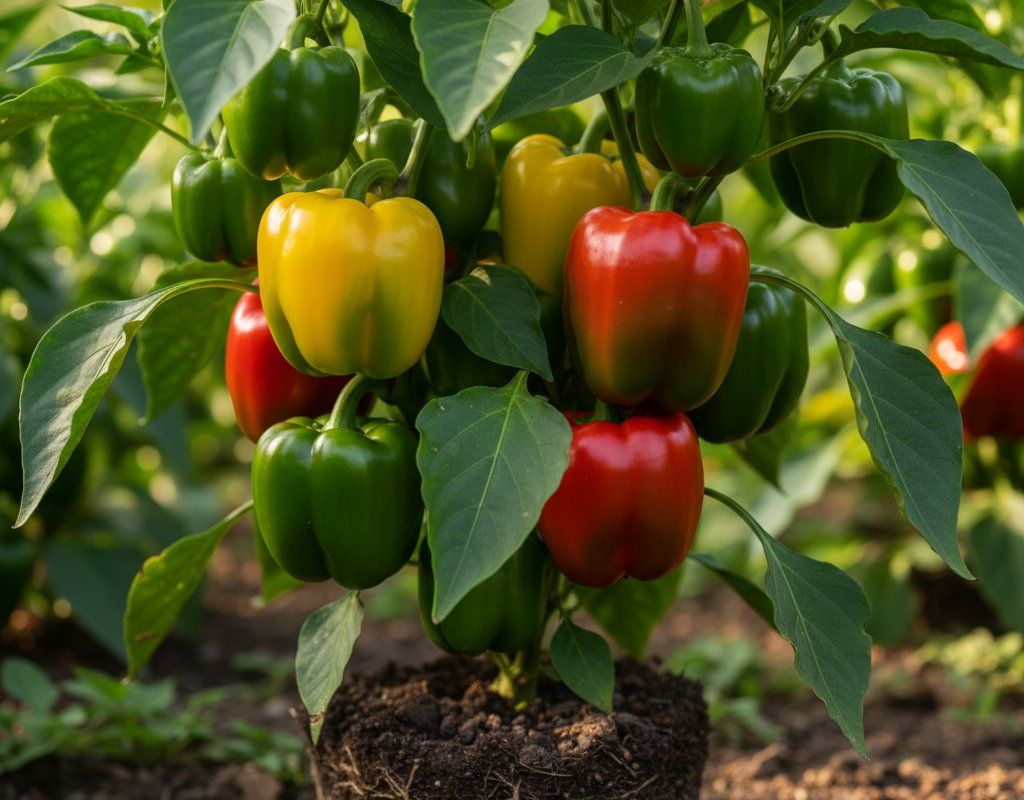
Bell Peppers in Zone 8A — Northern California
Capsicum annuum · Your Complete 2026 Planting Guide
Missed Seed Starting? No Problem!
Wait for starts to become available.
What to Do
Starts will be available at nurseries in 20 days (around March 24).
How to Plant Bell Peppers in Zone 8A — Northern California
Here are all your options for getting bell peppers in the ground, from the easiest method to more advanced approaches.
Start Seeds Indoors
RecommendedMid January through early February
around January 27
Then transplant: Late March through late April
Start seeds 8-10 weeks before transplanting outdoors.
Buy Starts
Works WellLate March through late April
around March 24
Plant purchased starts after last frost (March 10).
Direct Sow Seeds
ChallengingDirect sowing is not typical for Bell Peppers.
Transplant Outdoors
Timing InfoLate March through late April
around March 24
Wait until nighttime temperatures stay above 50°F.
You have a nice window — no need to rush.
Overview
Bell peppers are a fantastic addition to any Northern California garden. Their sweet flavor and versatility make them a staple for everything from summer salads to hearty winter stews. Plus, the satisfaction of harvesting colorful, homegrown peppers after our long, dry summers is truly rewarding.
We NorCal gardeners know our Mediterranean climate can present challenges, from drought to unpredictable temperature swings. But with a little planning and attention to timing, you can easily grow a bountiful crop of bell peppers during our long, 255-day growing season.
Starting Seeds Indoors
Starting your bell pepper seeds indoors from mid-January through early February (about 8 weeks before transplanting) gives them a head start in our early spring. Use seed trays or small pots filled with a good seed-starting mix. Peppers need warmth to germinate, so a heat mat can be a game-changer, especially with our cooler spring nights.
Make sure your seedlings get plenty of light; a grow light is ideal. Water gently from the bottom by setting the tray in a shallow dish of water – this encourages strong root growth and prevents damping-off. Our early spring warmth can be deceiving, so keep them cozy inside until transplant time.
Transplanting Outdoors
Transplant your bell pepper seedlings outdoors from late March through late April, after the last expected frost. Before planting, harden off your seedlings by gradually exposing them to outdoor conditions for about a week. This prevents transplant shock.
Space your plants 18-24 inches apart in a sunny spot with well-draining soil. Keep an eye on the weather forecast, as we sometimes get unexpected cold snaps this time of year. A frost blanket can be a lifesaver if temperatures dip unexpectedly.
Watering Bell Peppers in Zone 8A (Northern California)
Bell peppers need consistent moisture to produce thick-walled, juicy fruit, and that's especially important here in Northern California with our dry summers. Aim for about 1 inch of water per week, depending on rainfall. The "finger test" is your best friend: stick your finger about 2 inches into the soil; if it feels dry, it's time to water.
Water deeply at the base of the plants, rather than overhead, to avoid fungal diseases in our low-humidity environment. In the peak of summer, you might need to water more frequently, especially if you're growing in containers.
Signs of underwatering include wilting leaves and blossom drop. Overwatering, on the other hand, can lead to yellowing leaves and root rot. A good layer of mulch, like straw or wood chips, will help retain moisture in the soil and keep the roots cool during those hot spells.
Supporting Your Bell Peppers
Bell pepper plants can get quite heavy with fruit, and their branches are prone to snapping, so providing support is a good idea. A simple stake is often all you need to prevent toppling, especially after a heavy rain.
Install the stake at planting time, a few inches away from the stem, and gently tie the plant to it with soft twine as it grows. You can also use small tomato cages if you prefer.
Pruning & Maintaining Bell Peppers
Pinching off the first few flowers that appear on your bell pepper plants encourages them to focus their energy on vegetative growth, resulting in a stronger plant and a bigger harvest later on. As the season progresses, remove any fruit that touches the ground to prevent rot.
Pruning interior branches can improve airflow and reduce the risk of disease. As our first frost approaches around mid-November, you can prune off any new flowers, as they likely won't have time to mature.
🧪Fertilizing Bell Peppers
Feeding Schedule
Organic Fertilizer Options
Harvest Time
You can expect your first bell pepper harvest from early June through late July, about 70 days after transplanting. Bell peppers can be harvested green at the immature stage, but they're sweetest and most flavorful when allowed to ripen fully to red, yellow, or orange.
Look for peppers that are firm, glossy, and have reached their mature color. Use pruning shears or a sharp knife to cut the peppers from the plant, leaving a short stem attached. Regular harvesting encourages the plant to produce more fruit.
As our first frost approaches in mid-November, harvest any remaining peppers, even if they're still green. They can ripen indoors in a paper bag with an apple or banana.
Common Problems in Zone 8A (Northern California)
Bell peppers can be susceptible to a few problems in Northern California, but most are easily managed with the right approach. Here's what to watch out for:
- Blossom End Rot: What it looks like: A sunken, dark brown or black leathery patch on the bottom of the pepper. What causes it: Inconsistent watering leads to calcium deficiency. Common here with our dry summers and occasional water restrictions. How to fix/prevent it: Water deeply and consistently, especially during dry spells. Mulch well. Remove affected fruit.
- Blossom Drop: What it looks like: Flowers fall off without setting fruit. What causes it: Temperature stress, especially when nighttime temps stay high. Low humidity and excess nitrogen can also contribute. How to fix/prevent it: Be patient – fruit set usually resumes when temperatures moderate. Provide afternoon shade. Avoid over-fertilizing.
- Aphids: What it looks like: Clusters of tiny green, black, or white insects on stems and leaves. Sticky honeydew. What causes it: Rapid reproduction in warm weather. How to fix/prevent it: Strong water spray. Encourage ladybugs. Insecticidal soap or neem oil.
- Sunscald: What it looks like: White, papery patches on fruit exposed to direct sun. What causes it: Intense sunlight, often after leaves are lost. How to fix/prevent it: Avoid over-pruning. Use shade cloth during heat waves.
Northern California Specific Challenges: Our moderate-to-hot summers, low humidity, and dry-summer rainfall pattern can stress bell peppers, making consistent watering and shade management crucial. Be prepared to adjust your watering schedule based on the weather.
Best Companions for Bell Peppers
Plant these nearby for healthier Bell Peppers and better harvests.

Keep Away From

Companion Planting Details
Companion planting can help your bell peppers thrive in our Northern California gardens. Tomatoes and basil are excellent companions, as they both enjoy similar growing conditions. Basil is said to repel pests, while tomatoes provide some shade.
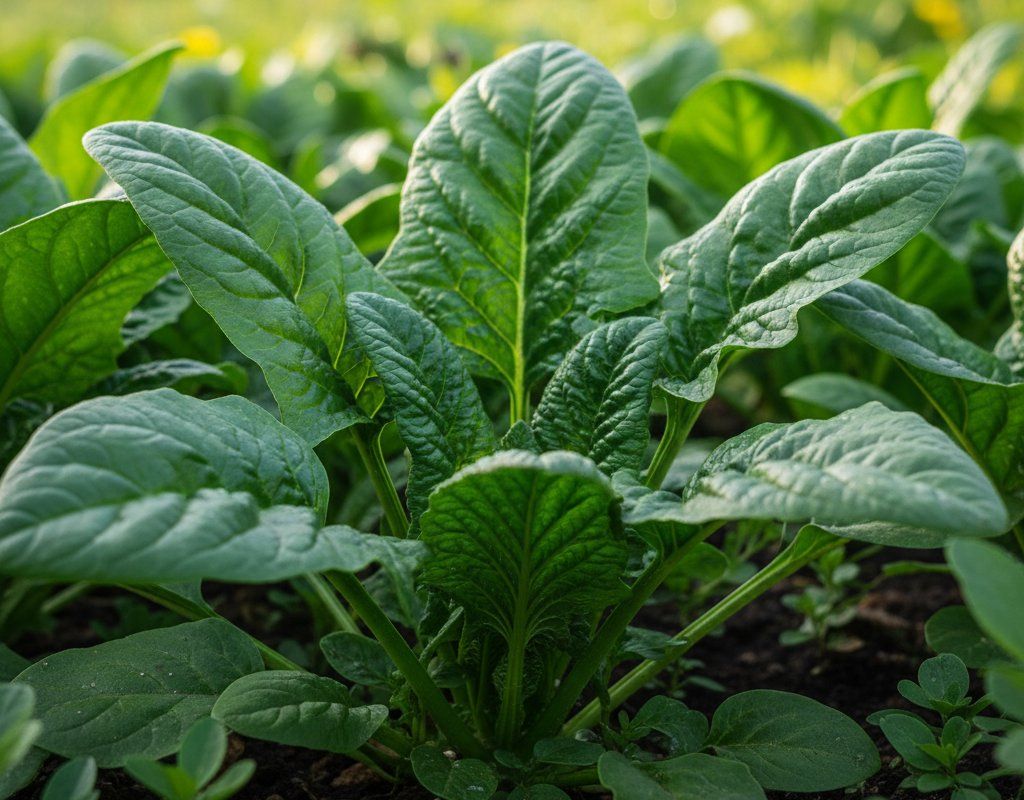
Carrots and onions are also good choices, as they don't compete for the same nutrients in the soil. Spinach can be planted as a ground cover to help retain moisture. Avoid planting bell peppers near fennel, kohlrabi, or other brassicas (like broccoli and cabbage), as they can inhibit growth.
🌸Best Flowers to Plant with Bell Peppers
These flowers protect your Bell Peppers from pests and attract pollinators for better harvests.
For Pest Control







Get a Reminder When It's Time to Plant
We'll email you when key planting windows open for your zone.