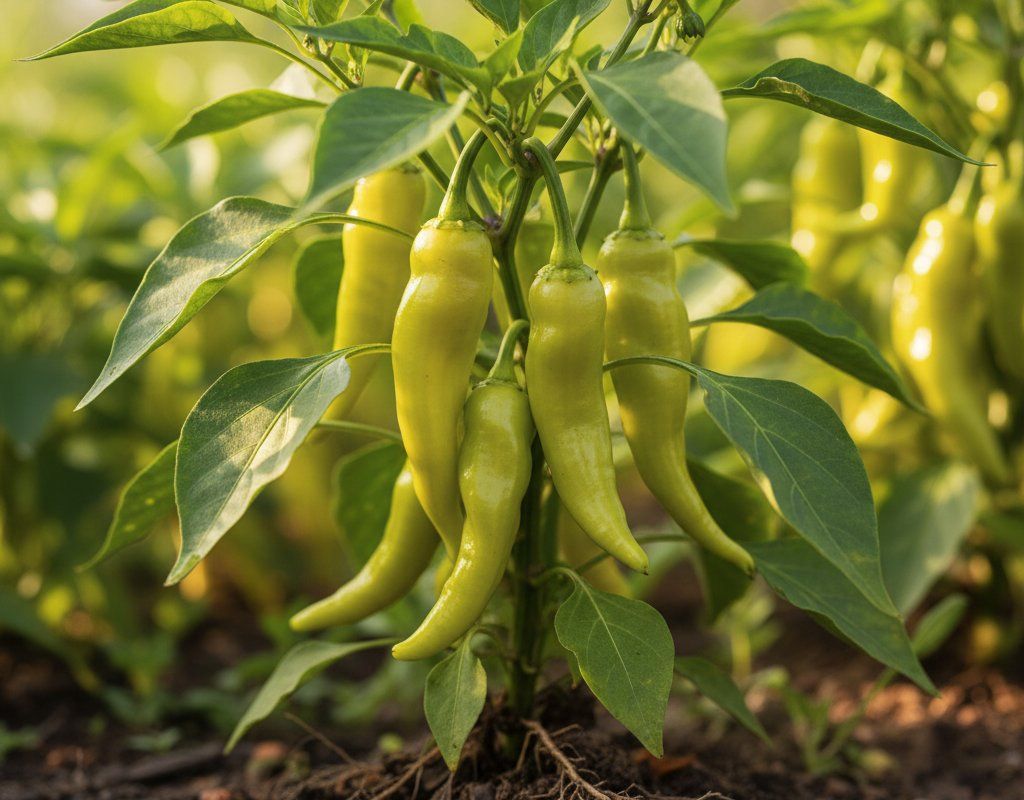
Pepperoncini in Zone 7A — Pacific Northwest
Capsicum annuum 'Pepperoncini' · Your Complete 2026 Planting Guide
Ideal Time: Start Seeds Indoors!
This is the perfect time for the biggest, best harvest.
Start Seeds Now
- Start seeds in trays or pots with seed-starting mix
- Keep soil moist and warm (70-80°F)
- Transplant outdoors Early May through early June
Not Starting from Seed?
Buy starts around May 4 — that works great too!
How to Plant Pepperoncini in Zone 7A — Pacific Northwest
Here are all your options for getting pepperoncini in the ground, from the easiest method to more advanced approaches.
Start Seeds Indoors
RecommendedEarly to late March
around March 9
Then transplant: Early May through early June
Start seeds 8-10 weeks before transplanting outdoors.
Buy Starts
Works WellEarly May through early June
around May 4
Plant purchased starts after last frost (April 20).
Direct Sow Seeds
ChallengingDirect sowing is not typical for Pepperoncini.
Transplant Outdoors
Timing InfoEarly May through early June
around May 4
Wait until nighttime temperatures stay above 50°F.
You have a nice window — no need to rush.
Overview
Pepperoncini peppers are a fantastic addition to any Pacific Northwest garden. Their mild heat and tangy flavor make them perfect for pickling, adding to salads, or enjoying fresh. Plus, the satisfaction of growing your own peppers, especially with our cool nights that intensify their flavor, is hard to beat.
Growing warm-season crops in our region does present challenges. We often deal with overcast spring days and a relatively short window of consistent warmth. But with a little planning and attention to timing within our 183-day growing season, you can absolutely enjoy a bountiful harvest of Pepperoncini peppers.
Starting Seeds Indoors
Starting Pepperoncini seeds indoors is the way to go in the Pacific Northwest. Begin in early to late March, about eight weeks before you plan to transplant them outside. This gives them a head start to overcome our cool spring soil.
Use seed trays with a good seed-starting mix. Provide consistent warmth – a heat mat is helpful – and plenty of light from a grow light. Remember to keep the soil consistently moist, but not soggy. Bottom watering is a great technique. Place the tray in a shallow dish of water, allowing the soil to soak up the moisture from the bottom. Our springs here in the PNW start slow, so be patient and consistent.
Transplanting Outdoors
Transplant your Pepperoncini seedlings outdoors from early May through early June, once the danger of frost has passed and the soil has warmed up a bit. Before transplanting, harden off your seedlings by gradually exposing them to outdoor conditions for about a week. This helps them adjust to the sun and wind.
Choose a sunny spot in your garden and space the plants 18-24 inches apart. Even in May and early June, we can still get some cool, wet weather, so monitor the forecast and protect young plants if a cold snap is predicted.
Watering Pepperoncini in Zone 7A (Pacific Northwest)
Watering Pepperoncini in the Pacific Northwest requires a slightly different approach than in hotter, drier climates. While they need consistent moisture, our mild summers and occasional rainfall mean you likely won't need to water as frequently. During our dry summer months, aim to water deeply about once or twice a week, providing about 1 inch of water each time.
The finger test is your best friend: stick your finger about 2 inches deep into the soil. If it feels dry, it's time to water. Water at the base of the plant to avoid wetting the foliage, which can encourage fungal diseases in our sometimes humid conditions.
While our region has dry summers, we still see humidity. Overhead watering increases the risk of fungal issues. If the leaves start to yellow, you may be overwatering. If the plant wilts dramatically, even after watering, or the leaves feel crispy, it may be underwatered. A light layer of mulch around the base of the plants will help retain moisture and suppress weeds.
Supporting Your Pepperoncini
Pepperoncini plants are relatively compact and bushy, so they don't always require support. However, if your plant becomes heavily laden with peppers, especially after a rain, it might benefit from some assistance.
A simple tomato cage or sturdy stakes work well. Install the support at planting time to avoid disturbing the roots later. Gently guide the branches into the cage or tie them loosely to the stakes with soft twine.
Pruning & Maintaining Pepperoncini
Pruning Pepperoncini is fairly straightforward. Early in the season, pinch off the first few flowers that appear. This encourages the plant to focus its energy on vegetative growth, resulting in a stronger, more productive plant later on.
Throughout the season, harvest your peppers regularly. This encourages the plant to continue producing more fruit. As the first frost approaches in mid- October, you can remove any remaining flowers to encourage the plant to put its energy into ripening the existing peppers.
🧪Fertilizing Pepperoncini
Feeding Schedule
Organic Fertilizer Options
Harvest Time
In the Pacific Northwest, you can expect your first Pepperoncini harvest from mid July through early September, about 72 days after transplanting. The peppers are typically harvested when they are yellow-green and 2-3 inches long for pickling. They can also be left on the vine to ripen to a red color for a sweeter flavor.
To harvest, use sharp scissors or pruning shears to cut the pepper from the plant, leaving a small stem attached. Avoid pulling the peppers, as this can damage the plant. Regular harvesting encourages continued production throughout the season.
As the first frost approaches in mid- October, harvest any remaining peppers, even if they are still green. These can be ripened indoors by placing them in a paper bag with a ripe banana or apple.
Common Problems in Zone 7A (Pacific Northwest)
Here are the most common problems you might encounter with Pepperoncini in the Pacific Northwest:
Over-ripening
- What it looks like: Peppers become soft, wrinkled, and may develop blemishes. The color can become overly intense.
- What causes it: Forgetting to harvest! Peppers left on the vine too long will start to degrade, especially during our mild summers when ripening happens quickly.
- How to fix/prevent it: Check your plants frequently and harvest peppers as soon as they reach the desired color and size. Regular harvesting also encourages more fruit production.
Aphids
- What it looks like: Clusters of tiny soft-bodied insects (green, black, or white) on stems and leaf undersides. Sticky honeydew residue. Curled or distorted new growth.
- What causes it: Rapid-reproducing sap-sucking insects. Populations explode in warm weather. Ant colonies may farm them for honeydew.
- How to fix/prevent it: Strong water spray knocks them off. Encourage ladybugs and lacewings (natural predators). Insecticidal soap for heavy infestations. Neem oil works systemically. Avoid excess nitrogen fertilizer (it attracts them).
Blossom Drop
- What it looks like: Flowers fall off without setting fruit. Small fruit yellows and drops. Plant looks healthy but produces no fruit.
- What causes it: Temperature stress. Peppers and tomatoes don't set fruit well when nights stay above 75°F or days exceed 95°F. Also caused by low humidity, excess nitrogen, or poor pollination.
- How to fix/prevent it: Be patient — fruit set resumes when temperatures moderate. Provide afternoon shade during extreme heat. Keep plants well-watered. Avoid excess nitrogen. Try hand-pollination.
Pacific Northwest Specific Challenges: Our mild summers and dry-summer humidity can actually be a blessing for Pepperoncini, as they are less prone to some of the heat-related problems that plague gardeners in hotter climates. However, late blight can be a concern, so choose blight-resistant varieties if possible and practice good garden hygiene. Slugs can also be a nuisance, especially in wet springs, so use appropriate control measures.
Best Companions for Pepperoncini
Plant these nearby for healthier Pepperoncini and better harvests.


Keep Away From

Companion Planting Details
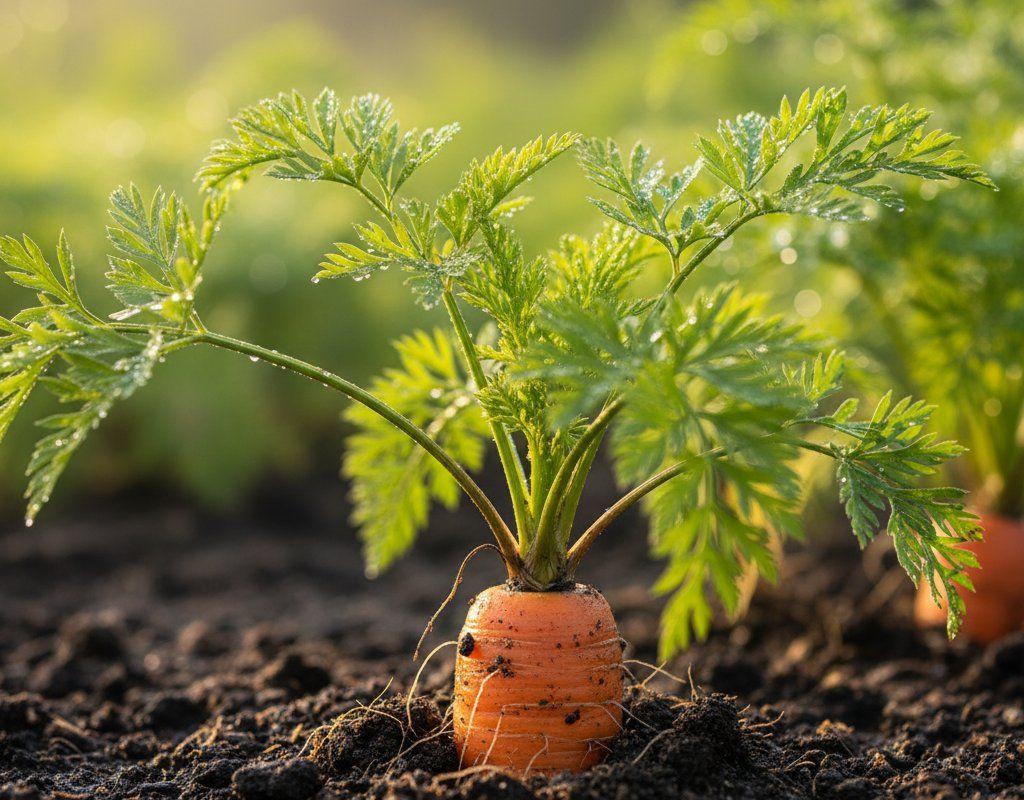
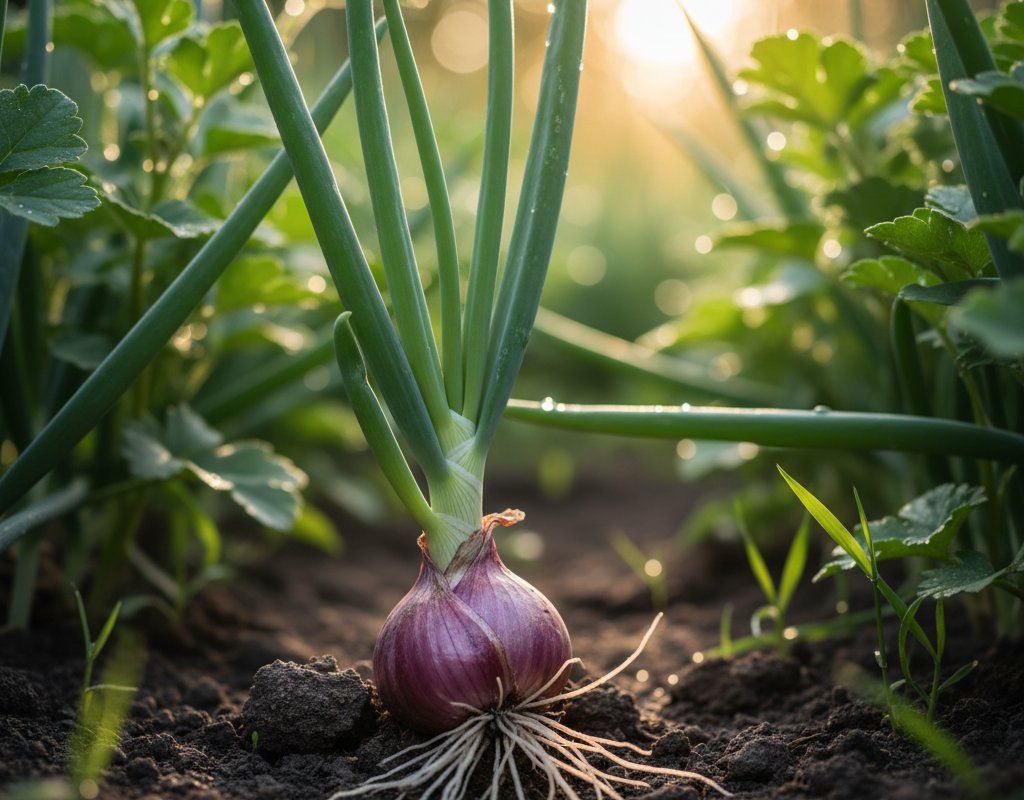
Companion planting can really boost your Pepperoncini crop here in the PNW. Plant tomatoes nearby – they enjoy similar growing conditions and can offer some wind protection. Basil is another great companion, as it's said to repel pests and improve the flavor of the peppers. Carrots and onions are also beneficial, as they can help deter soil-borne pests.
Avoid planting fennel near your Pepperoncini, as it can inhibit their growth. Brassicas like cabbage and broccoli can also compete for nutrients and attract pests that may also affect your pepper plants.
🌸Best Flowers to Plant with Pepperoncini
These flowers protect your Pepperoncini from pests and attract pollinators for better harvests.
For Pest Control


For Pollinators


Get a Reminder When It's Time to Plant
We'll email you when key planting windows open for your zone.