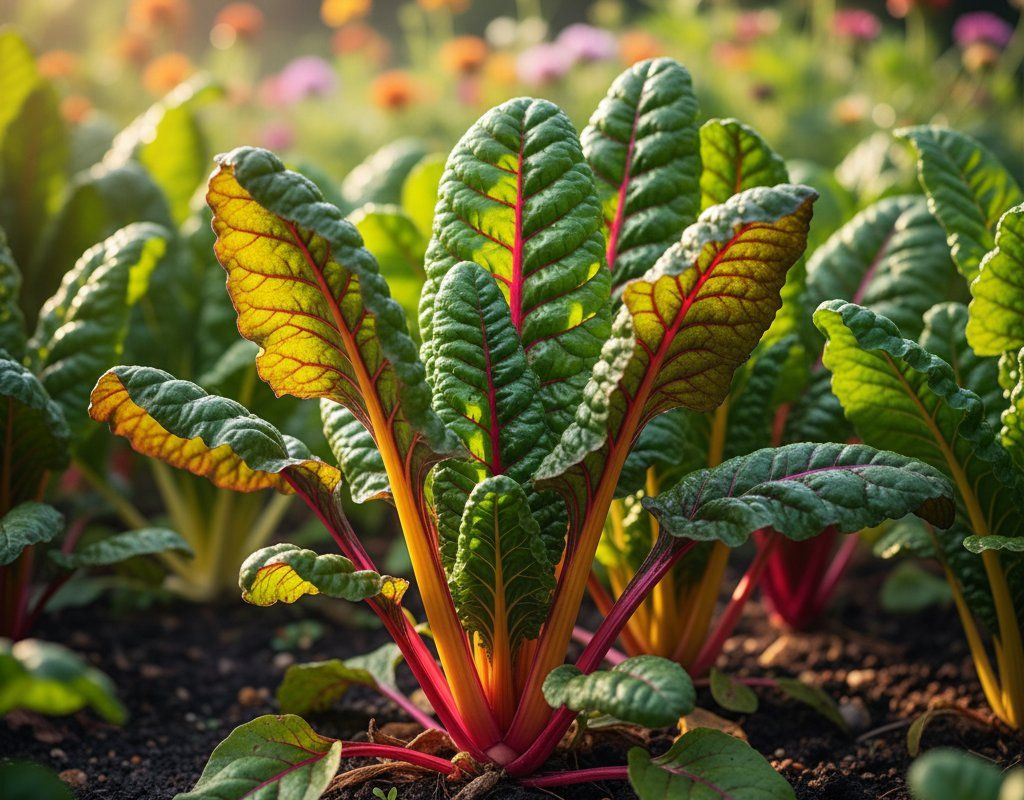
Swiss Chard in Zone 10A — Florida
Beta vulgaris subsp. vulgaris · Your Complete 2026 Planting Guide
Harvest Time!
Your Swiss Chard should be producing now!
Harvest Tips
Harvest outer leaves for cut-and-come-again, or cut whole head.
How to Plant Swiss Chard in Zone 10A — Florida
Here are all your options for getting swiss chard in the ground, from the easiest method to more advanced approaches.
Direct Sow Seeds
RecommendedLate December through late October
around December 27
Consider succession planting every 2-3 weeks for continuous harvest.
Start Seeds Indoors
RecommendedEarly to late December
around December 13
Then transplant: Early January through early February
Start seeds 4-6 weeks before transplanting outdoors.
Buy Starts
Works WellEarly January through early February
around January 10
Plant purchased starts after last frost (January 10).
Transplant Outdoors
Timing InfoEarly January through early February
around January 10
Can tolerate light frost, but wait for soil to be workable.
You have a nice window — no need to rush.
Fall Planting
Mid October through mid November
October 29 ideal · Direct sow for fall harvest
Plant a second crop in mid-summer for fall harvest. Swiss Chard actually prefers the cooling temperatures of fall.
Overview
Swiss chard is a fantastic addition to any Florida garden. Its mild, earthy flavor makes it a versatile ingredient in salads, soups, and stir-fries. Plus, you can harvest it throughout the cooler months, bringing fresh greens to your table when other crops struggle in our reversed seasons.
Our subtropical climate presents some unique gardening challenges, like humidity and pests. But with careful timing and the right techniques, you can successfully grow Swiss chard right here in Zone 10A. Our long, 355-day growing season gives you plenty of opportunity to enjoy this leafy green.
Starting Seeds Indoors
Starting Swiss chard indoors is an option, but honestly, it's usually not necessary in our climate. Direct sowing is typically very successful. However, if you want a head start, especially for an early crop, you can start seeds indoors from early to late December, about four weeks before you plan to transplant.
Use seed trays or small pots filled with a good seed-starting mix. Keep the soil consistently moist, and provide warmth and plenty of light. Bottom watering helps prevent damping-off, a common problem with seedlings. Remember, our spring character is reversed, so starting early helps get ahead of the summer heat.
Transplanting Outdoors
If you started your Swiss chard indoors, transplant seedlings outdoors from early January through early February. Before transplanting, harden off the seedlings by gradually exposing them to outdoor conditions for about a week. This helps them adjust to the sun and wind.
Space the seedlings 8-12 inches apart in well-drained soil. Keep in mind that even in January and February, we can have some unexpected warm spells, so water regularly after transplanting to help them get established.
Direct Sowing
Direct sowing Swiss chard is a breeze in our Florida climate. You can sow seeds directly into the garden from late December through late October. The soil temperature should be at least 50°F for good germination.
Prepare the soil by loosening it and mixing in compost or other organic matter. Sow seeds about ½ inch deep and 8-12 inches apart. Keep the soil consistently moist until the seedlings emerge. One potential downside to direct sowing is that you might have to deal with more pests early on, but the convenience often outweighs this.
Watering Swiss Chard in Zone 10A (Florida)
Swiss chard needs moderate, consistent watering to thrive in Florida. While it's more heat-tolerant than spinach, it still suffers in extreme heat and drought. During our typically dry spring (reversed season, remember), aim to provide about 1 inch of water per week.
Use the "finger test" to check soil moisture: if the top 2 inches of soil feel dry, it's time to water. Water at the base of the plants to avoid wetting the leaves, which can encourage fungal diseases in our humid climate. Overhead watering is fine occasionally to wash off dust, but do it in the morning so the leaves have time to dry before nightfall.
Signs of underwatering include wilting leaves and slow growth. Overwatering can lead to root rot, especially in our sandy soils, so make sure the soil is well-draining. Yellowing leaves can indicate either extreme. A layer of mulch, like pine straw or wood chips, helps retain moisture and suppress weeds.
🧪Fertilizing Swiss Chard
Feeding Schedule
Organic Fertilizer Options
Harvest Time
You can expect your first harvest of Swiss chard from mid-February through early January, about 55 days after planting. Look for outer stalks that are 8-12 inches long. The colorful stems (red, yellow, or white) are perfectly edible and add a nice visual touch to your dishes.
To harvest, cut the outer stalks at the base of the plant, leaving the inner leaves to continue growing. This allows for continuous harvesting throughout the season. As late December approaches and our first frost threatens, harvest any remaining large leaves. Even if a frost nips the plants, they often bounce back, but it's best to get what you can.
Common Problems in Zone 10A (Florida)
Here are some common problems you might encounter with Swiss chard in Florida:
Leaf Miners
- What it looks like: Squiggly, pale tunnels inside the leaves.
- What causes it: Small flies lay eggs on the leaves, and the larvae burrow inside. This is more prevalent during our warmer months.
- How to fix/prevent it: Cover plants with row covers to prevent flies from laying eggs. Remove and destroy infested leaves. Insecticidal soap can help with heavy infestations.
Aphids
- What it looks like: Clusters of tiny soft-bodied insects (green, black, or white) on stems and leaf undersides. Sticky honeydew residue. Curled or distorted new growth.
- What causes it: Rapid-reproducing sap-sucking insects. Populations explode in warm weather. Ant colonies may farm them for honeydew.
- How to fix/prevent it: Strong water spray knocks them off. Encourage ladybugs and lacewings (natural predators). Insecticidal soap for heavy infestations. Neem oil works systemically. Avoid excess nitrogen fertilizer (it attracts them).
Cercospora Leaf Spot
- What it looks like: Small, circular spots on the leaves that start as tan or gray and eventually turn reddish-brown.
- What causes it: A fungal disease that thrives in warm, humid conditions. This is a common problem in Florida gardens.
- How to fix/prevent it: Improve air circulation by spacing plants properly. Remove and destroy infected leaves. Apply a copper-based fungicide as a preventative measure.
Slugs
- What it looks like: Irregular holes in leaves, especially low-growing plants. Silvery slime trails on leaves and soil. Damage worse at night and in wet weather.
- What causes it: Gastropods that feed at night in moist conditions. Hide under mulch, boards, and debris during the day.
- How to fix/prevent it: Beer traps (shallow dish of beer sunk into soil). Iron phosphate bait (pet-safe). Remove hiding spots. Water in morning so soil surface dries by evening. Copper tape around beds. Diatomaceous earth around plants.
Florida Specific Challenges: The combination of hot heat, very-high humidity, and our wet-summer rainfall creates ideal conditions for fungal diseases and pests. Choose disease-resistant varieties and practice good garden hygiene to minimize problems.
Best Companions for Swiss Chard
Plant these nearby for healthier Swiss Chard and better harvests.
View Full Companion Planting Chart →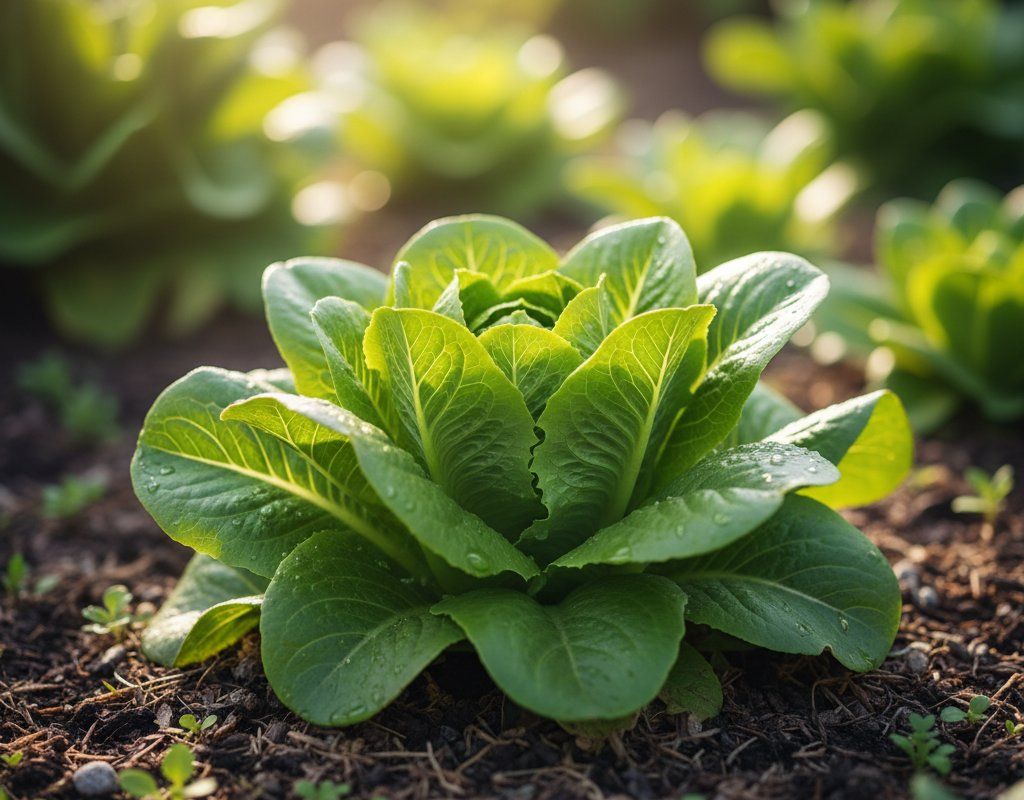


Companion Planting Details
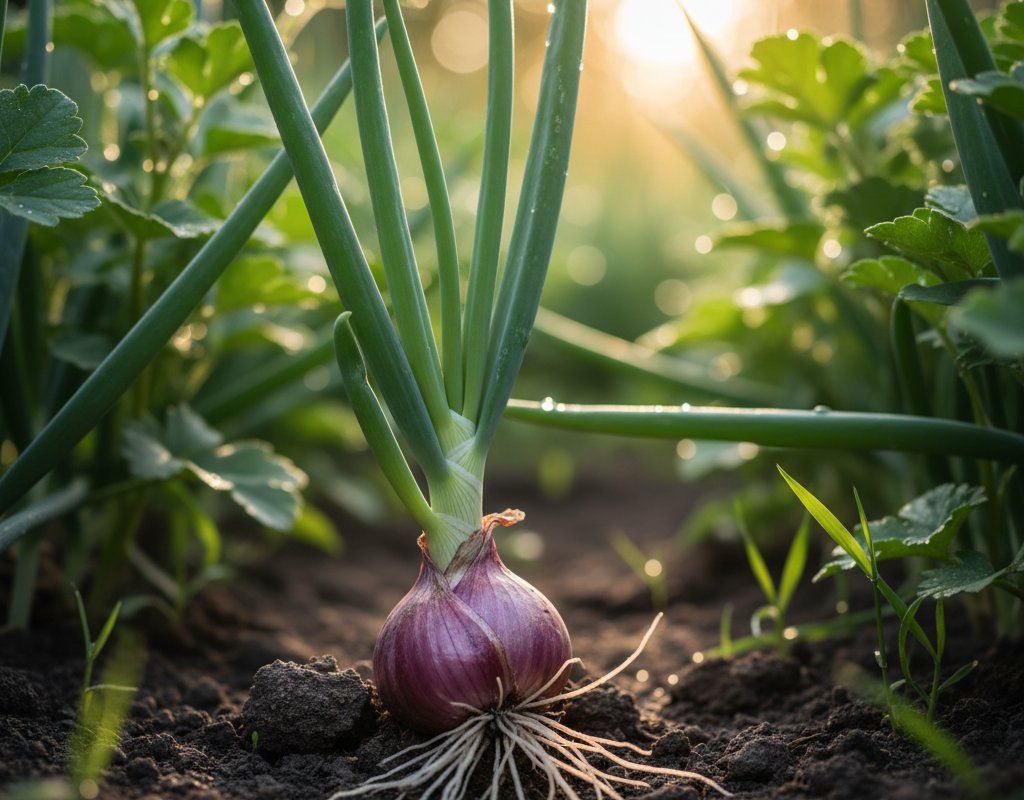
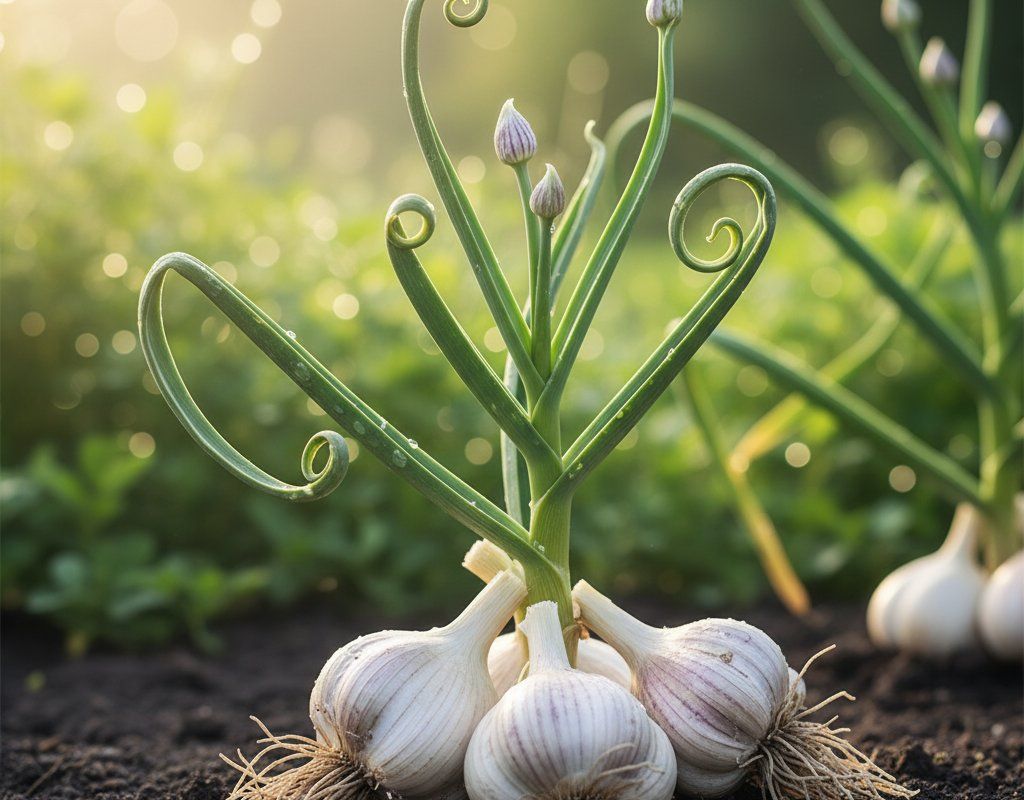
Companion planting can help your Swiss chard thrive. Lettuce is a good companion because it provides ground cover, keeping the soil cool and moist. Onions and garlic deter pests with their strong scent. Green beans fix nitrogen in the soil, benefiting the chard. Cabbage family members also do well planted nearby.
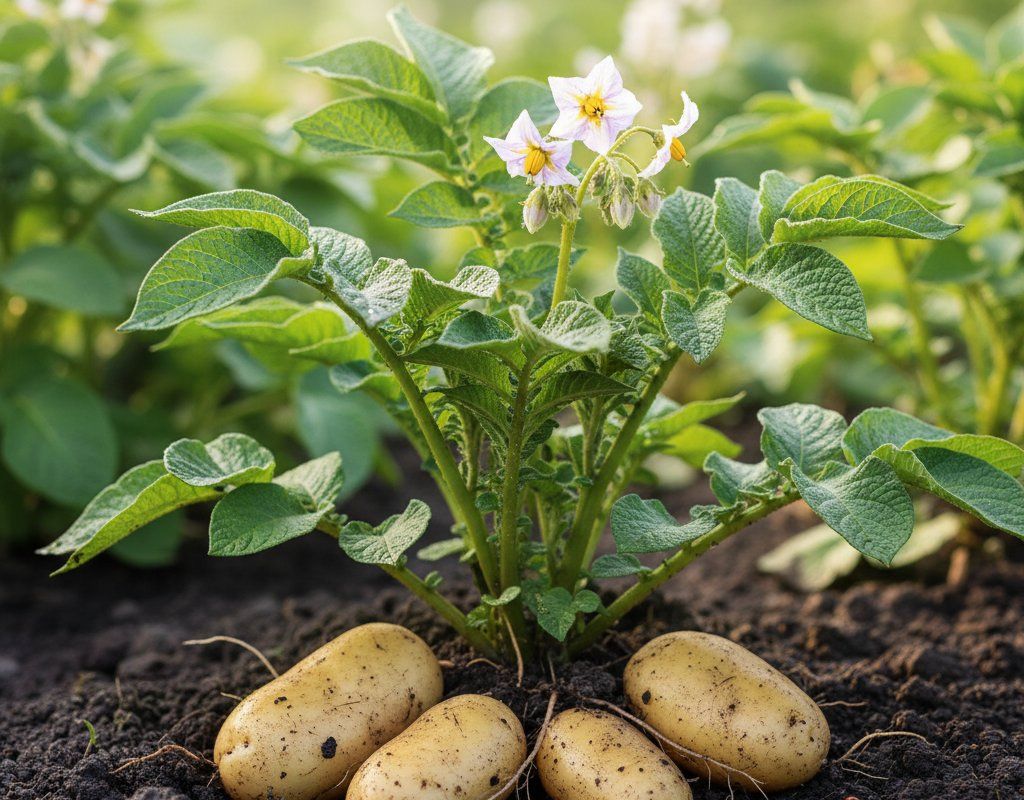
Avoid planting Swiss chard near corn or potatoes. Corn competes for nutrients, and potatoes are susceptible to similar pests and diseases, potentially spreading problems to your chard.
🌸Best Flowers to Plant with Swiss Chard
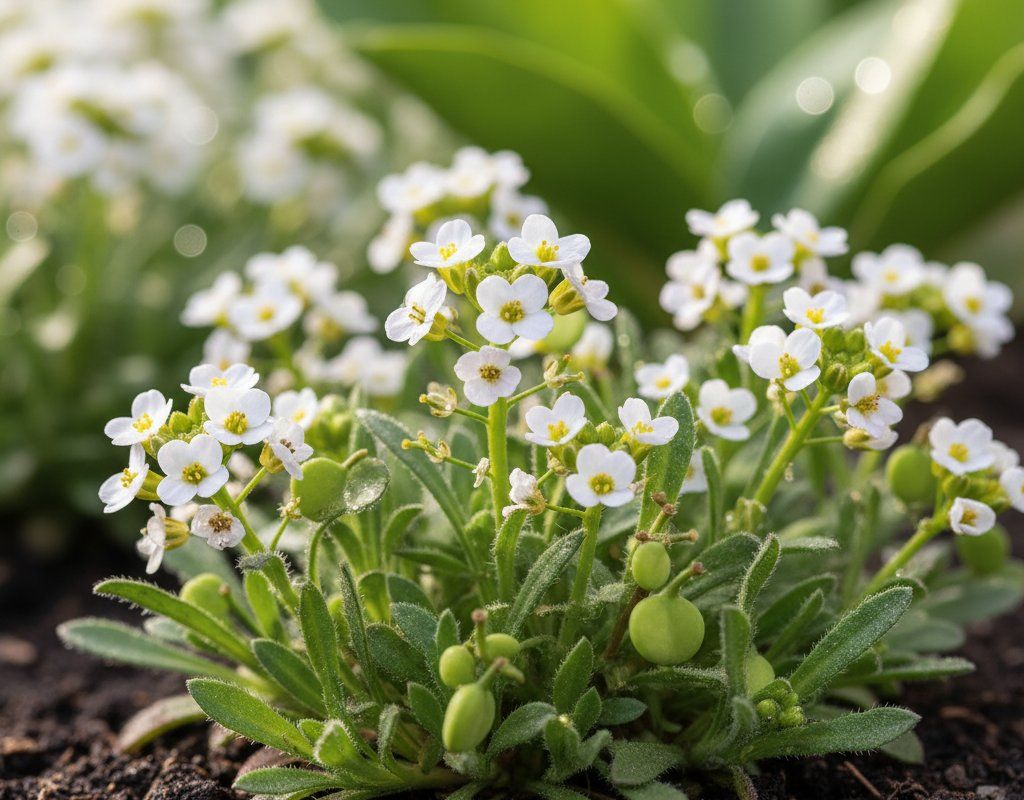
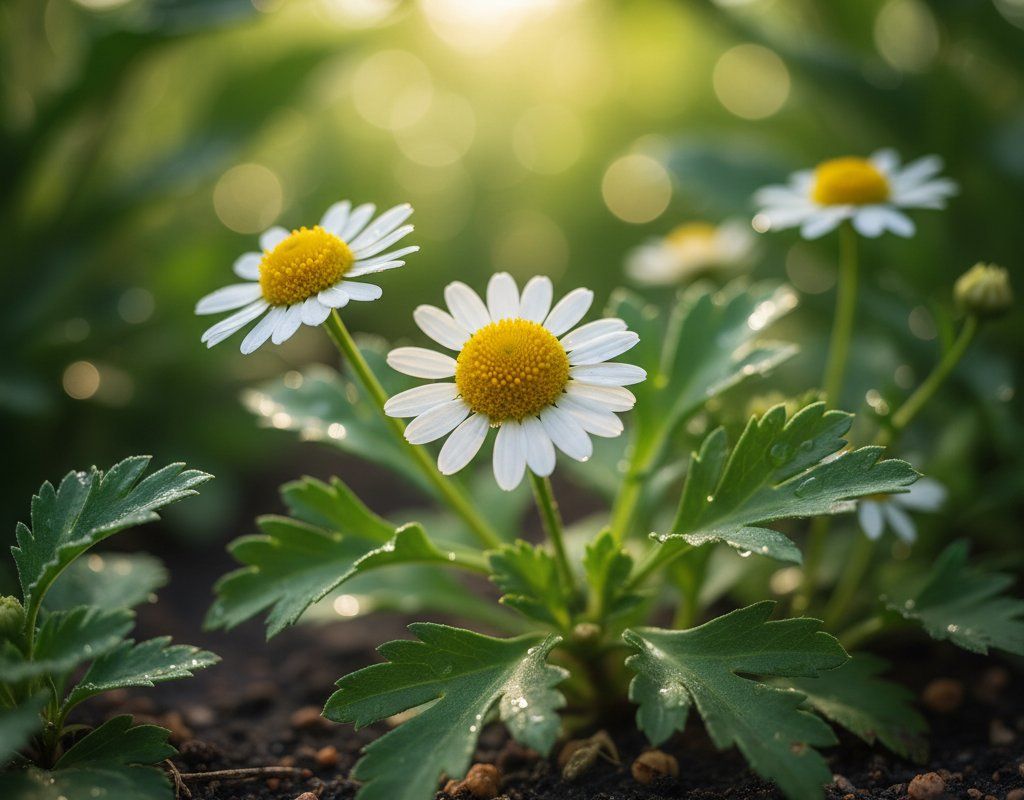
These flowers protect your Swiss Chard from pests and attract pollinators for better harvests.
For Pest Control

For Pollinators

Get a Reminder When It's Time to Plant
We'll email you when key planting windows open for your zone.