
Tomato in Zone 3A — Mountain West
Solanum lycopersicum · Your Complete 2026 Planting Guide
Planning Ahead — Great!
You’re ahead of the season. Here’s when to start.
Mark Your Calendar
How to Plant Tomato in Zone 3A — Mountain West
Here are all your options for getting tomato in the ground, from the easiest method to more advanced approaches.
Start Seeds Indoors
RecommendedLate April through mid May
around May 4
Then transplant: Mid to late June
Start seeds 6-8 weeks before transplanting outdoors.
Tomatoes need 6-8 weeks head start indoors for best production.
Buy Starts
Works WellMid to late June
around June 15
Plant purchased starts after last frost (June 1).
Look for stocky plants with dark green leaves. Avoid leggy or already-flowering seedlings.
Direct Sow Seeds
ChallengingDirect sowing is not typical for Tomato.
Transplant Outdoors
Timing InfoMid to late June
around June 15
Wait until nighttime temperatures stay above 50°F.
Timing is critical in your zone — don’t delay!
Overview
Growing tomatoes in the Mountain West's Zone 3A delivers some of the most flavorful fruit you'll ever taste. Our intense high-altitude sun and cool nights create ideal conditions for developing complex sugars and deep flavor — something you can't get from store-bought tomatoes or even those grown in milder climates. The low humidity here means fewer disease problems, and once you dial in the watering, your plants will reward you with abundant harvests that make every bit of effort worthwhile.
Yes, our 96-day growing season presents challenges, and those early September frosts mean you need to be strategic about timing. But with proper indoor starting and variety selection, you can absolutely grow outstanding tomatoes at altitude. The key is working with our late spring and embracing the fact that patience in May leads to incredible harvests in late summer.
Starting Seeds Indoors
Start your tomato seeds indoors during late April through mid-May, about 6 weeks before you plan to transplant outdoors. This timing accounts for our notoriously late springs and gives plants the head start they need to produce before early fall frosts hit. Use seed starting mix in flats or individual cells, keeping soil consistently moist but not waterlogged.
Bottom watering works especially well in our dry climate — set seed trays in shallow pans of water and let the soil absorb moisture from below. This prevents the surface crusting that can happen when our low humidity rapidly dries the top layer. Keep seeds warm (70-75°F) until germination, then provide strong light from grow lights or a south-facing window.
Once seedlings develop their first true leaves, transplant to larger containers. Your plants need those full 6-8 weeks indoors to develop strong root systems and sturdy stems that can handle our intense UV and temperature swings once transplanted outside.
Transplanting Outdoors
Transplant your tomatoes outdoors during mid to late June, after all danger of frost has passed and soil has warmed. In the Mountain West, soil temperature matters more than air temperature — wait until nighttime lows consistently stay above 50°F. Your plants will sulk and potentially suffer permanent damage if shocked by cold soil or unexpected late frost.
Harden plants off gradually over a week before transplanting. Start with an hour of filtered outdoor exposure, gradually increasing time and sun intensity. Our intense UV can scorch tender indoor-grown leaves quickly, so don't rush this process. Space plants 24-36 inches apart — the wider spacing improves air circulation in our dry climate and gives each plant room to handle our strong winds.
Choose stocky, dark green plants with thick stems over tall, spindly ones. Avoid any seedlings already flowering, as transplant shock often causes these early blooms to drop anyway. Plant slightly deeper than the root ball, burying part of the stem to encourage additional root development.
Watering Tomato in Zone 3A (Mountain West)
Consistent moisture is absolutely critical for tomatoes in the Mountain West, where our dry air and intense sun can quickly stress plants. Aim for 1-2 inches of water per week, applied deeply and evenly. The "finger test" works well here — stick your finger 2 inches into the soil near the plant. If it's dry at that depth, it's time to water.
Our low humidity means water evaporates quickly from both soil and plant surfaces. Water at the base of plants rather than overhead — this conserves water and prevents disease issues that can develop when wet foliage meets our cool nights. Early morning watering gives plants time to absorb moisture before the day's intense sun hits.
Inconsistent watering causes more tomato problems than almost anything else in our climate. Drought followed by heavy watering leads to blossom end rot, fruit cracking, and blossom drop. A thick layer of organic mulch helps maintain even soil moisture, though avoid piling it directly against plant stems.
Watch for signs of water stress: wilting during hot afternoons (normal) versus wilting in morning or evening (needs more water), and yellowing lower leaves (often overwatering). In our dry climate, slight afternoon wilting is normal as long as plants perk up by evening.
Supporting Your Tomato
Install cages or stakes at planting time — tomato roots spread wide and you'll damage them trying to add support later. For indeterminate varieties, use sturdy 5-6 foot cages or heavy stakes, as these plants can easily reach 6 feet or more in our intense sun. The lightweight tomato cages from garden centers won't cut it here.
Our strong afternoon winds can snap unsupported branches or topple entire plants, especially once they're loaded with fruit. Secure plants to supports with soft ties, checking and adjusting throughout the growing season as stems thicken. For staked plants, tie at 12-18 inch intervals as they grow.
Consider using concrete reinforcing wire to make custom cages — the 6-inch openings make harvesting easy while providing rock-solid support. In our short season, you want maximum fruit production, which means supporting heavy-laden branches that might otherwise break under their own weight.
Pruning & Maintaining Tomato
Remove suckers (shoots growing between main stem and branches) below the first flower cluster throughout the growing season. These lower suckers rarely produce quality fruit in our short season and drain energy from productive upper branches. Pinch them off when small, using clean hands or sanitized pruners for larger ones.
Upper suckers are optional to remove — keeping them increases total yield but produces smaller fruit. In our 96-day season, many Mountain gardeners choose to keep all suckers to maximize production. Remove yellowing or diseased lower leaves throughout the season to improve air circulation and reduce disease pressure.
As early September approaches and first frost threatens, pinch growing tips to redirect plant energy into ripening existing fruit rather than producing new flowers that won't have time to mature. This "topping" helps you get the most from your limited growing window.
🧪Fertilizing Tomato
Feeding Schedule
Organic Fertilizer Options
Harvest Time
Expect your first ripe tomatoes in late August through early September, about 70 days after transplanting. Harvest when fruits are fully colored and give slightly to gentle pressure — they should twist easily off the vine with a slight upward motion. Don't wait for them to soften completely on the plant, as this increases susceptibility to cracking and pest damage.
Check plants daily once harvest begins, as our intense sun can take tomatoes from perfectly ripe to overripe quickly. Morning is the best harvesting time when fruits are cool and firm. Tomatoes continue ripening after picking, so harvest slightly underripe fruits if heavy rain or hail threatens.
As September progresses and first frost approaches (often early in the month), harvest all green tomatoes larger than golf ball size. These will ripen indoors over several weeks when stored at room temperature. Wrap individually in newspaper or place in boxes with a ripe apple to speed the process.
Our short season means every ripe tomato counts. Don't leave overripe fruit on plants, as it attracts pests and diseases while using plant energy that could go toward ripening remaining green fruits.
Common Problems in Zone 3A (Mountain West)
Blossom End Rot Dark, sunken, leathery patches appear on the bottom (blossom end) of fruits, often affecting the first tomatoes of the season. This looks like rot but isn't a disease — it's a calcium deficiency caused by inconsistent watering. In our dry climate with intense sun, plants struggle to uptake calcium when soil moisture fluctuates wildly between drought and flood conditions.
Early Blight Brown spots with distinctive concentric rings (bullseye or target pattern) appear on lower leaves first, then spread upward. Leaves yellow and eventually drop. This fungal disease thrives when soil splashes onto leaves during watering. Our dry climate actually helps prevent this compared to humid regions, but it still occurs, especially with overhead watering or during our occasional heavy rain events.
Hornworms Large sections of leaves disappear overnight, often with dark droppings visible on remaining foliage. Look for large (up to 4 inches) green caterpillars with white diagonal stripes — they're incredibly well camouflaged. These larvae can strip a plant in days once they reach full size. Handpick them (they don't bite) or use Bt spray. If you find hornworms covered with small white cocoons, leave them alone — those are beneficial parasitic wasps that will kill the hornworm and produce more pest controllers.
Cracking Splits appear in tomato skins, either as concentric circles around the stem or radial lines radiating outward. This happens when plants absorb water faster than the skin can expand, typically after heavy watering or rain following a dry period. Our intense sun compounds the problem by heating fruits rapidly. Choose crack-resistant varieties and maintain consistent soil moisture through mulching and regular watering.
Mountain West Specific Challenges: Our combination of intense UV, low humidity, and dramatic temperature swings between day and night creates unique stress conditions. While the low humidity reduces most fungal diseases, it accelerates water loss and can concentrate plant stress into shorter time periods than in more humid climates.
Best Companions for Tomato
Plant these nearby for healthier Tomato and better harvests.
View Full Companion Planting Chart →


Companion Planting Details
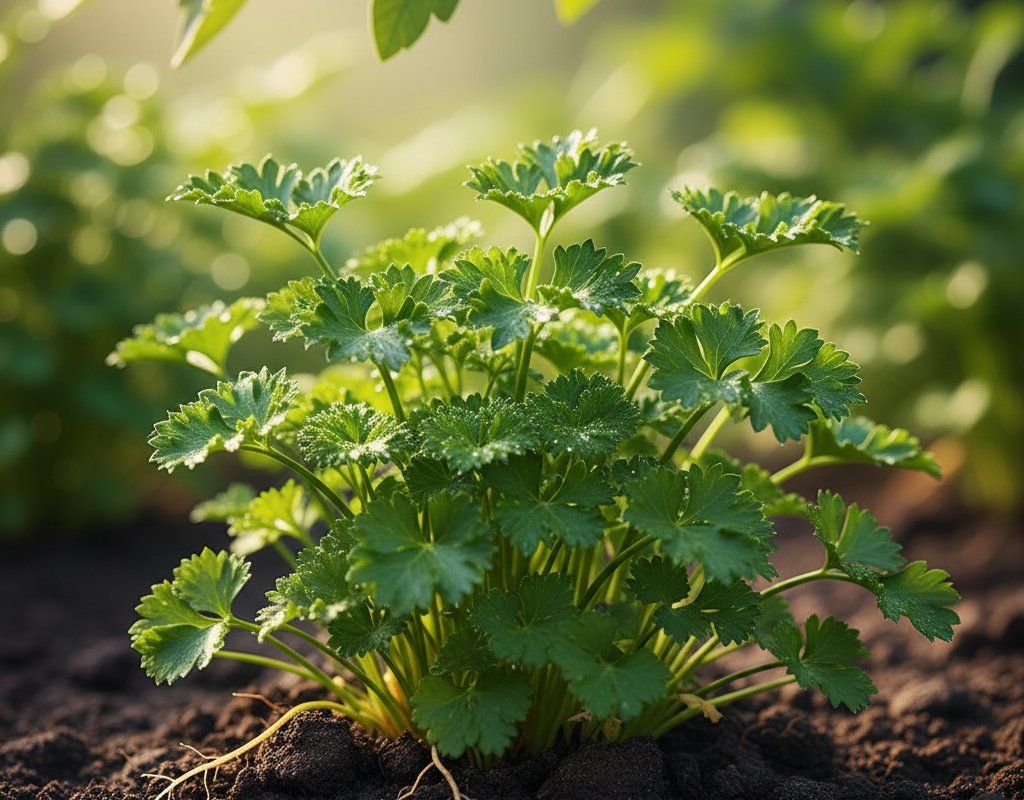
Plant basil near your tomatoes — it reportedly improves flavor and definitely helps repel aphids and other soft-bodied insects that can vector diseases. Carrots planted between tomato rows make efficient use of space and won't compete for nutrients since they feed at different soil depths. Parsley attracts beneficial insects that prey on tomato pests, while marigolds help deter nematodes and other soil-dwelling problems.
Avoid planting brassicas (cabbage, broccoli, cauliflower) near tomatoes, as they can inhibit tomato growth and attract different pests that may spread to your tomato plants. Keep fennel away from the tomato patch — it can stunt growth in nearby plants. Corn competes heavily for nitrogen and water, both precious resources in our dry mountain climate where efficient resource use matters more than in regions with abundant rainfall.
🌸Best Flowers to Plant with Tomato
These flowers protect your Tomato from pests and attract pollinators for better harvests.
For Pest Control







Get a Reminder When It's Time to Plant
We'll email you when key planting windows open for your zone.