
Tomato in Zone 9B — Florida
Solanum lycopersicum · Your Complete 2026 Planting Guide
Check Planting Details Below
See the full planting guide for timing information.
How to Plant Tomato in Zone 9B — Florida
Here are all your options for getting tomato in the ground, from the easiest method to more advanced approaches.
Start Seeds Indoors
RecommendedMid December through early January
around December 23
Then transplant: Early February through early March
Start seeds 6-8 weeks before transplanting outdoors.
Tomatoes need 6-8 weeks head start indoors for best production.
Buy Starts
Works WellEarly February through early March
around February 3
Plant purchased starts after last frost (January 20).
Look for stocky plants with dark green leaves. Avoid leggy or already-flowering seedlings.
Direct Sow Seeds
ChallengingDirect sowing is not typical for Tomato.
Transplant Outdoors
Timing InfoEarly February through early March
around February 3
Wait until nighttime temperatures stay above 50°F.
You have a nice window — no need to rush.
Overview
In Florida's subtropical climate, homegrown tomatoes deliver that burst of summer flavor that store-bought varieties simply can't match. You'll taste the difference immediately — that perfect balance of sweetness and acidity that only comes from vine-ripened fruit picked at peak flavor. Growing your own also means access to incredible heirloom varieties and paste tomatoes perfect for our year-round cooking needs.
Here in Zone 9B, tomato timing runs opposite to most of the country since our summer heat becomes too intense for fruit production. But don't let that worry you — with our 344-day growing season, you'll actually get better flavor and fewer pest problems by growing tomatoes during our cooler months. The key is starting seeds in winter and enjoying harvests through late spring.
Starting Seeds Indoors
Start your tomato seeds indoors during mid-December through early January, about 6 weeks before you plan to transplant. This timing takes advantage of Florida's reversed growing calendar — while northern gardeners are planning, you're already planting. Set up seed trays in a warm spot (65-70°F works well) with good light, either from a south-facing window or grow lights.
Use bottom watering to keep seedlings healthy without creating the humid conditions that encourage damping-off disease. Fill a tray with water and let your seed containers absorb moisture from below. This method works especially well in Florida's humid environment where overhead watering can spell trouble for young plants.
Tomatoes need this 6-8 week head start indoors because direct seeding outdoors just doesn't work reliably here. By the time soil conditions are right for germination, you'd be pushing into late spring when temperatures start climbing toward summer's brutal heat.
Transplanting Outdoors
Transplant your tomato seedlings outdoors during early February through early March, when nighttime temperatures consistently stay above 50°F. This timing puts you ahead of the intense heat that shuts down tomato production by late spring. Harden off your seedlings gradually over a week — start with a few hours of filtered morning sun and work up to full outdoor conditions.
Space plants 24-36 inches apart to ensure good air circulation, which is crucial in our humid climate. Look for stocky plants with dark green leaves and thick stems. Avoid leggy seedlings or plants that are already flowering, as these often struggle to establish properly and produce disappointing yields.
February transplanting can be tricky with occasional cold snaps, so keep row covers or old sheets handy for protection. Once established, these plants will thrive through our pleasant spring weather and produce heavily before summer heat arrives.
Watering Tomato in Zone 9B (Florida)
Consistent moisture is absolutely critical for tomatoes in Florida's climate — more so than in drier regions where you might get away with occasional deep watering. The combination of our sandy soil, intense heat, and high humidity creates unique watering challenges that require a different approach than you'd use up north.
Water deeply 2-3 times per week during our dry winter and spring months, providing about 1-2 inches total weekly. Use the finger test — stick your finger 2 inches into the soil, and if it's dry at that depth, it's time to water. Always water at the base of plants rather than overhead, since our high humidity already creates perfect conditions for fungal diseases without adding wet leaves to the mix.
During our wet summer months (though your plants may be finishing up by then), back off watering and focus on drainage. Our 50-65 inches of annual rainfall means you'll often deal with too much water rather than too little. Inconsistent watering — the drought/flood cycles our weather patterns can create — leads directly to blossom end rot, fruit cracking, and flower drop.
Mulch heavily around plants with organic matter to maintain even soil moisture and prevent the rapid drying that happens in sandy soil. In Florida's intense sun, unmulched soil can go from perfect to bone dry in a single day, stressing plants and triggering all sorts of fruit problems.
Supporting Your Tomato
Install sturdy support systems at planting time since indeterminate tomatoes will grow 6-8 feet tall in Florida's long growing season. Heavy-duty tomato cages (at least 5-6 feet tall) or sturdy stakes work best — the flimsy store-bought cages will collapse under the weight of a productive plant loaded with fruit.
For staking, use 8-foot posts driven 2 feet into the ground, giving you 6 feet above soil level. Tie plants loosely with soft materials like old t-shirt strips or tomato ties, allowing room for stem growth. Start tying when plants reach 12 inches tall and continue every 8-10 inches as they grow.
Training is simpler with cages — just gently guide branches through openings as they grow. With our extended growing season, proper support becomes even more important since plants have more time to get heavy with fruit and can become top-heavy without adequate structure.
Pruning & Maintaining Tomato
Remove suckers (shoots growing between main stem and branches) regularly, especially those below the first flower cluster. This focuses the plant's energy on fruit production rather than excessive foliage, which is particularly important in our humid climate where dense growth invites disease problems.
Continue light sucker removal throughout the growing season, but don't go overboard — some foliage protects developing fruit from sun scald during our intense spring sunshine. You can also remove lower leaves that touch the ground to improve air circulation and reduce disease pressure from soil-borne pathogens.
As your first frost approaches in late December, top your plants by pinching out the growing tips about a month before. This encourages the plant to put energy into ripening existing fruit rather than producing new flowers that won't have time to mature. You'll get better-quality tomatoes this way rather than lots of green fruit at season's end.
🧪Fertilizing Tomato
Feeding Schedule
Organic Fertilizer Options
Harvest Time
Expect your first ripe tomatoes mid-April through early June, about 70 days from transplanting. This timing gives you perfect spring harvest weather — warm but not yet blazingly hot. Harvest when fruits are fully colored with just a slight give when gently squeezed. Ripe tomatoes twist easily off the vine with a gentle upward motion.
Pick regularly to encourage continued production, checking plants every 2-3 days during peak season. Tomatoes will continue producing until summer heat shuts them down or cold weather arrives. Don't wait for perfect ripeness if intense heat is forecast — slightly underripe tomatoes will finish ripening indoors and taste better than those that ripen in 95°F heat.
As your season winds down in late spring or early summer, harvest any tomatoes showing the first blush of color. They'll ripen perfectly on a kitchen counter, and this strategy prevents splitting from afternoon thunderstorms or damage from increasing pest pressure as weather warms.
For end-of-season harvesting before first frost in late December (if you're growing fall-planted crops), strip the plants of all green tomatoes larger than a quarter. Wrap individually in newspaper and store in a cool, dark place — they'll ripen gradually over several weeks, extending your harvest well into winter.
Common Problems in Zone 9B (Florida)
Blossom End Rot What it looks like: Dark brown or black leathery patches on the bottom (blossom end) of developing fruit. The spots are sunken and often appear on your first fruits of the season. It's not a disease you can spray away.
What causes it: Calcium deficiency triggered by inconsistent watering — our sandy Florida soil makes this worse since nutrients leach away quickly. The plant can't absorb calcium properly when soil moisture swings between too wet and too dry.
How to fix/prevent it: Water consistently and deeply — this single change fixes most cases. Mulch heavily to maintain steady soil moisture in our sandy soil. Don't over-fertilize with nitrogen, which interferes with calcium uptake. Remove affected fruit so the plant focuses energy on healthy development.
Early Blight What it looks like: Brown spots with distinctive concentric rings (like a bullseye or target) starting on lower leaves. Leaves yellow and drop off, progressing up the plant. You'll see it most during humid weather.
What causes it: Fungal disease that absolutely loves Florida's warm, humid conditions. Spores splash from soil onto lower leaves during watering or rain, then spread rapidly in our climate.
How to fix/prevent it: Remove affected leaves immediately and destroy them (never compost). Water at the base only, never overhead. Mulch to prevent soil splash. Improve air circulation through proper spacing and pruning. Copper fungicide helps slow spread but won't cure it.
Hornworms What it looks like: Large sections of leaves and stems stripped clean overnight, often with dark droppings scattered below. The culprits are huge green caterpillars (up to 4 inches) with white diagonal stripes that blend perfectly with tomato foliage.
What causes it: Larvae of hawk moths that lay eggs on tomato family plants. These caterpillars can defoliate entire plants in just a few days once they get large enough.
How to fix/prevent it: Handpick them off (they don't bite or sting). Look carefully — they camouflage extremely well. Bt (Bacillus thuringiensis) spray works effectively for organic control. If you find hornworms with white cocoons on their backs, leave them alone — those are beneficial parasitic wasp eggs that will kill the pest and create more beneficial insects.
Cracking What it looks like: Splits in the tomato skin, either in circles around the stem (concentric) or in lines radiating from the stem (radial). Cracks expose the flesh and often lead to rot.
What causes it: Heavy rain or watering after dry spells. The fruit absorbs water faster than the skin can stretch, especially during our intense afternoon thunderstorms following dry periods.
How to fix/prevent it: Maintain consistent soil moisture through regular watering and heavy mulching. Harvest promptly when ripe. Choose crack-resistant varieties for future plantings. In Florida's unpredictable weather patterns, this consistency takes extra attention but prevents most cracking.
Florida Specific Challenges: Our combination of intense humidity, sandy soil that drains quickly, and sudden weather changes creates the perfect storm for tomato problems. The high humidity encourages fungal diseases while sandy soil makes consistent watering challenging. Hurricane season can also bring devastating winds and flooding that destroy plants, so consider your planting location carefully.
Best Companions for Tomato
Plant these nearby for healthier Tomato and better harvests.
View Full Companion Planting Chart →


Companion Planting Details
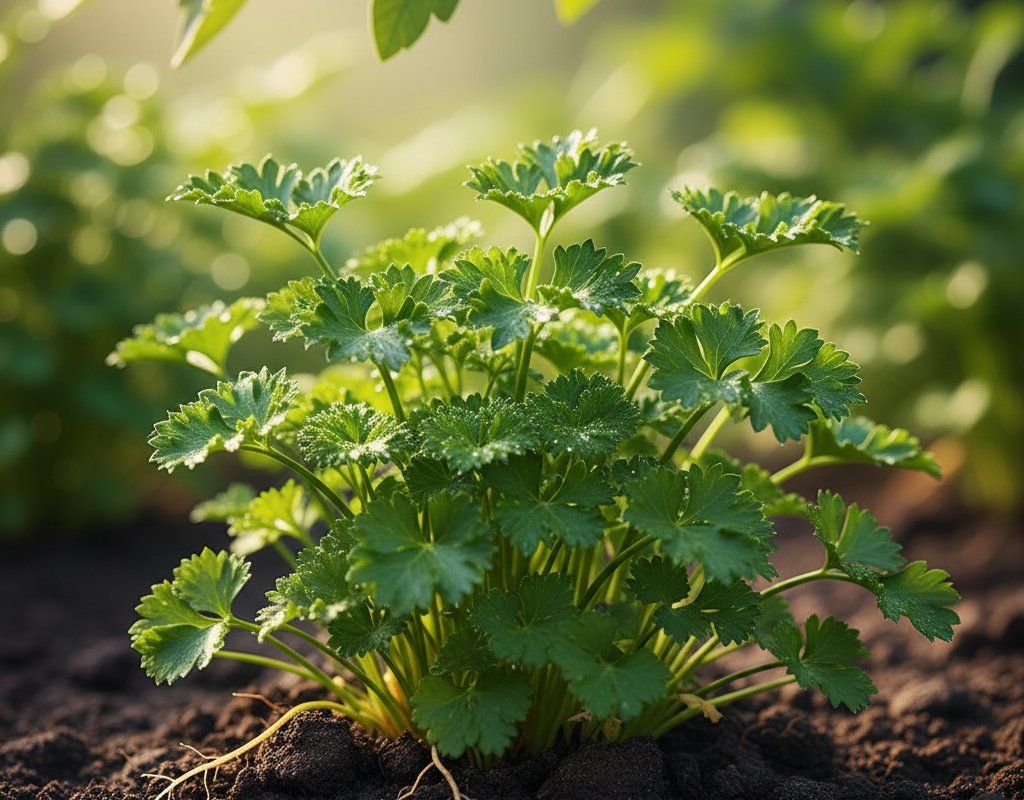
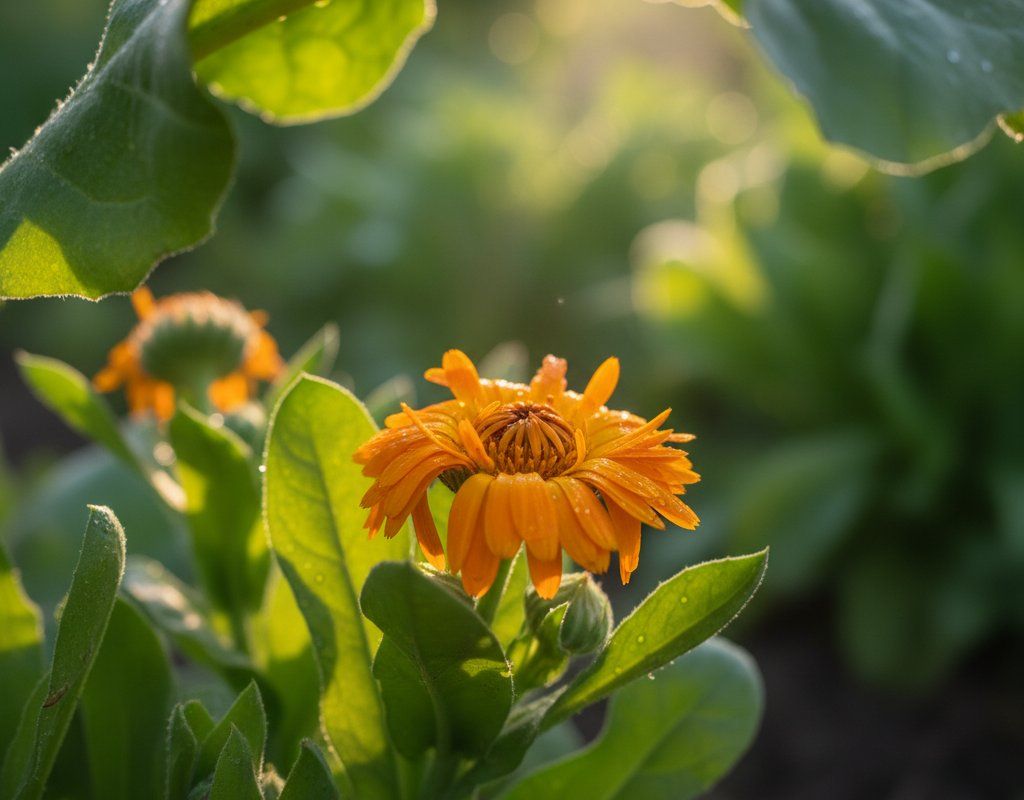
Good companions include basil, which helps repel aphids and whiteflies while thriving in the same growing conditions as tomatoes. Carrots make excellent use of space between tomato plants and their deep roots don't compete with shallow tomato feeders. Parsley attracts beneficial insects that prey on tomato pests, while marigolds deter nematodes — a serious problem in Florida's sandy soils.
Avoid planting brassicas like cabbage or broccoli near tomatoes since they're heavy nitrogen feeders that compete for nutrients. Fennel inhibits tomato growth through allelopathic compounds, and corn attracts the same hornworms that devastate tomatoes. In Florida's intensive growing environment, these competitive relationships become more pronounced, so companion choices matter more than in cooler climates.
🌸Best Flowers to Plant with Tomato
These flowers protect your Tomato from pests and attract pollinators for better harvests.
For Pest Control


Get a Reminder When It's Time to Plant
We'll email you when key planting windows open for your zone.