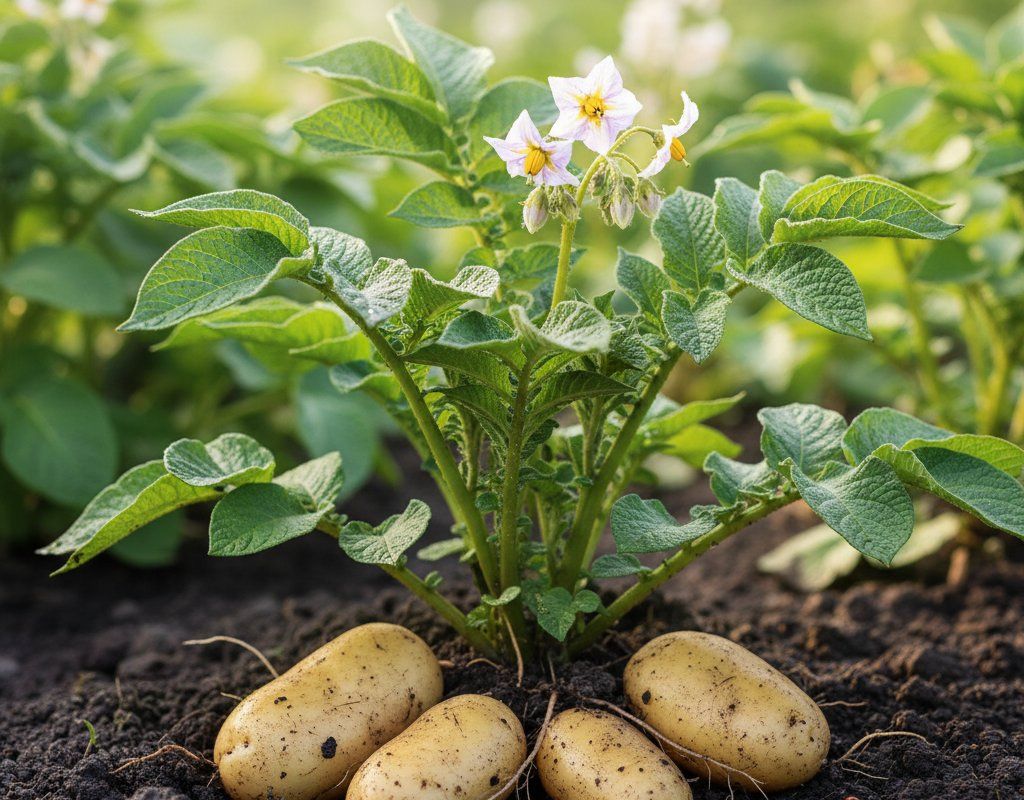
Potato in Zone 6B — Pacific Northwest
Solanum tuberosum · Your Complete 2026 Planting Guide
Planning Ahead — Great!
You’re ahead of the season. Here’s when to start.
Mark Your Calendar
How to Plant Potato in Zone 6B — Pacific Northwest
Here are all your options for getting potato in the ground, from the easiest method to more advanced approaches.
Direct Sow Seeds
RecommendedMid April through late June
around April 17
Consider succession planting every 2-3 weeks for continuous harvest.
Plant seed potatoes directly in the ground. Not grown from true seed.
Buy Starts
Works WellMid April through early May
around April 17
Plant purchased starts after last frost (May 1).
Start Seeds Indoors
ChallengingThis plant is typically not started indoors.
Transplant Outdoors
Timing InfoMid April through early May
around April 17
Can tolerate light frost, but wait for soil to be workable.
Plan to transplant within a few weeks of your target date.
Overview
Potatoes are incredibly rewarding to grow in the Pacific Northwest, where our mild summers and cool nights create ideal conditions for developing those creamy, flavorful tubers we all crave. Unlike store-bought spuds that often taste like sawdust, your homegrown potatoes will have incredible flavor variety – from buttery Yukon Golds to nutty fingerlings that shine in our region's cooler growing conditions. You can grow enough potatoes in a small space to supply your kitchen for months, and there's nothing quite like digging up your first harvest of perfect, soil-fresh tubers.
Our 162-day growing season gives you plenty of time to grow excellent storage potatoes, though you'll need to work with our cool, wet springs and the reality that our soil warms up slowly. The good news is that potatoes actually prefer our mild summer temperatures over blazing heat, and our naturally dry summers reduce disease pressure once the plants are established.
Transplanting Outdoors
While most gardeners plant seed potatoes directly in the ground, you might occasionally start with transplants from a nursery. Plant these from mid-April through early May, once the soil has warmed to at least 45°F and the worst of our spring rains have passed.
Harden off any transplants gradually over a week, starting with just a few hours outdoors on overcast spring days. Our unpredictable spring weather can shock tender plants, so build up their tolerance slowly before committing them to the ground.
Space transplants 12 inches apart in rows or hills. Plant them slightly deeper than they were in their containers, burying the stem up to the first set of leaves. This encourages more tuber development along the buried stem.
Direct Sowing
Direct planting is the standard method for growing potatoes, and you can plant seed potatoes from mid-April through late June in our region. Start with certified seed potatoes from a reputable supplier – never use grocery store potatoes, which are often treated to prevent sprouting.
Wait until your soil temperature reaches 45°F and the soil isn't muddy from our wet spring weather. Cut larger seed potatoes into pieces with at least two eyes each, letting the cut surfaces dry for a day or two before planting. Plant pieces 4 inches deep and 12 inches apart, with eyes facing up.
Our cool spring soil means potato emergence can take 2-3 weeks, which is perfectly normal. As shoots appear, gradually hill soil around them, leaving just the top leaves exposed. This process of hilling creates more space for tubers to form and protects developing potatoes from sunlight, which turns them green and inedible.
Watering Potato in Zone 6B (Pacific Northwest)
Potatoes need consistent moisture throughout the growing season, but overwatering is just as problematic as drought stress in our climate. During our typically dry summer months, you'll need to supplement rainfall, providing about 1-2 inches of water per week including any natural precipitation.
The critical watering period is during flowering, when tubers are actively forming underground. Use the finger test – stick your finger 2 inches into the soil near the plants. If it feels dry at that depth, it's time to water deeply at the base of the plants. Our dry summer humidity means you can water in the evening without worrying about fungal diseases that plague more humid regions.
About two weeks before harvest, reduce watering significantly to allow tuber skins to toughen up for storage. Wet soil during harvest leads to rot and poor storage life. If late summer rains arrive, harvest promptly rather than letting potatoes sit in saturated soil.
Apply a 2-3 inch layer of straw mulch around plants once they're established. This conserves moisture during our dry spells and keeps developing tubers cool, while also making it easier to hill the plants as they grow.
🧪Fertilizing Potato
Feeding Schedule
Organic Fertilizer Options
Harvest Time
Your first new potatoes will be ready from mid-July through mid-October, depending on when you planted and which varieties you chose. For small "new" potatoes with tender skins, start harvesting about 60-70 days after planting, usually when plants begin flowering.
For storage potatoes, wait until the foliage dies back completely and the skins have set properly – this typically happens around 90 days from planting. Test a few potatoes by rubbing the skin with your thumb; mature potatoes won't lose their skin easily.
Harvest on a dry day if possible, carefully digging with a fork starting about a foot away from the plant to avoid spearing tubers. Our mild fall weather often extends your harvest window well into October, but get your crop out of the ground before our first frost in early October, which can damage exposed tubers.
Cure harvested potatoes in a cool, dark, well-ventilated area for 7-10 days before long-term storage. This allows any small cuts to heal and improves their keeping quality through our wet winter months.
Common Problems in Zone 6B (Pacific Northwest)
Colorado Potato Beetle These orange-and-black striped beetles and their orange larvae can quickly defoliate potato plants. You'll see adults emerge in late spring, followed by clusters of orange eggs on leaf undersides and chunky orange larvae with black spots feeding on foliage. Colorado potato beetles overwinter in garden debris and emerge as soil warms in spring. Hand-pick adults and egg masses in small plantings, or use row covers early in the season. Beneficial predators like spined soldier bugs help control larvae naturally in our region.
Late Blight Large, irregularly shaped dark green-gray water-soaked spots appear on leaves, often with white fuzzy growth on leaf undersides during our cool, wet spring weather. This can spread to tubers, causing firm brown spots that ruin storage quality. Late blight is caused by an oomycete that thrives in cool, moist conditions – exactly what we get during wet spring weather. Remove and destroy affected plants immediately (bag them, don't compost). Apply copper-based fungicide preventatively during wet periods, ensure good air circulation, and avoid overhead watering.
Scab Rough, corky patches appear on tuber surfaces, making potatoes unsightly but still edible after peeling. Scab thrives in alkaline soil and dry conditions during tuber formation. Keep soil pH between 5.0-6.0 for potatoes, and maintain consistent moisture during the flowering/tubing stage. Avoid fresh manure, which can raise soil pH and encourage scab development.
Pacific Northwest Specific Challenges: Our region's combination of wet springs and dry summers creates unique challenges for potato growing. The cool, wet conditions early in the season favor late blight development, while our naturally alkaline soils in many areas can encourage scab. However, our mild summer temperatures and low humidity during the growing season reduce many other common potato diseases, making successful crops very achievable with proper timing and variety selection.
Best Companions for Potato
Plant these nearby for healthier Potato and better harvests.

Keep Away From

Companion Planting Details
Beans make excellent companions for potatoes because they fix nitrogen in the soil, which potatoes can use later in the season. Plant bush beans between potato rows to maximize space efficiency. Corn provides natural shade during the hottest part of our mild summers, while brassicas like cabbage and broccoli have different nutritional needs and help break pest cycles. Horseradish planted at the ends of potato rows reportedly helps deter Colorado potato beetles.
Avoid planting tomatoes, squash, cucumbers, or sunflowers near potatoes. Tomatoes and potatoes are both nightshades susceptible to similar diseases like late blight, which can devastate both crops during our wet spring weather. Squash and cucumbers are heavy feeders that compete aggressively for nutrients, while sunflowers can inhibit potato growth through allelopathic compounds in their roots.
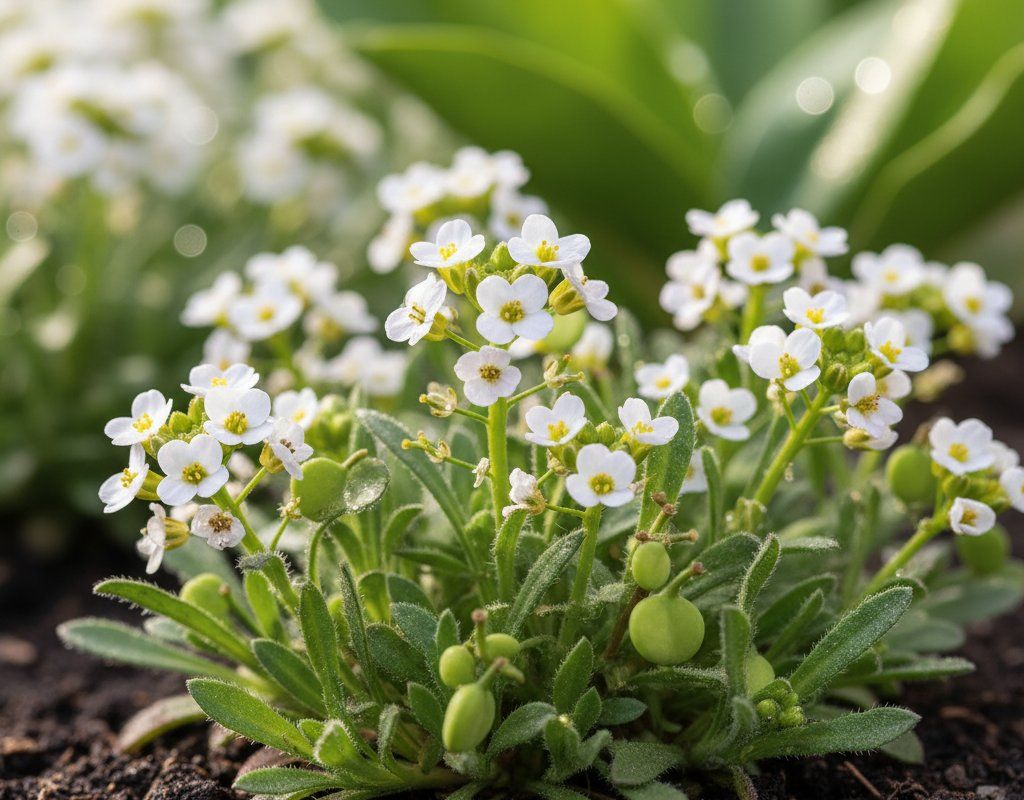
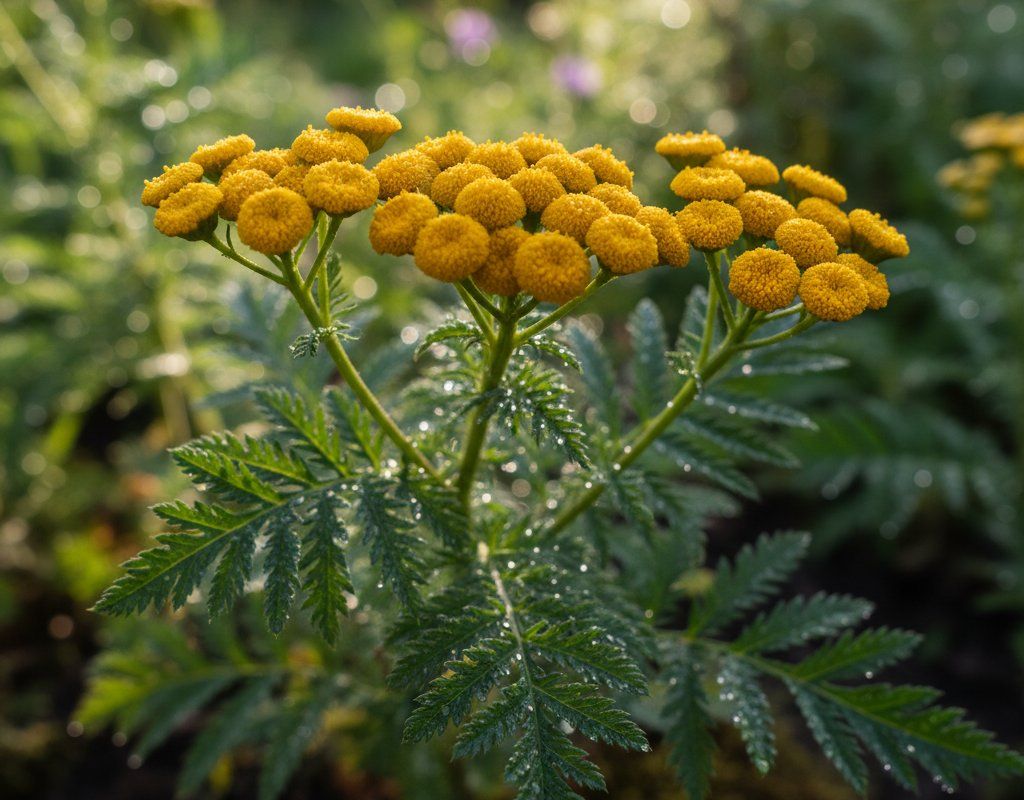
🌸Best Flowers to Plant with Potato
These flowers protect your Potato from pests and attract pollinators for better harvests.

Get a Reminder When It's Time to Plant
We'll email you when key planting windows open for your zone.