
Tomato in Zone 10B — Florida
Solanum lycopersicum · Your Complete 2026 Planting Guide
Check Planting Details Below
See the full planting guide for timing information.
How to Plant Tomato in Zone 10B — Florida
Here are all your options for getting tomato in the ground, from the easiest method to more advanced approaches.
Start Seeds Indoors
RecommendedEarly to late December
around December 8
Then transplant: Mid January through mid February
Start seeds 6-8 weeks before transplanting outdoors.
Tomatoes need 6-8 weeks head start indoors for best production.
Buy Starts
Works WellMid January through mid February
around January 19
Plant purchased starts after last frost (January 5).
Look for stocky plants with dark green leaves. Avoid leggy or already-flowering seedlings.
Direct Sow Seeds
ChallengingDirect sowing is not typical for Tomato.
Transplant Outdoors
Timing InfoMid January through mid February
around January 19
Wait until nighttime temperatures stay above 50°F.
You have a nice window — no need to rush.
Overview
Tomatoes are the crown jewel of Florida winter gardens, delivering that incomparable homegrown flavor that makes store-bought varieties taste like cardboard. In Zone 10B, you can grow spectacular tomatoes during our cool season when the humidity drops and those brutal summer temperatures finally give our plants a break. There's nothing quite like slicing into a sun-warmed tomato you've nurtured from seed in your own backyard, especially when your neighbors up north are still dealing with frozen ground.
Florida's gardening calendar is flipped, which initially throws off many new gardeners, but it's actually perfect for tomatoes. Our 360-day growing season means you can start seeds during the holidays and enjoy fresh tomatoes by spring. Yes, our sandy soil and summer heat present challenges, but timing your tomatoes for the cool season sidesteps most problems while taking advantage of our mild winters.
Starting Seeds Indoors
You'll need to start your tomato seeds indoors during early to late December, giving them a solid 6-week head start before transplanting. Florida's spring character is reversed – what other regions call spring is actually our prime growing season, so starting early ensures your plants are established before the heat hits.
Set up your seeds in quality seed-starting mix in trays or small pots, keeping them consistently moist with bottom watering to prevent fungal issues. Place them in a warm spot (70-80°F) with bright light – a sunny south window or grow lights work well. The warmth is crucial for germination, and thankfully our mild winter temperatures make this easier than in colder zones.
Keep the soil consistently moist but not soggy, and you should see seedlings emerge in 7-10 days. Once they develop their first true leaves, they're ready to begin the hardening process in preparation for transplanting to your garden beds.
Transplanting Outdoors
Plan to transplant your tomato seedlings outdoors from mid-January through mid-February, after they've had a full week of gradual hardening off. During this period, Florida typically enjoys mild days with cool nights – perfect conditions for tomatoes to establish without transplant shock.
Space your plants 24-36 inches apart to ensure good air circulation, which is critical in our humid climate. Look for stocky plants with dark green leaves and avoid any that are already flowering or appear leggy and weak. Those early flowers should be pinched off anyway to encourage strong root development.
Watch the weather during transplant time – while we rarely get hard freezes in Zone 10B, those occasional cold snaps in late January can stress young plants. Have row covers or old sheets ready for protection if temperatures threaten to drop into the upper 30s.
Watering Tomato in Zone 10B (Florida)
Consistent watering is absolutely critical for tomatoes in Florida – more so than in drier climates because our sandy soil drains quickly and our high humidity can mask plant stress. Inconsistent watering triggers blossom end rot, fruit cracking, and blossom drop, which will ruin your harvest faster than any pest.
During the growing season (late winter through late spring), aim for about 1-1.5 inches of water per week through a combination of rainfall and irrigation. Use the finger test – stick your finger 2 inches into the soil near the base of the plant. If it's dry at that depth, it's time to water deeply. In Florida's sandy soils, this might mean watering every 2-3 days rather than weekly.
Always water at the base of the plants, never overhead. Our very high humidity means wet foliage invites fungal diseases like early blight. A soaker hose or drip irrigation works perfectly, delivering water slowly so it penetrates rather than running off. During our wet summer months, you'll need to adjust and potentially stop supplemental watering entirely.
Apply a thick layer of organic mulch around your plants to help maintain consistent soil moisture and prevent the wet-dry cycles that cause so many tomato problems. Pine straw or shredded leaves work well in our climate and help suppress weeds while slowly improving our typically nutrient-poor sandy soil.
Supporting Your Tomato
Install sturdy support systems at planting time since indeterminate tomato varieties will grow 6-8 feet tall in Florida's favorable conditions. Heavy-duty cages (at least 5-6 feet tall) or strong wooden stakes work best – those flimsy store-bought cages will collapse under the weight of a productive plant.
For staking, use 8-foot stakes driven 18 inches into the ground, which gives you plenty of height for vigorous growth. Tie the main stem loosely with soft cloth strips or tomato ties, adding new ties every 12 inches as the plant grows. The key is supporting without restricting growth.
Cages offer the advantage of supporting multiple branches without constant tying, but make sure they're wide enough (18-24 inches across) to allow you to reach inside for harvesting and maintenance. Whatever system you choose, install it immediately after transplanting to avoid damaging established root systems later.
Pruning & Maintaining Tomato
Remove suckers (shoots that grow between the main stem and branches) below the first flower cluster throughout the growing season. These lower suckers divert energy from fruit production and create dense foliage that restricts air circulation – a particular problem in our humid climate where good airflow helps prevent fungal diseases.
You can optionally remove upper suckers as well if you prefer larger fruit over higher yields, but this isn't necessary in Florida's mild growing conditions. Do remove any leaves touching the ground and prune away diseased or yellowing foliage immediately to prevent problems from spreading.
As first frost approaches in late December, top your plants by removing the growing tip. This forces the plant to put energy into ripening existing fruit rather than developing new flowers that won't have time to mature. You'll have several weeks after topping to harvest the final tomatoes.
🧪Fertilizing Tomato
Feeding Schedule
Organic Fertilizer Options
Harvest Time
Expect your first harvest from late March through mid-May, roughly 70 days after transplanting. In Florida's mild spring weather, fruit develops steadily without the temperature stress that affects summer crops, resulting in excellent flavor and texture.
Harvest tomatoes when they're fully colored with just a slight give when gently squeezed. They should twist off the vine easily with a gentle upward motion – if you have to pull hard, wait another day or two. The fruit continues developing sugar content right up until fully ripe, so patience pays off with better flavor.
Check your plants every 2-3 days during peak production since ripe fruit can quickly become overripe in warm weather. Harvest regularly to encourage continued flowering and fruit set. If a tomato has just started changing color but feels firm, you can harvest it and let it ripen on the counter – this is especially useful as the season winds down.
When late December's first frost threatens, harvest all mature green tomatoes and bring them indoors to ripen. Wrap individual fruits in newspaper and store in a cool, dark place where they'll gradually ripen over several weeks, extending your harvest well into the new year.
Common Problems in Zone 10B (Florida)
Blossom End Rot Dark, sunken, leathery patches appear on the bottom (blossom end) of your tomatoes, often affecting the first fruits of the season. The spots start small but can eventually cover half the fruit, making them inedible. This physiological disorder is caused by calcium deficiency triggered by inconsistent watering – not a disease you can spray away. In Florida's sandy, fast-draining soil, maintaining consistent moisture is challenging but crucial. Water deeply and regularly, mulch heavily to maintain even soil moisture, and avoid over-fertilizing with nitrogen which interferes with calcium uptake.
Early Blight Brown spots with distinctive concentric rings (like a bullseye or target) appear on lower leaves first, then spread upward. Affected leaves turn yellow and drop off, weakening the plant and reducing yields. This fungal disease thrives in Florida's warm, humid conditions and spreads via soil splash during our frequent afternoon thunderstorms. Remove affected leaves immediately (don't compost them), mulch to prevent soil splash, water at the base rather than overhead, and ensure good air circulation through proper spacing and pruning. Copper fungicide can slow the spread if applied early.
Hornworms Large sections of leaves disappear overnight, leaving behind dark green droppings on remaining foliage. These impressive caterpillars can grow up to 4 inches long and are perfectly camouflaged with green skin and white diagonal stripes. Despite their intimidating size, they're easily controlled by handpicking (they don't bite) or spraying with Bt (Bacillus thuringiensis), an organic bacterial insecticide. If you find hornworms covered with white, rice-like cocoons, leave them alone – those are beneficial parasitic wasps that will kill the hornworm and produce more pest controllers.
Cracking Tomatoes develop splits in their skin, either in concentric circles around the stem or radiating lines from stem to blossom end. This happens when heavy watering or rainfall follows a dry period, causing the fruit to absorb water faster than the skin can expand. Florida's afternoon thunderstorms after dry spells create perfect conditions for this problem. Maintain consistent soil moisture through regular watering and mulching, harvest promptly when ripe, and choose crack-resistant varieties for future plantings.
Florida Specific Challenges: Our hot summers, very high humidity, and wet-summer rainfall pattern create a perfect storm for fungal diseases once temperatures climb into the 90s. This is why timing your tomatoes for the cool season is so critical – you'll harvest most of your crop before these conditions become problematic.
Best Companions for Tomato
Plant these nearby for healthier Tomato and better harvests.
View Full Companion Planting Chart →


Companion Planting Details
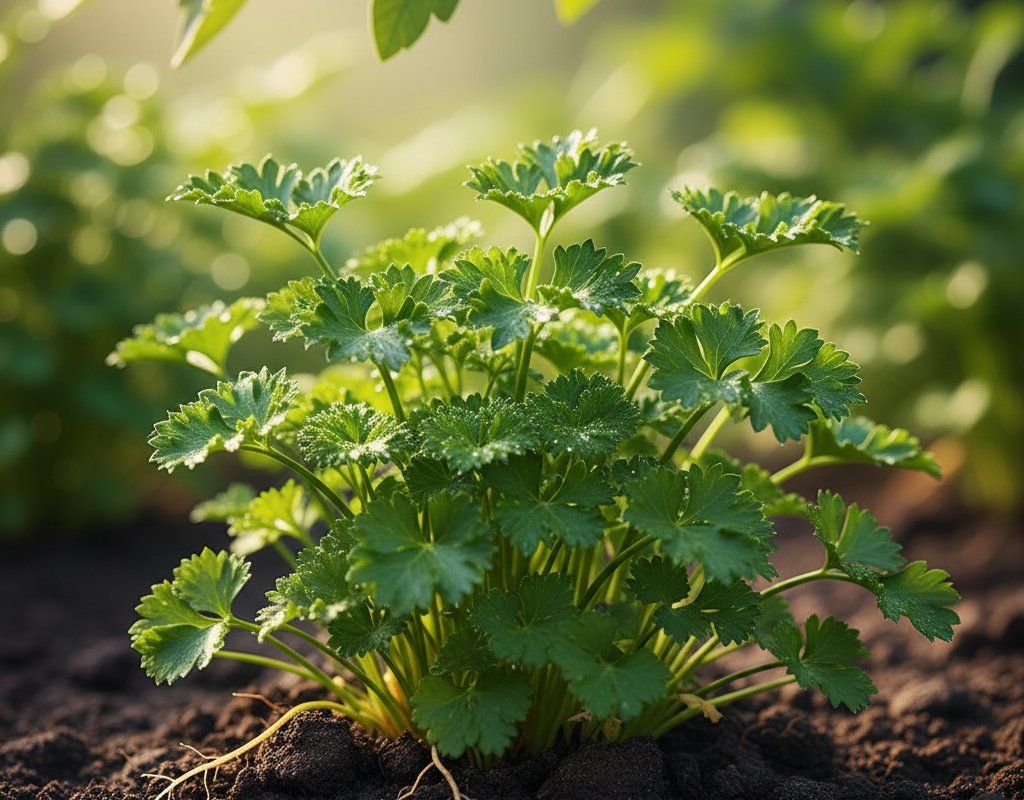
Basil makes an excellent companion for tomatoes, not just for culinary convenience but because it naturally repels aphids and thrips while its strong scent can confuse pest insects. Plant carrots nearby to help break up our heavy clay subsoil (where present) and attract beneficial insects, while parsley provides ground cover and hosts beneficial predatory insects. Marigolds deserve their reputation as companion plants since they release compounds that deter nematodes – a particular problem in Florida's sandy soils.
Avoid planting brassicals like cabbage or broccoli near tomatoes since they have different water and nutrient needs and can harbor similar pests. Keep fennel away from your tomato patch as it releases growth inhibitors that can stunt tomato development. Corn creates too much shade for sun-loving tomatoes and can harbor similar hornworm pests, making problems harder to spot and control.
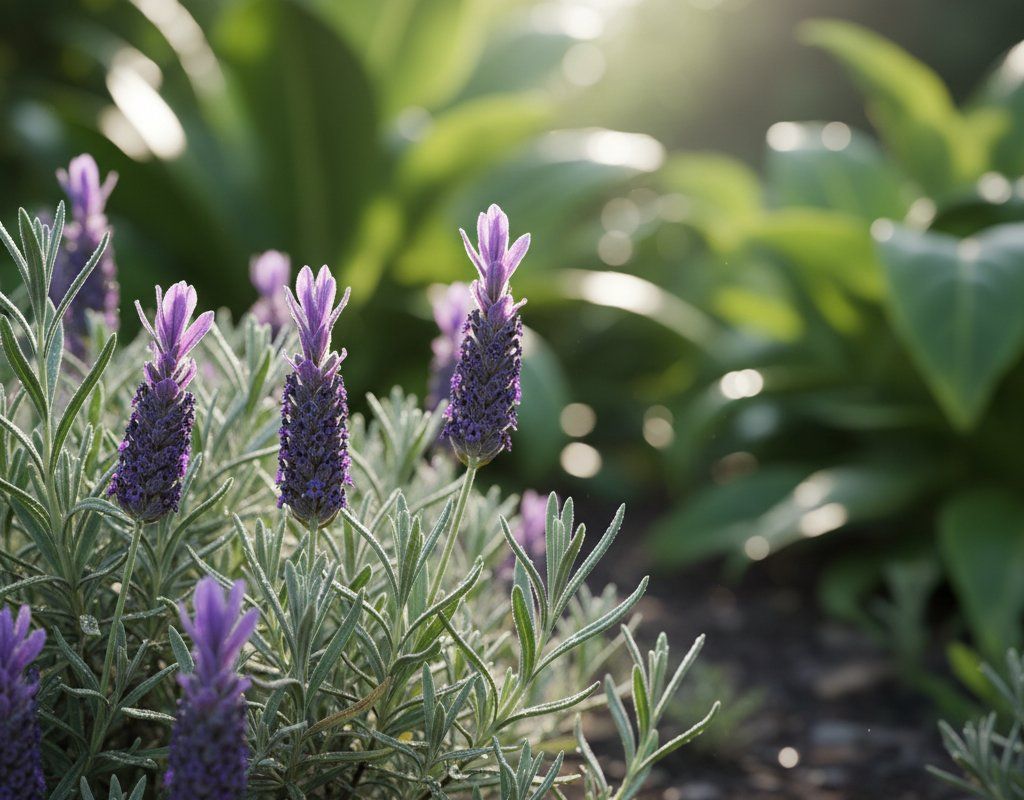
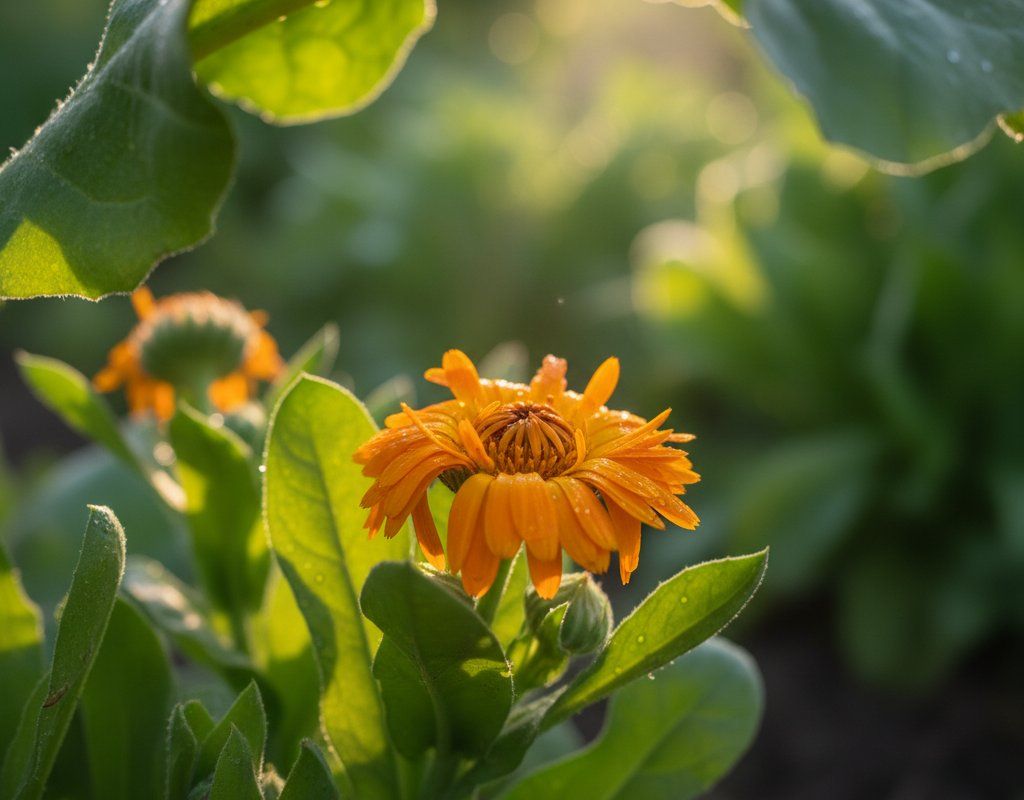
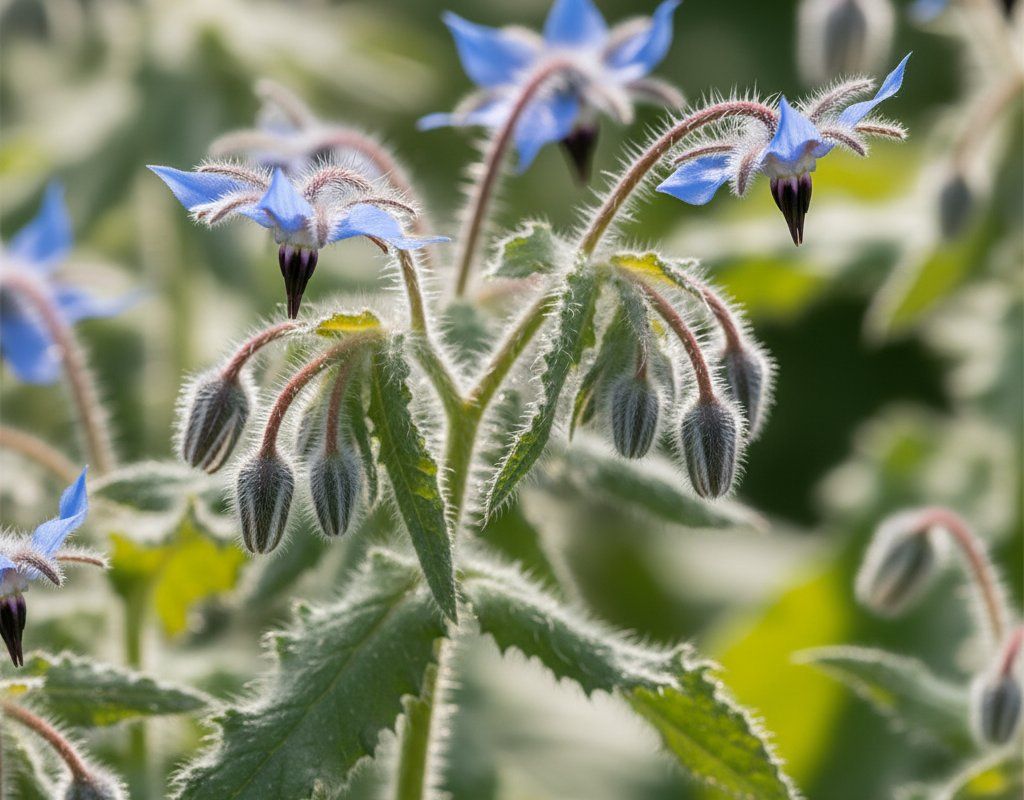
🌸Best Flowers to Plant with Tomato
These flowers protect your Tomato from pests and attract pollinators for better harvests.
For Pest Control


Get a Reminder When It's Time to Plant
We'll email you when key planting windows open for your zone.